|
DIY: How To Build Your Own WatsOn
If you want to create your own WatsOn first take a look at the following list of necessary components. All parts except the laser cutted acrylic glass only need to be bought.
All needed components, their quantities and prices for creating your own WatsOn
| WatsOn
|
| 1€=
| $1.27
| on 14/10/2014
|
|
| Quantity | Component | Costs [€] | Costs [$] | Final [€] | Final [$]
|
| 1 | [http://www.prolighting.de/Zubehoer/Farbfilter/Lee-Filter_HT/Lee-Filters_Musterheft_Designer_Edition_i174_3965_0.htm filter slides] (medium yellow 010, sally green 505) | 1.57 | 2.00 | 1.57 | 2.00
|
| 1 | [http://www.dx.com/p/uno-r3-development-board-microcontroller-mega328p-atmega16u2-compat-for-arduino-blue-black-215600 arduino UNO R3] | 9.17 | 11.65 | 9.17 | 11.65
|
| 1 | [http://www.dx.com/p/arduino-2-channel-relay-shield-module-red-144140 2-channel relay shield] | 2.72 | 3.46 | 2.72 | 3.46
|
| 40 | jumper-wire cable | 2.35 | 2.99 | 2.35 | 2.99
|
| 1 | [http://www.dx.com/p/2-54mm-1x40-pin-breakaway-straight-male-header-10-piece-pack-144191 40er male header (10-Piece Pack)] | 2.14 | 2.72 | 2.14 | 2.72
|
| 1 | [http://www.dx.com/p/jtron-2-54mm-40-pin-single-row-seat-single-row-female-header-black-10-pcs-278953 40er female header (10-Piece Pack)] | 2.05 | 2.60 | 2.05 | 2.60
|
| 1 | [http://www.dx.com/p/prototype-universal-printed-circuit-board-breadboard-brown-5-piece-pack-130926 circuit board] | 2.35 | 2.99 | 2.35 | 2.99
|
| 1 | [http://www.newark.com/pro-signal/rp006/audio-video-cable-hdmi-1m-black/dp/96T7446 HDMI cable] | 1.47 | 1.87 | 1.47 | 1.87
|
| 1 | [http://www.dx.com/p/hd-053-high-speed-usb-2-0-7-port-hub-black-174817 7 port USB hub] | 5.28 | 6.71 | 5.28 | 6.71
|
| 1 | [http://www.dx.com/p/dx-original-ultra-mini-usb-2-0-802-11n-b-g-150mbps-wi-fi-wlan-wireless-network-adapter-black-252716 USB WiFi stick] | 4.21 | 5.35 | 4.21 | 5.35
|
| 1 | USB mouse and keyboard | 9.84 | 12.50 | 9.84 | 12.50
|
| 1 | [http://corporate.evonik.com/en/products/pages/default.aspx case acrylic glass XT 6mm~0.52] | 39.88 | 50.65 | 39.88 | 50.65
|
| 1 | spray paint for acrylic glass | 5.15 | 6.54 | 5.15 | 6.54
|
| 1 | [http://www.newark.com/raspberry-pi/raspberry-modb-512m/raspberry-pi-model-b-board/dp/68X0155 Raspberry Pi model B board] | 27.56 | 35.00 | 27.56 | 35.00
|
| 1 | [http://www.newark.com/raspberry-pi/rpi-camera-board/add-on-brd-camera-module-raspberry/dp/69W0689 Raspberry Pi camera module] | 19.69 | 25.00 | 19.69 | 25.00
|
| 1 | [http://www.pollin.de/shop/dt/NzUwOTc4OTk-/ 7” display] | 39.35 | 49.97 | 39.35 | 49.97
|
| 1 | [http://www.dx.com/p/diy8-x-seven-segment-displays-module-for-arduino-595-driver-250813 8-segment display] | 3.04 | 3.86 | 3.04 | 3.86
|
| 2 | [http://www.dx.com/p/arduino-dht11-digital-temperature-humidity-sensor-138531 digital temperature sensor DHT-22] | 5.91 | 7.50 | 11.82 | 15.00
|
| 1 | aluminum block 100x100x15 mm | 11.20 | 14.23 | 11.20 | 14.23
|
| 1 | [http://www.dx.com/p/tec1-12706-semiconductor-thermoelectric-cooler-peltier-white-157283 Peltier heater 12V 60W] | 3.54 | 4.49 | 3.54 | 4.49
|
| 1 | power supply | 25.90 | 32.89 | 25.90 | 32.89
|
| 6 | [http://www.leds.de/Low-Mid-Power-LEDs/SuperFlux-LEDs/Nichia-Superflux-LED-blau-3lm-100-NSPBR70BSS.html superflux LED 480nm] | 0.99 | 1.26 | 5.94 | 7.54
|
| 16 | LED 450nm | 0.37 | 0.47 | 5.94 | 7.54
|
| 2 | Resistor 40 Ohm | 0.12 | 0.15 | 0.24 | 0.30
|
| 4 | Resistor 100 Ohm | 0.12 | 0.15 | 0.48 | 0.60
|
| 1 | cupboard button | 0.98 | 1.24 | 0.98 | 1.24
|
| - | total | - | - | 243.88 | 309.70
|
</center>
You can find more economical information for WatsOn and the project on our Economical View page.
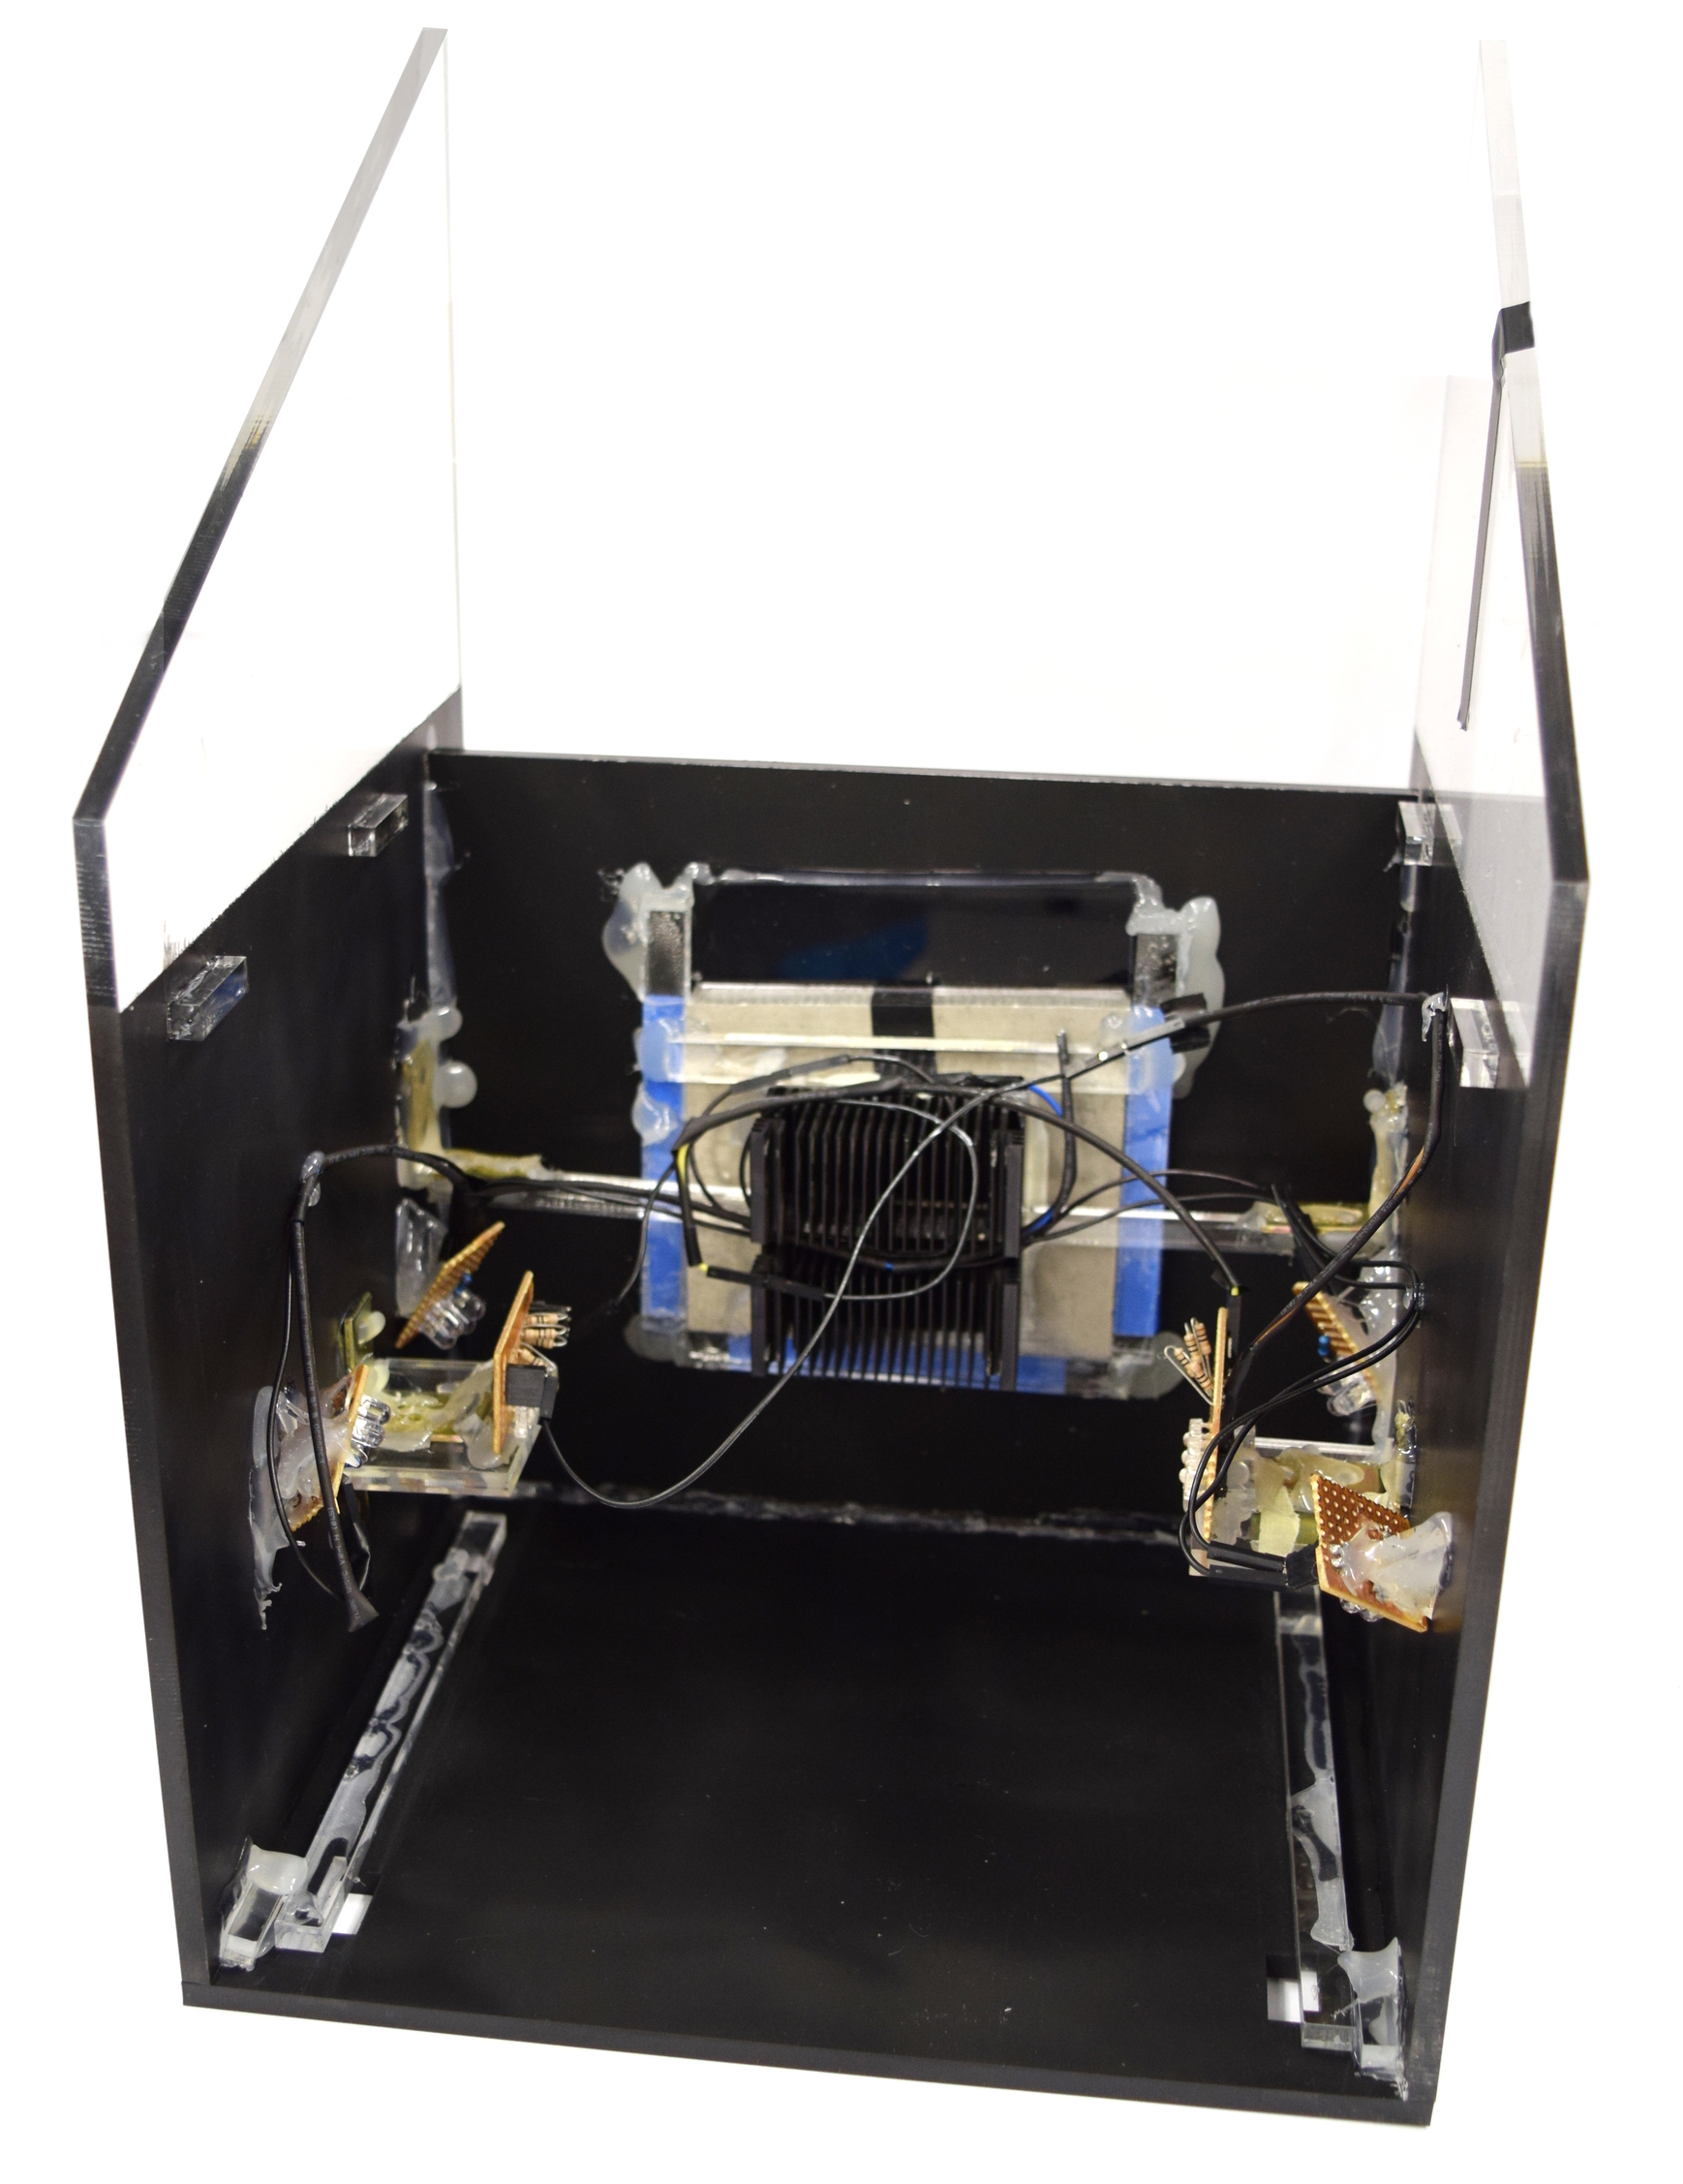 | Start building your own WatsOn by assembling the base plate, the sides and the interior wall.
|
![350px] [File:Aachen_Device_.3jpg](/wiki/images/7/7b/Aachen_Device_2_3.jpg) | Fix the Peltier heater on the back of the aluminum block and place it in the hole of the interior wall.
Arrange the 4x4 450nm LEDs and the 2x3 480nm LEDs
|
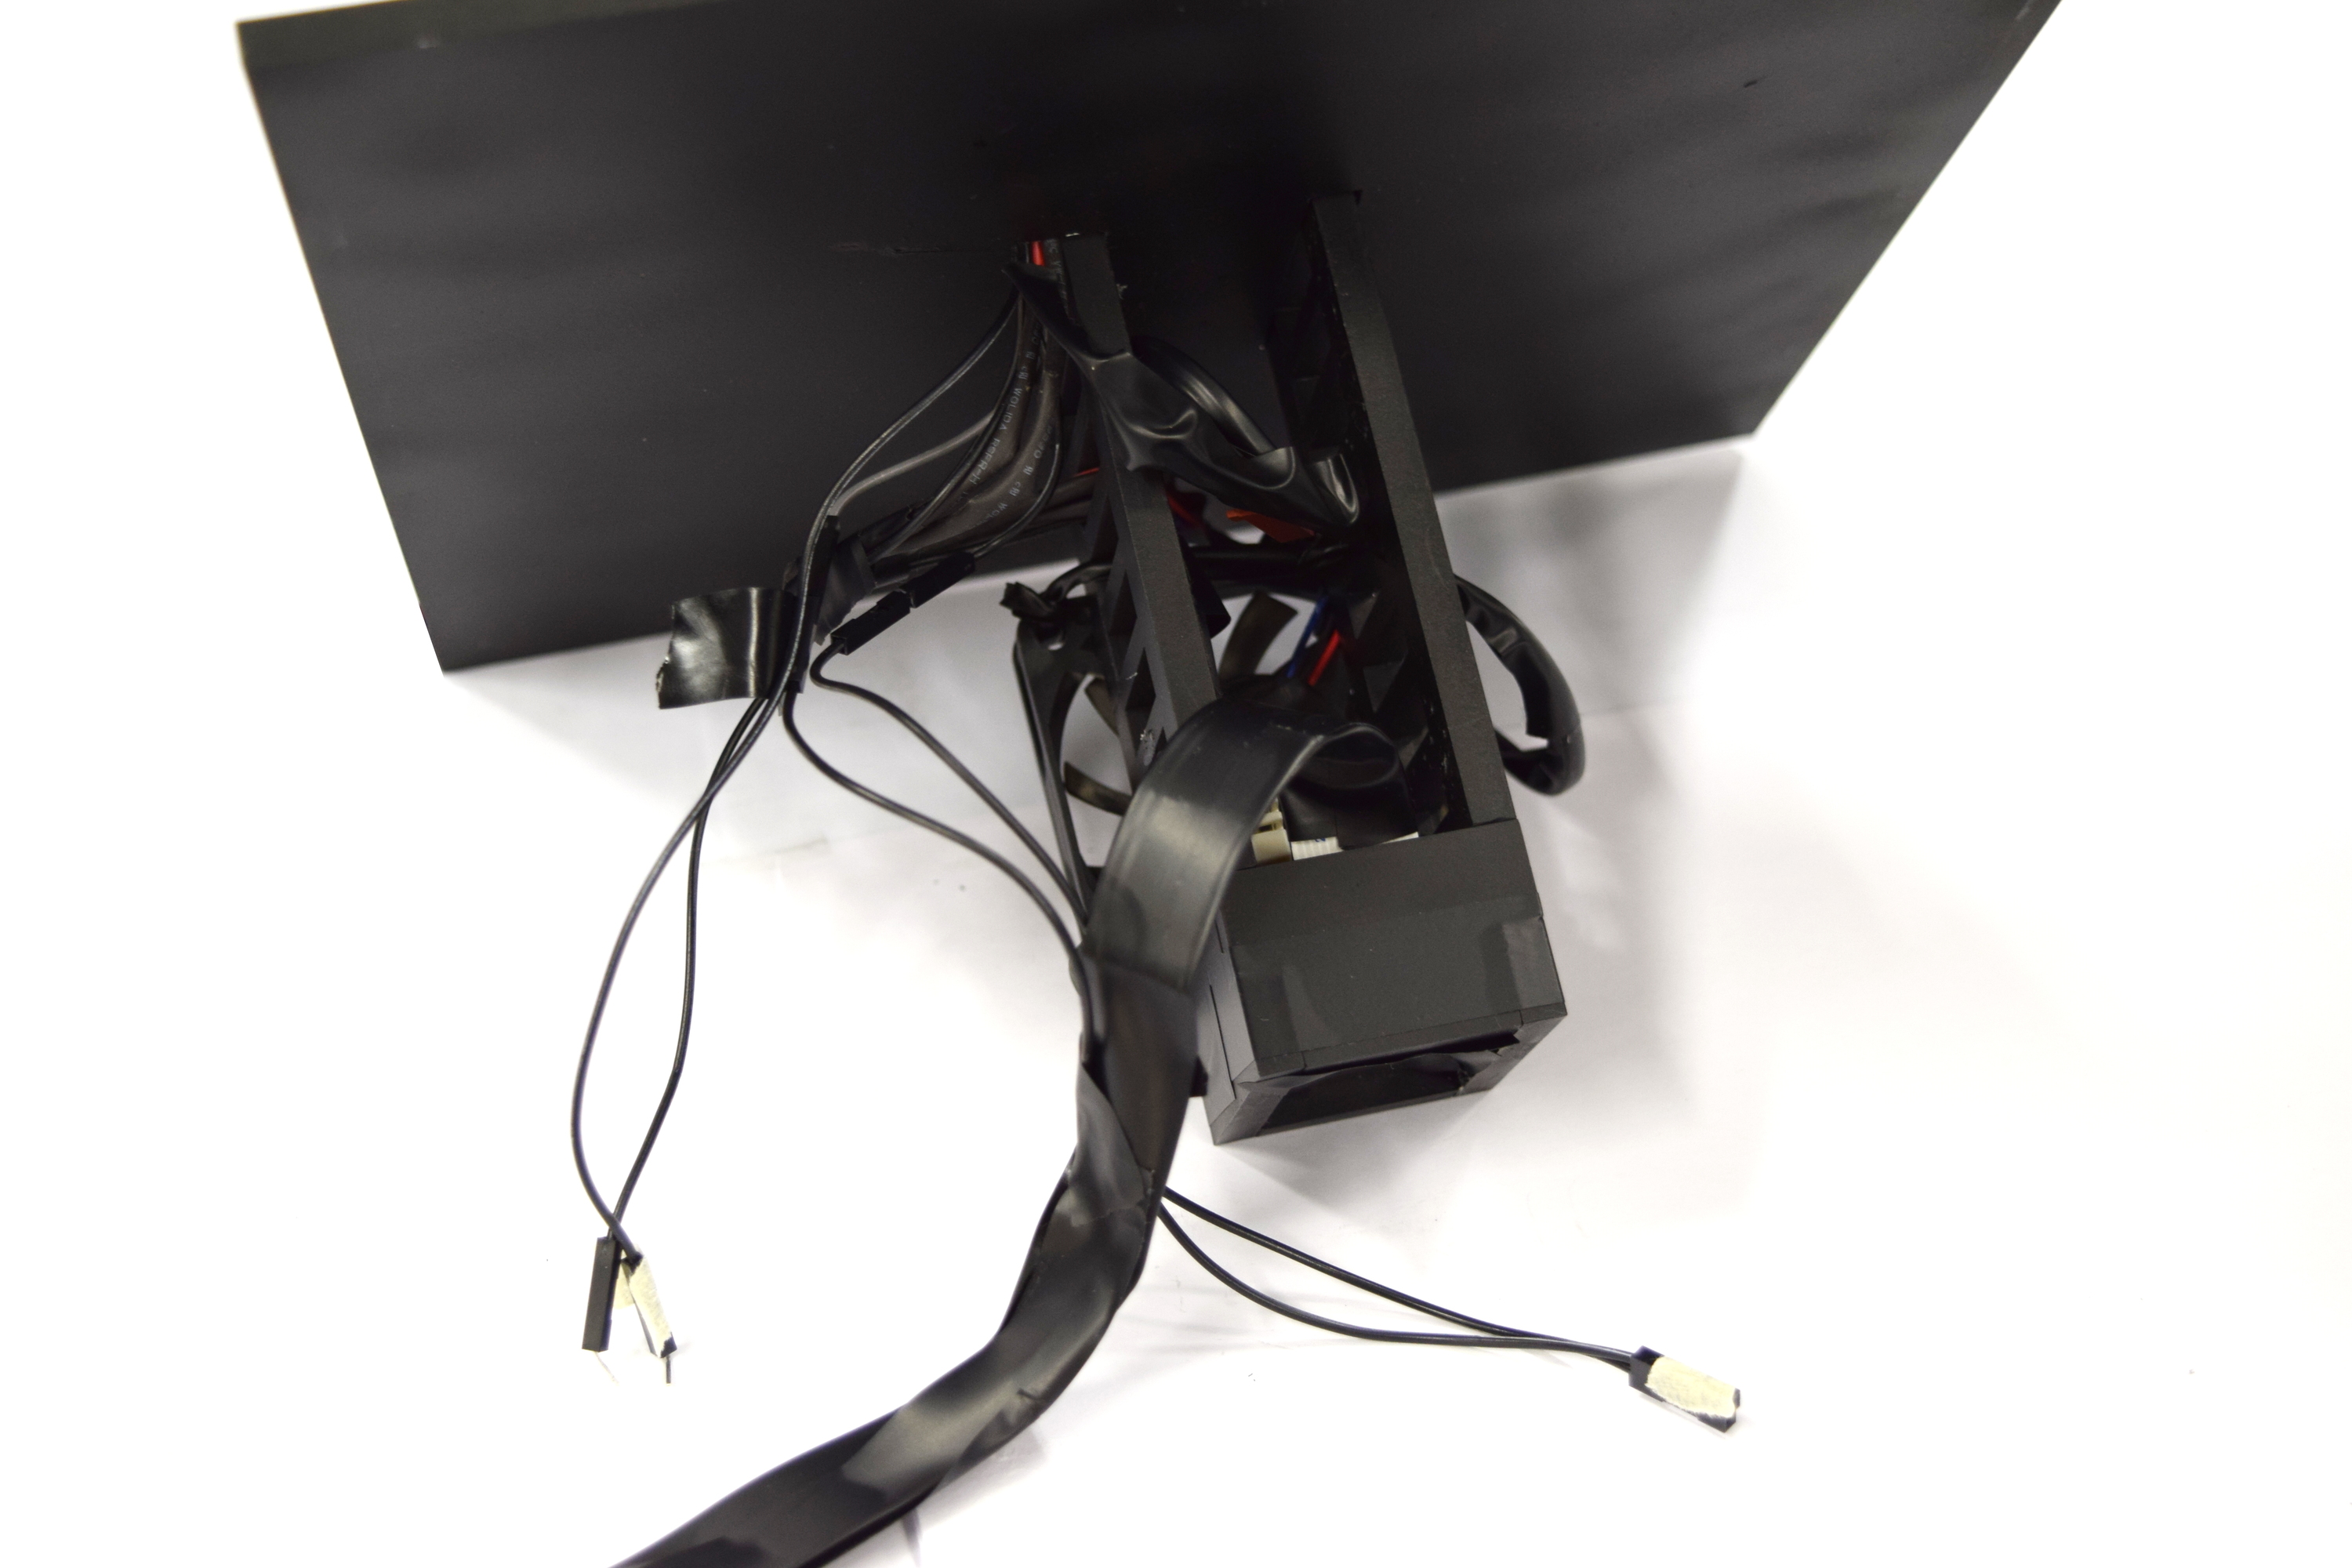 | Assemble the camera holder with the camera and the corresponding filter slide on the lower part. Over the camera you can place the temperature sensor for measuring the indoor temperature. Finally put the fan on the back of the camera holder.
|
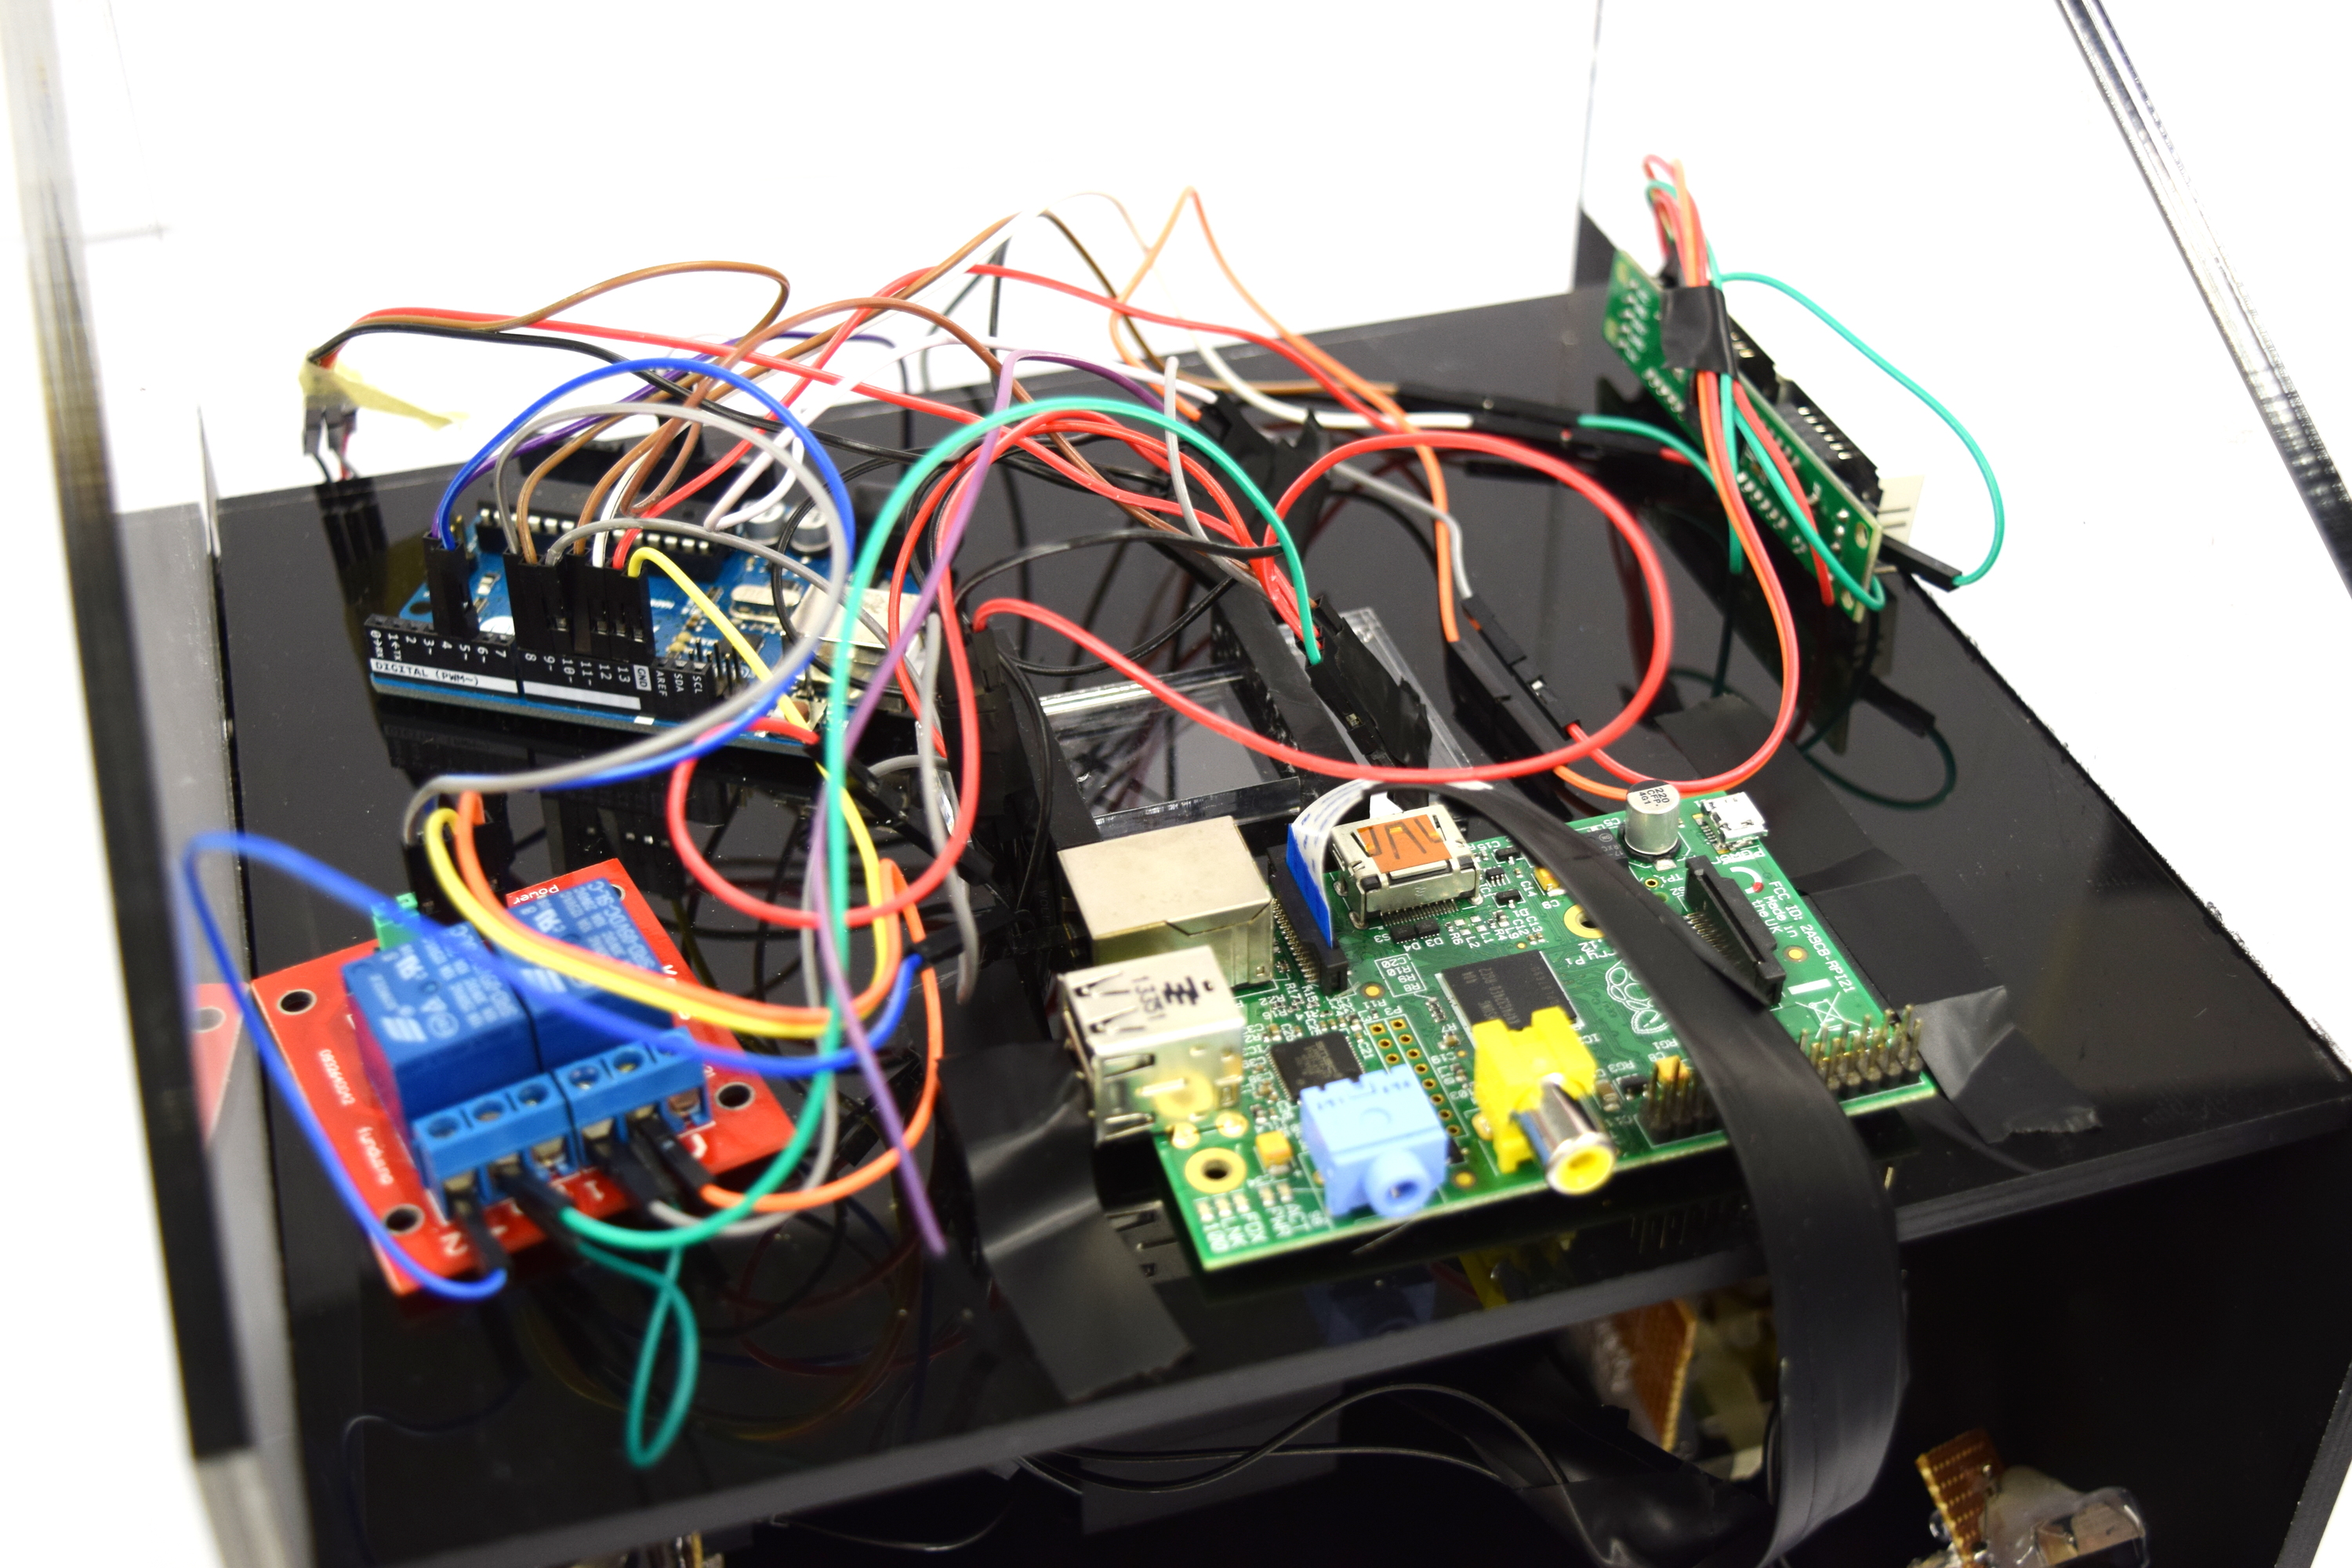 | Connect the electronic components on the outside and the inside according to the wiring diagramm.
|
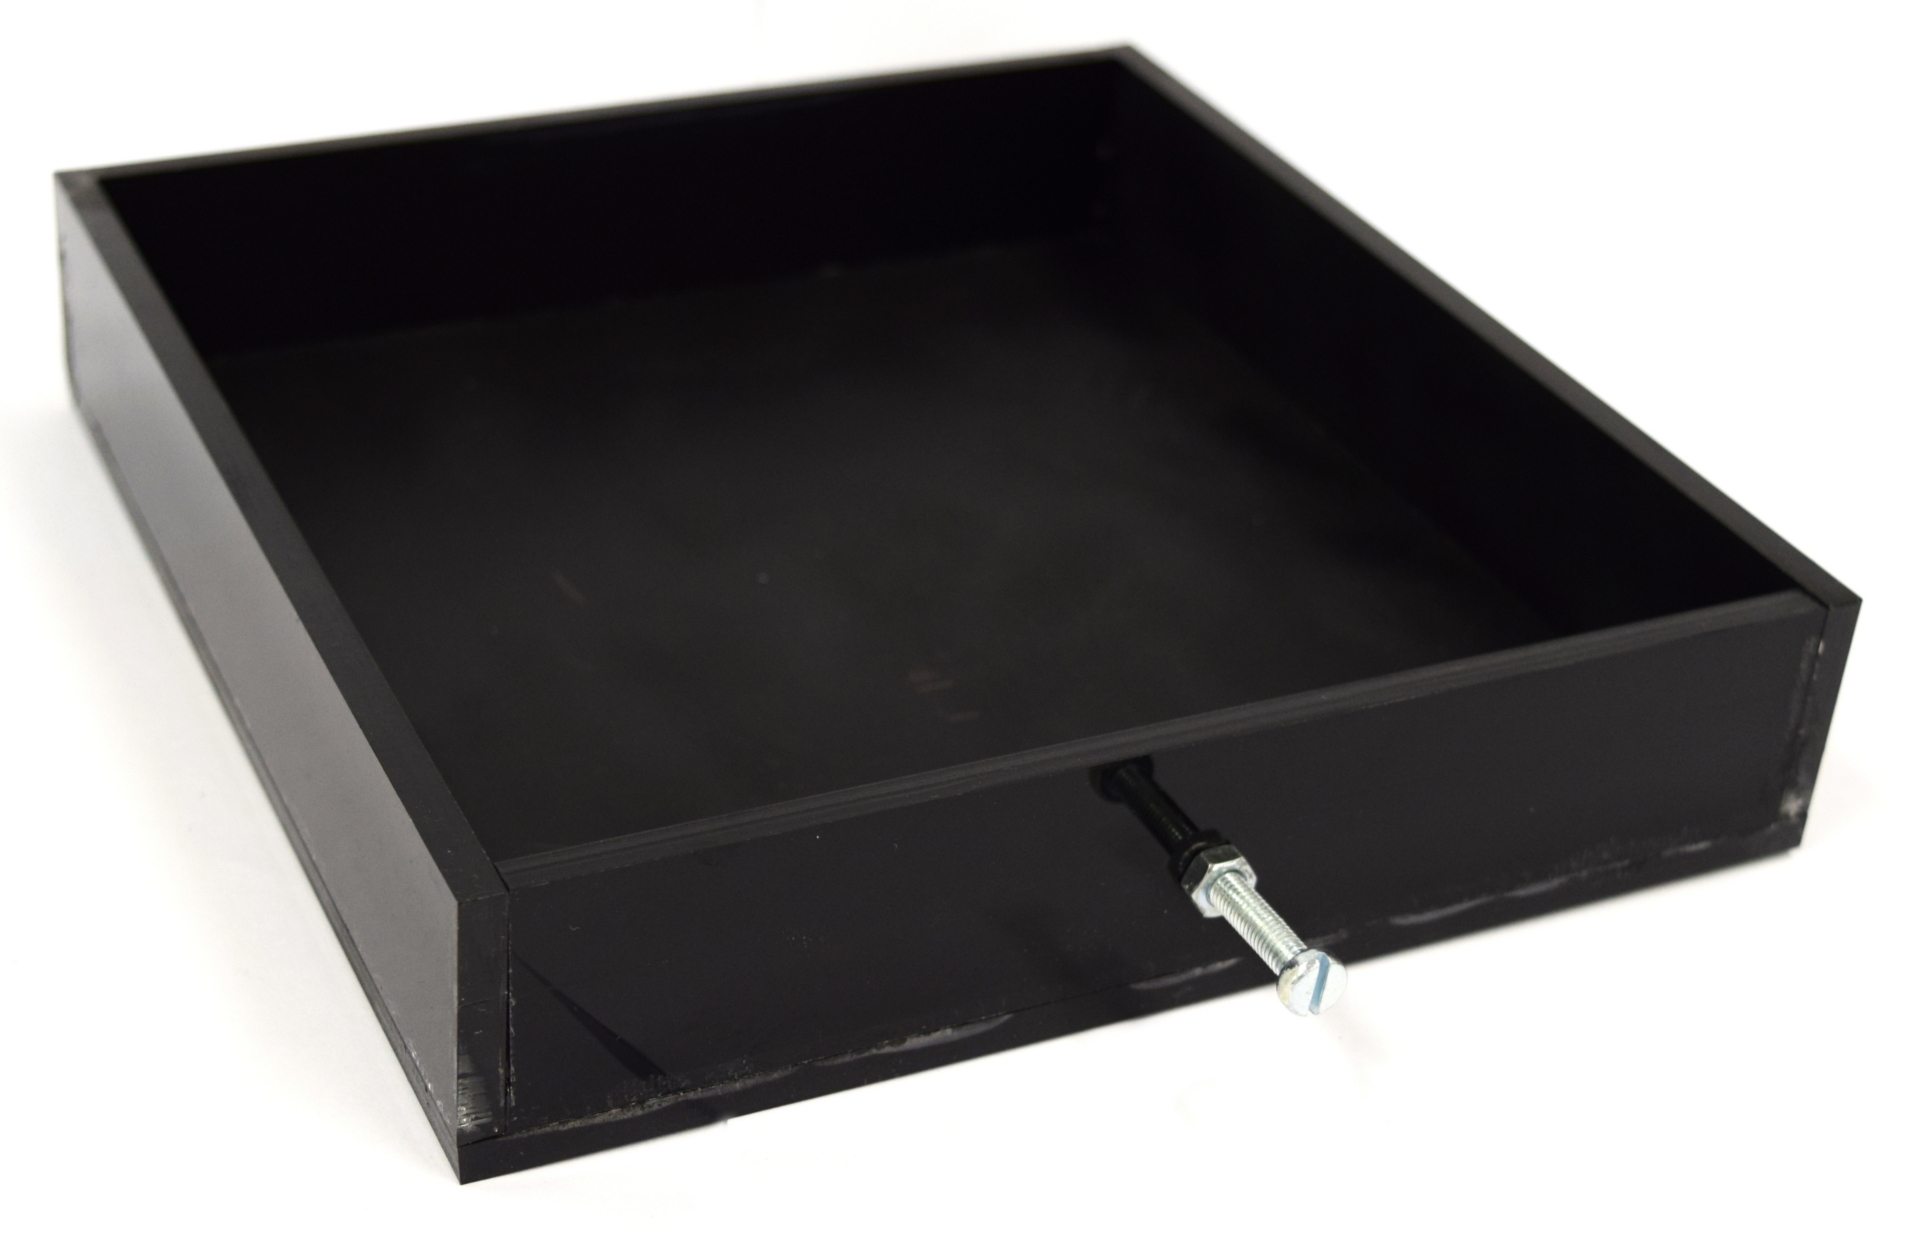 | Put together the drawer.
|
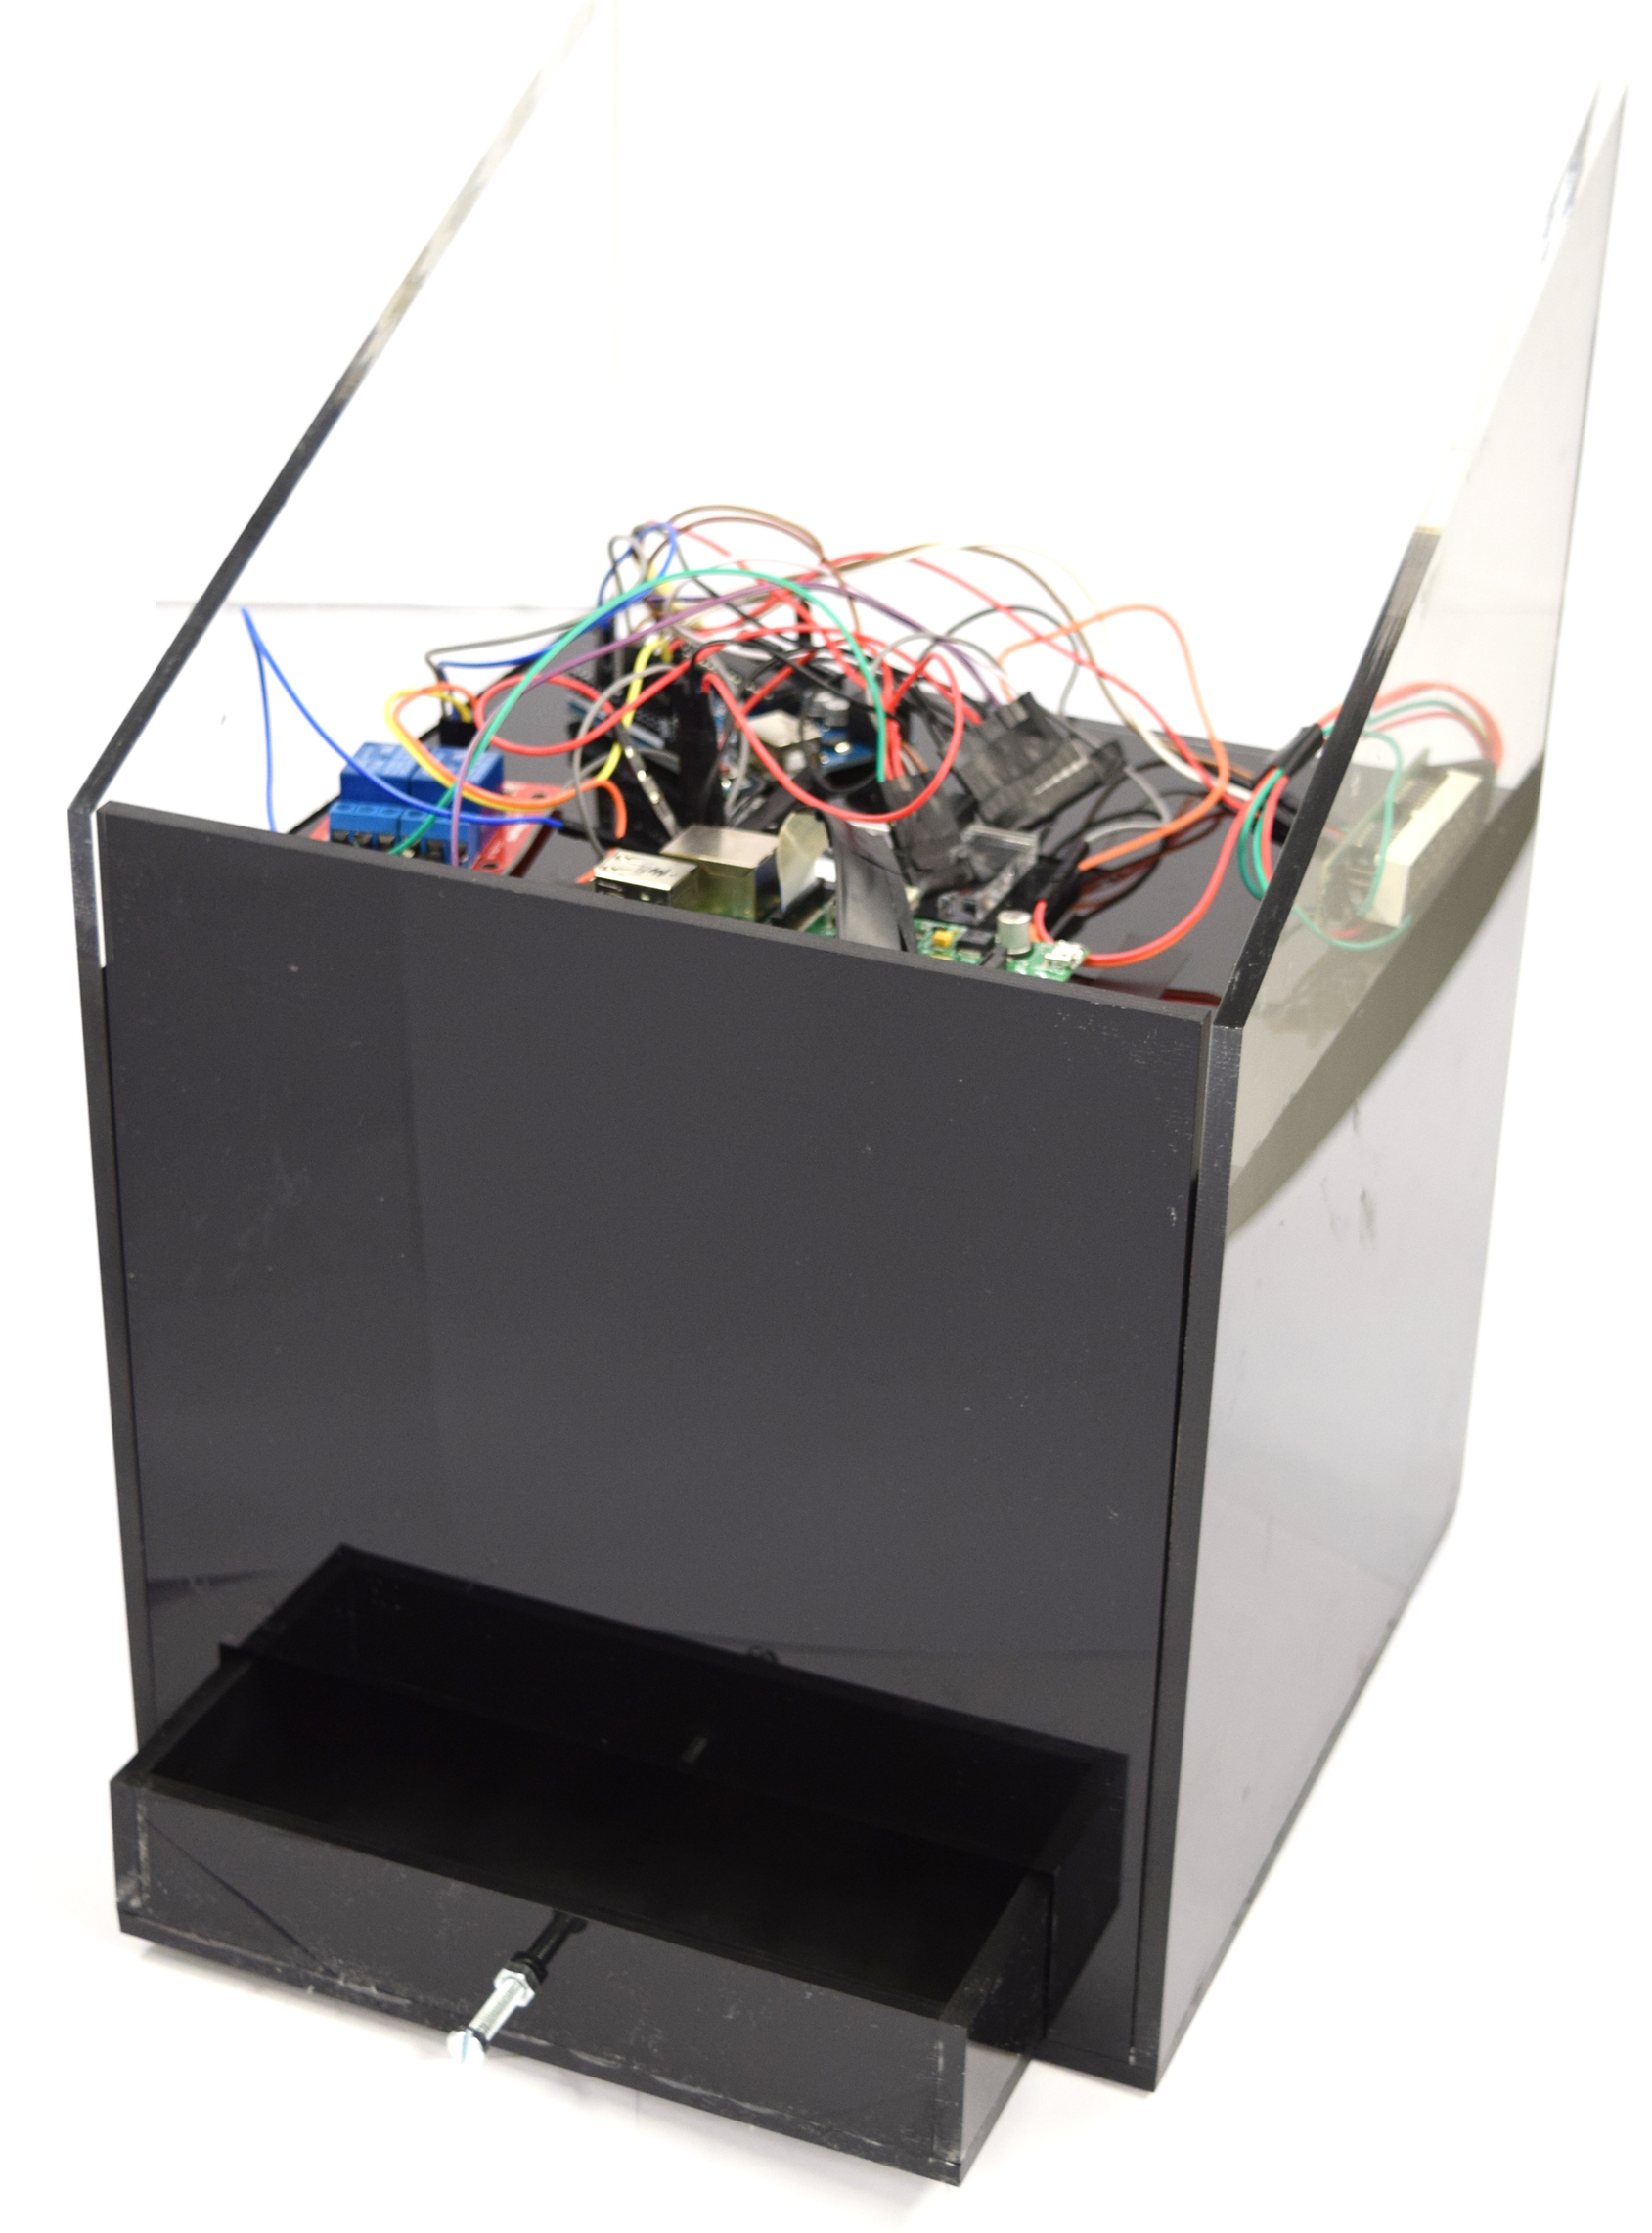 | Position the front panel and insert the drawer.
|
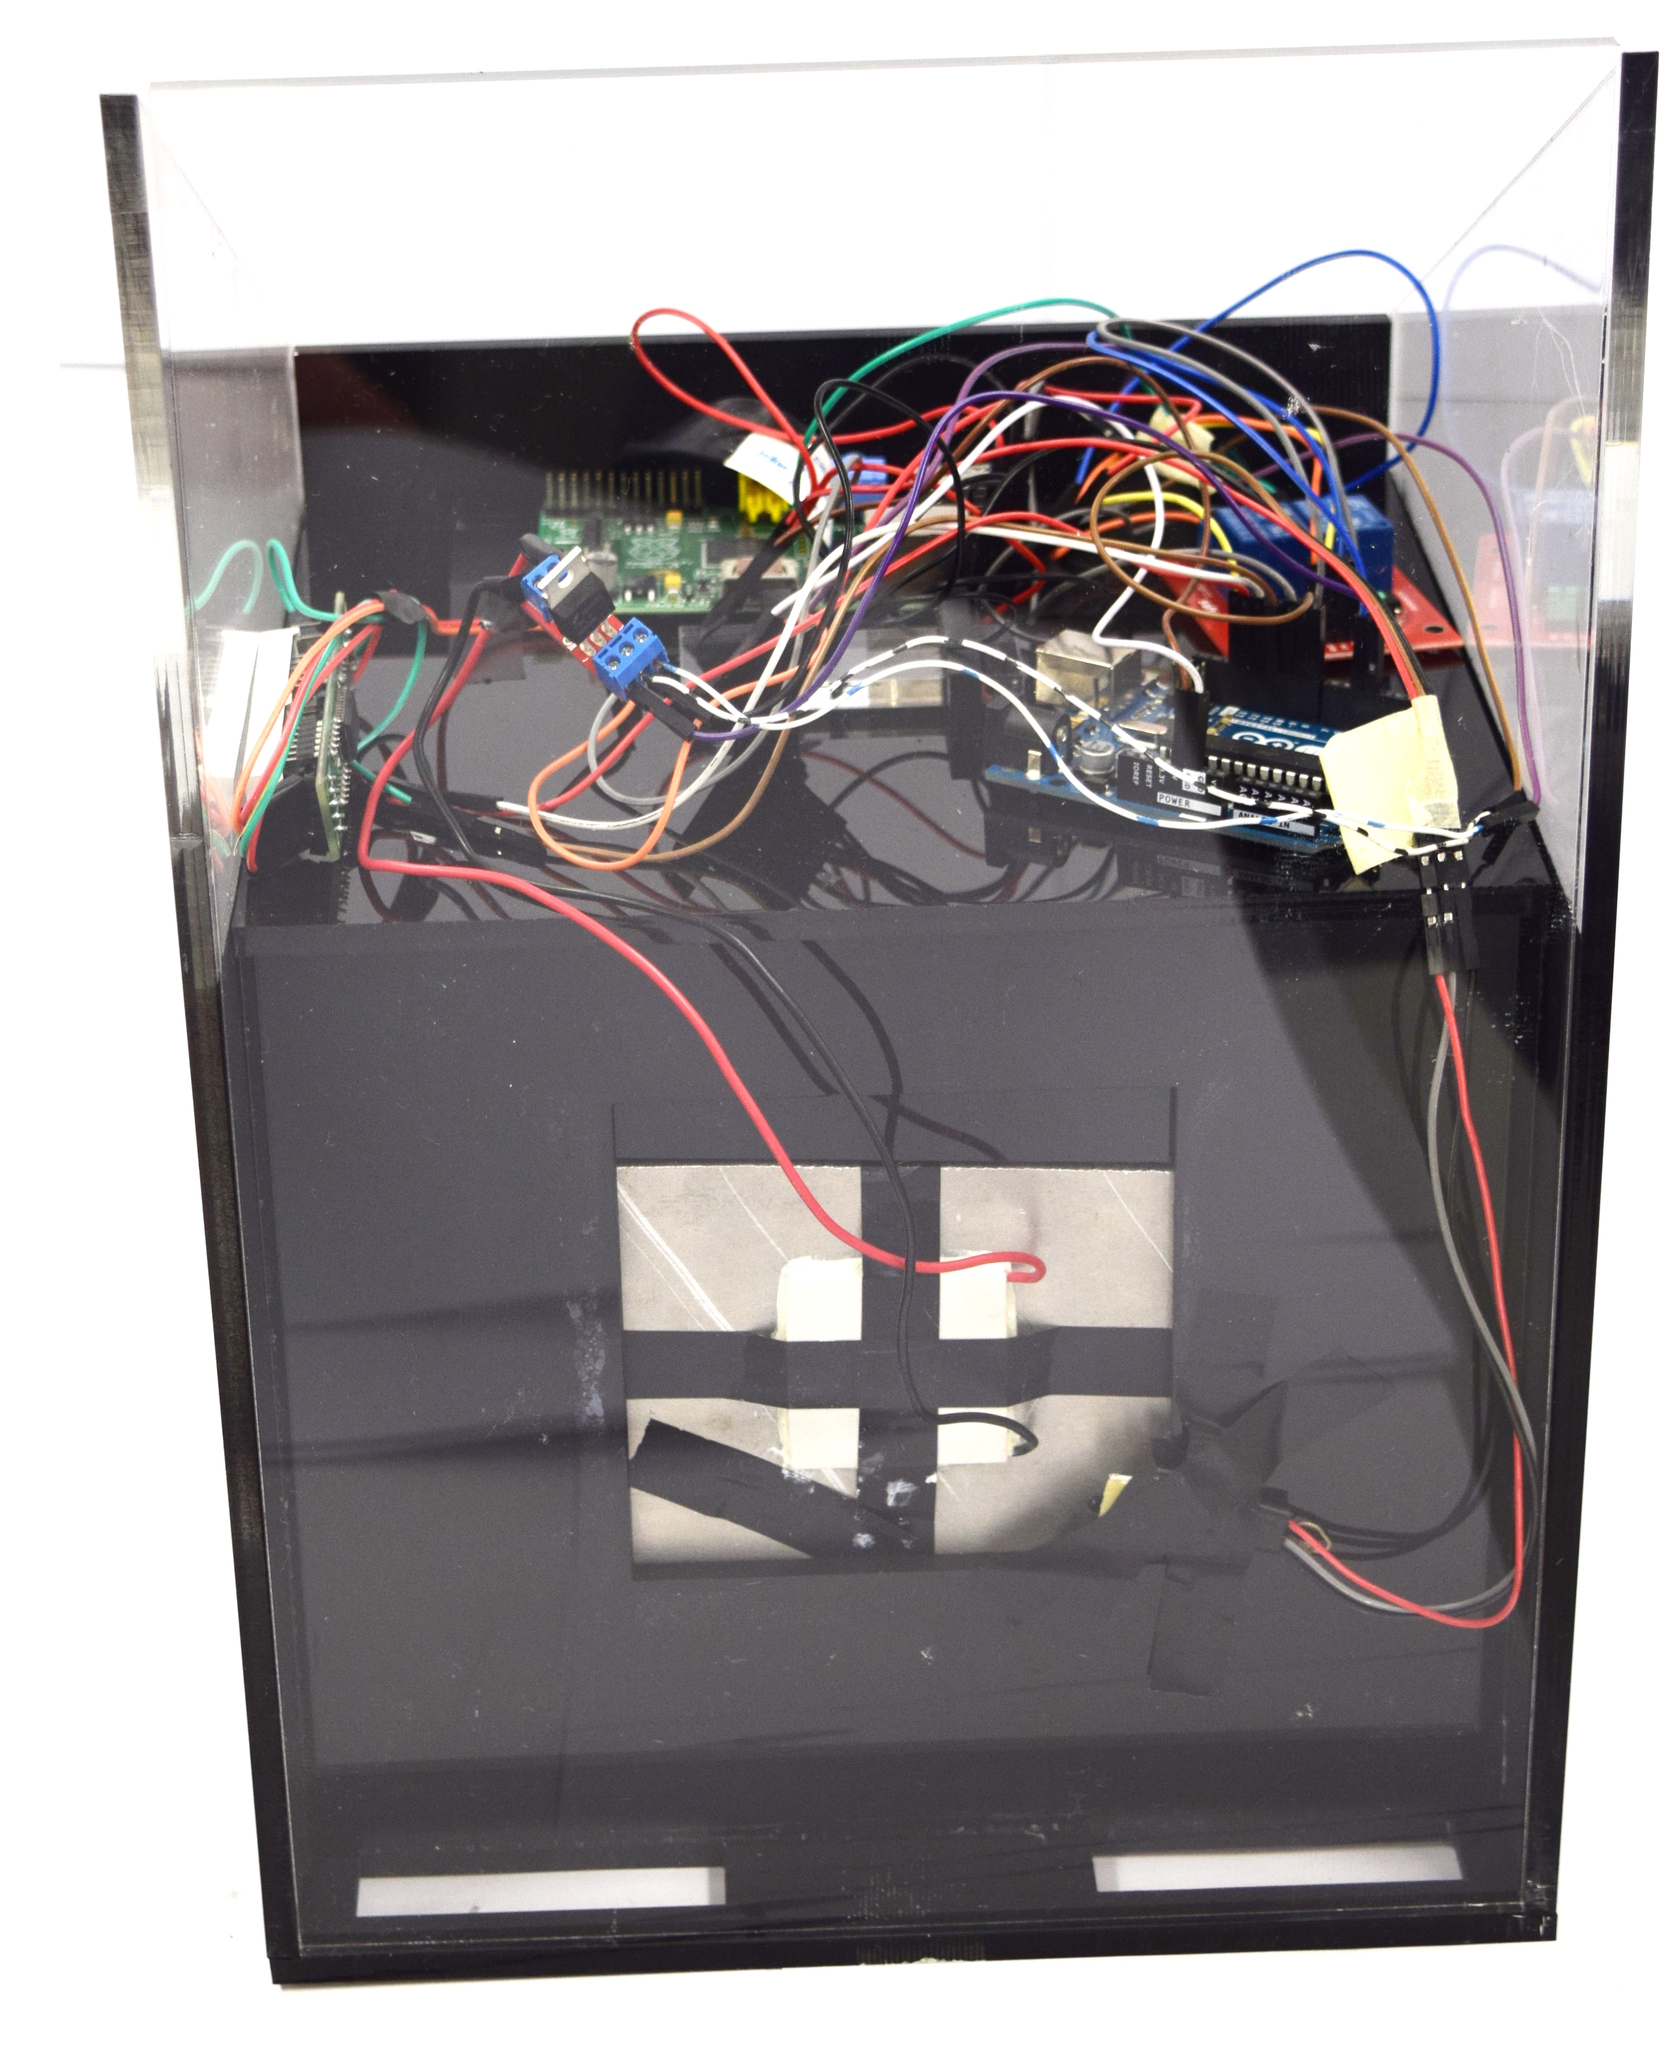 | Place the temperature sensor for the aluminium block temperature directly on the block and put the back panel in front of it.
|
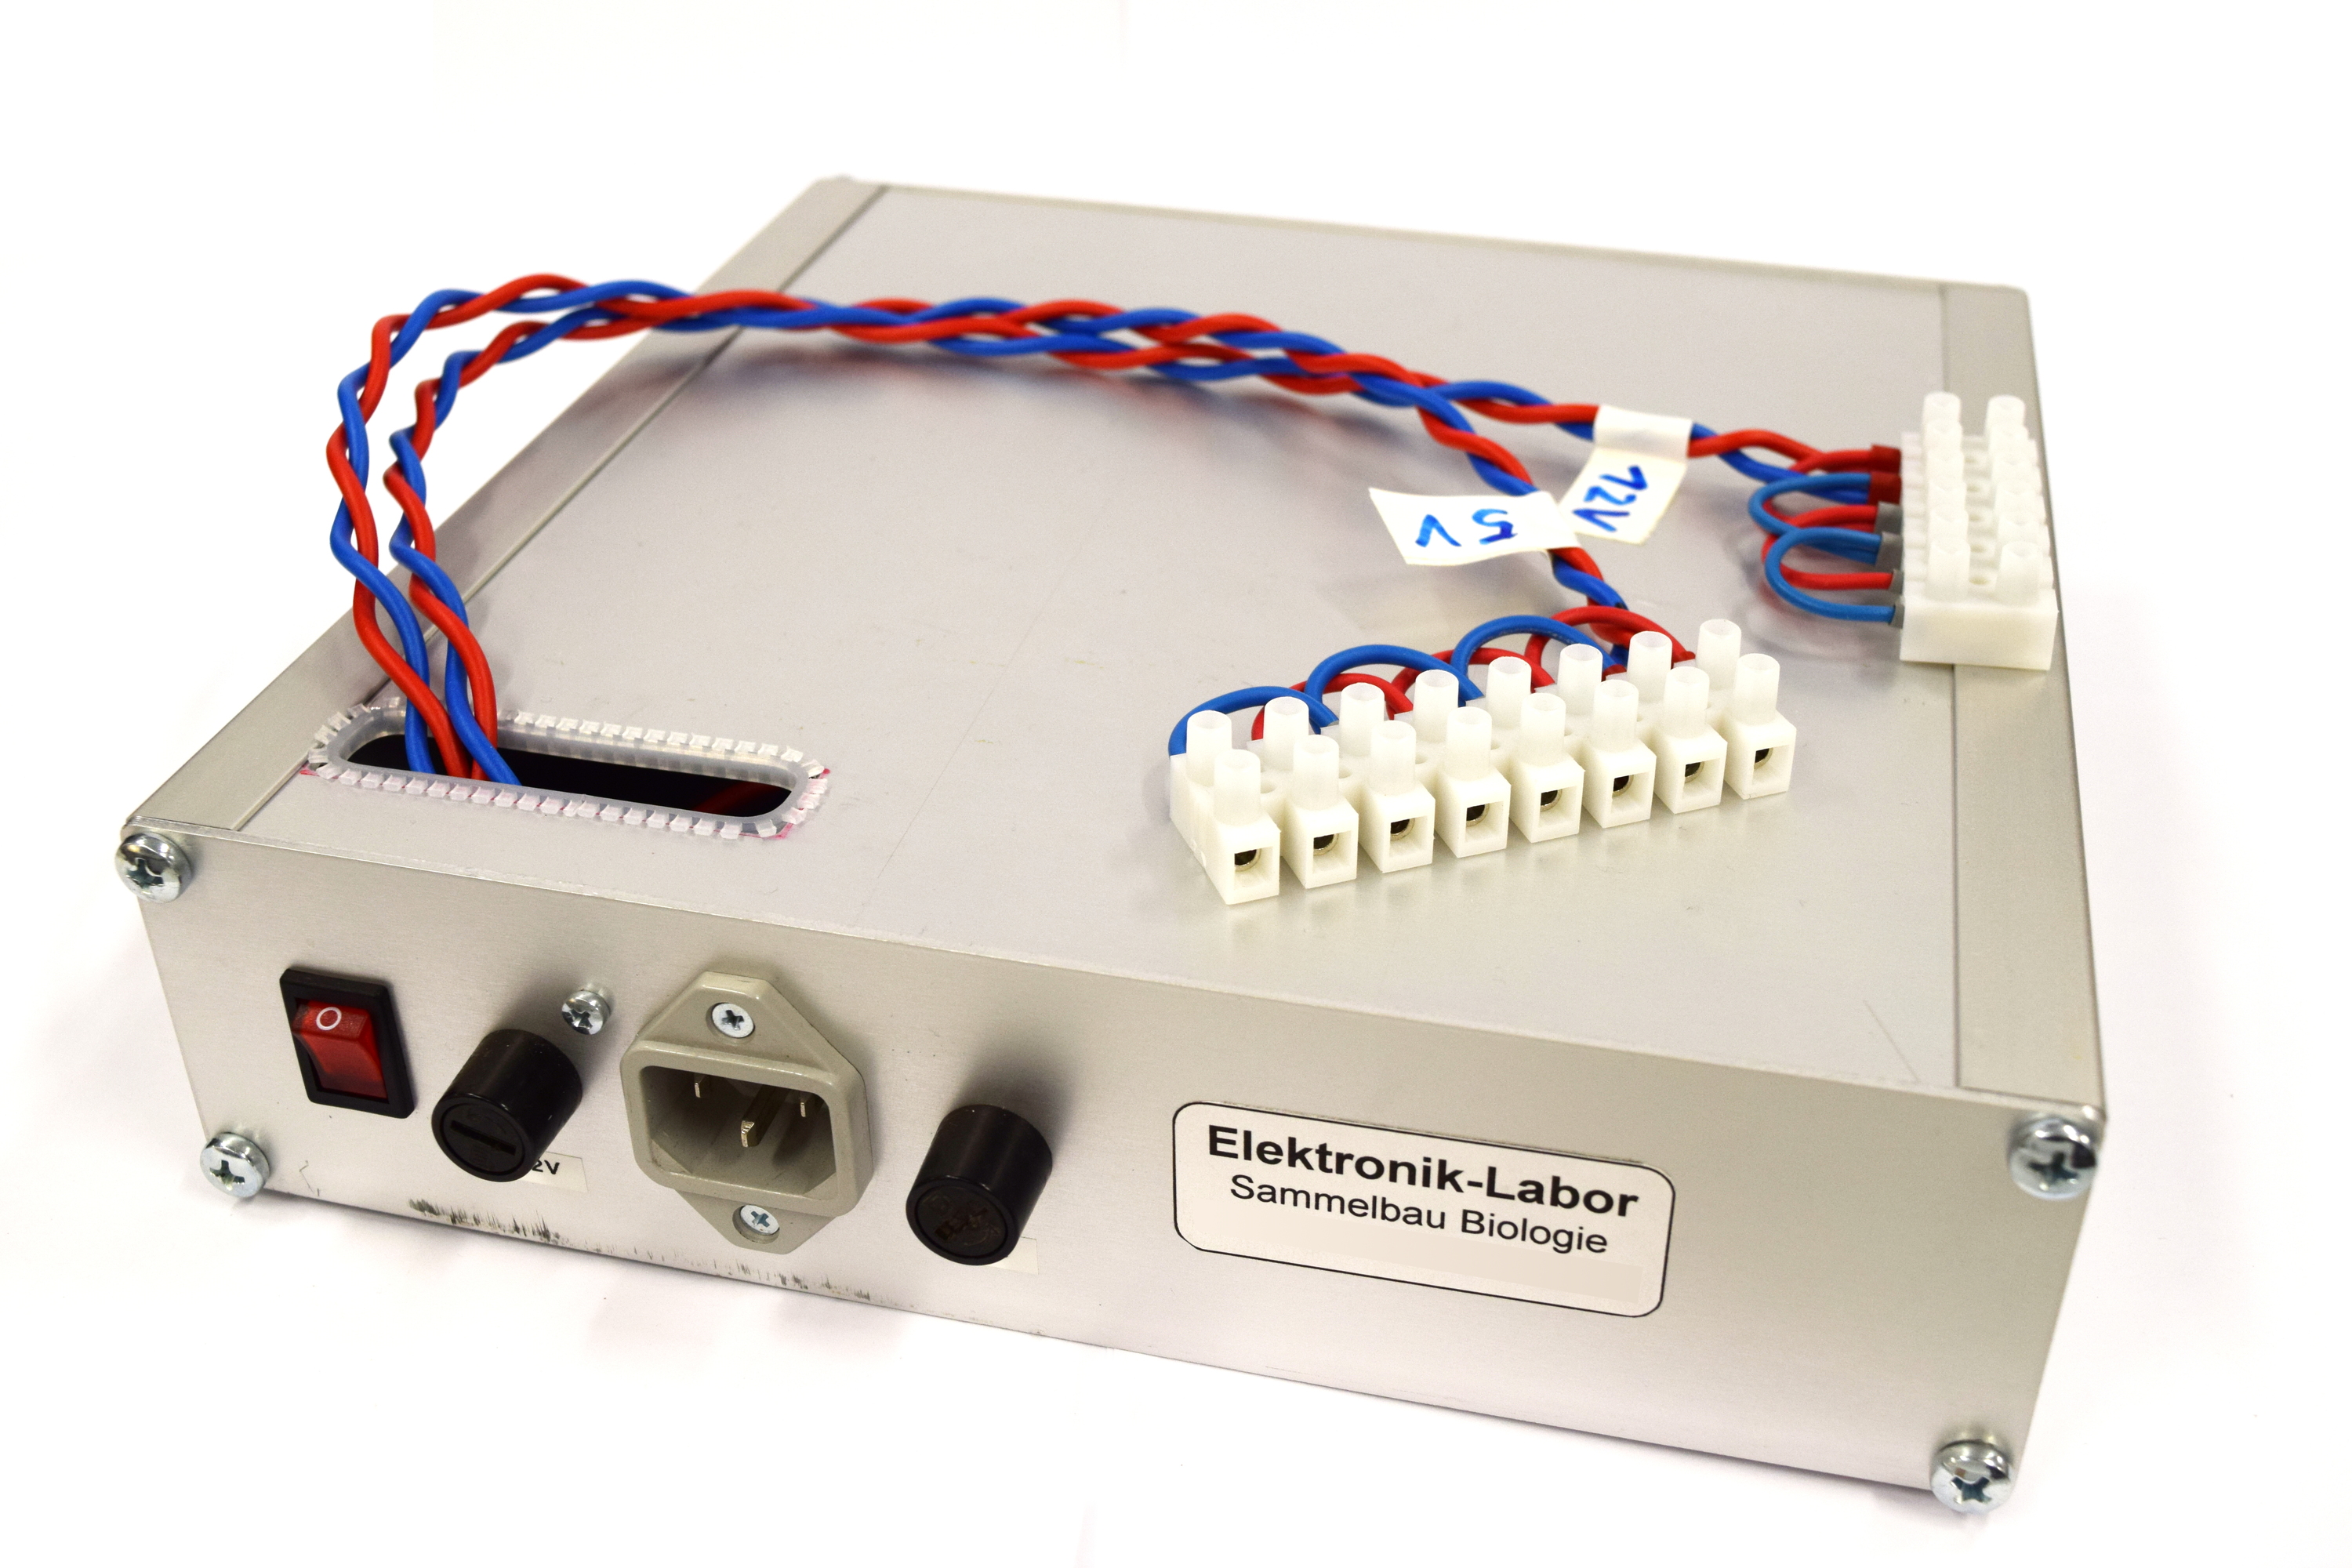 | Setup the power supply and connect all devices to either 5V or 12V.
|
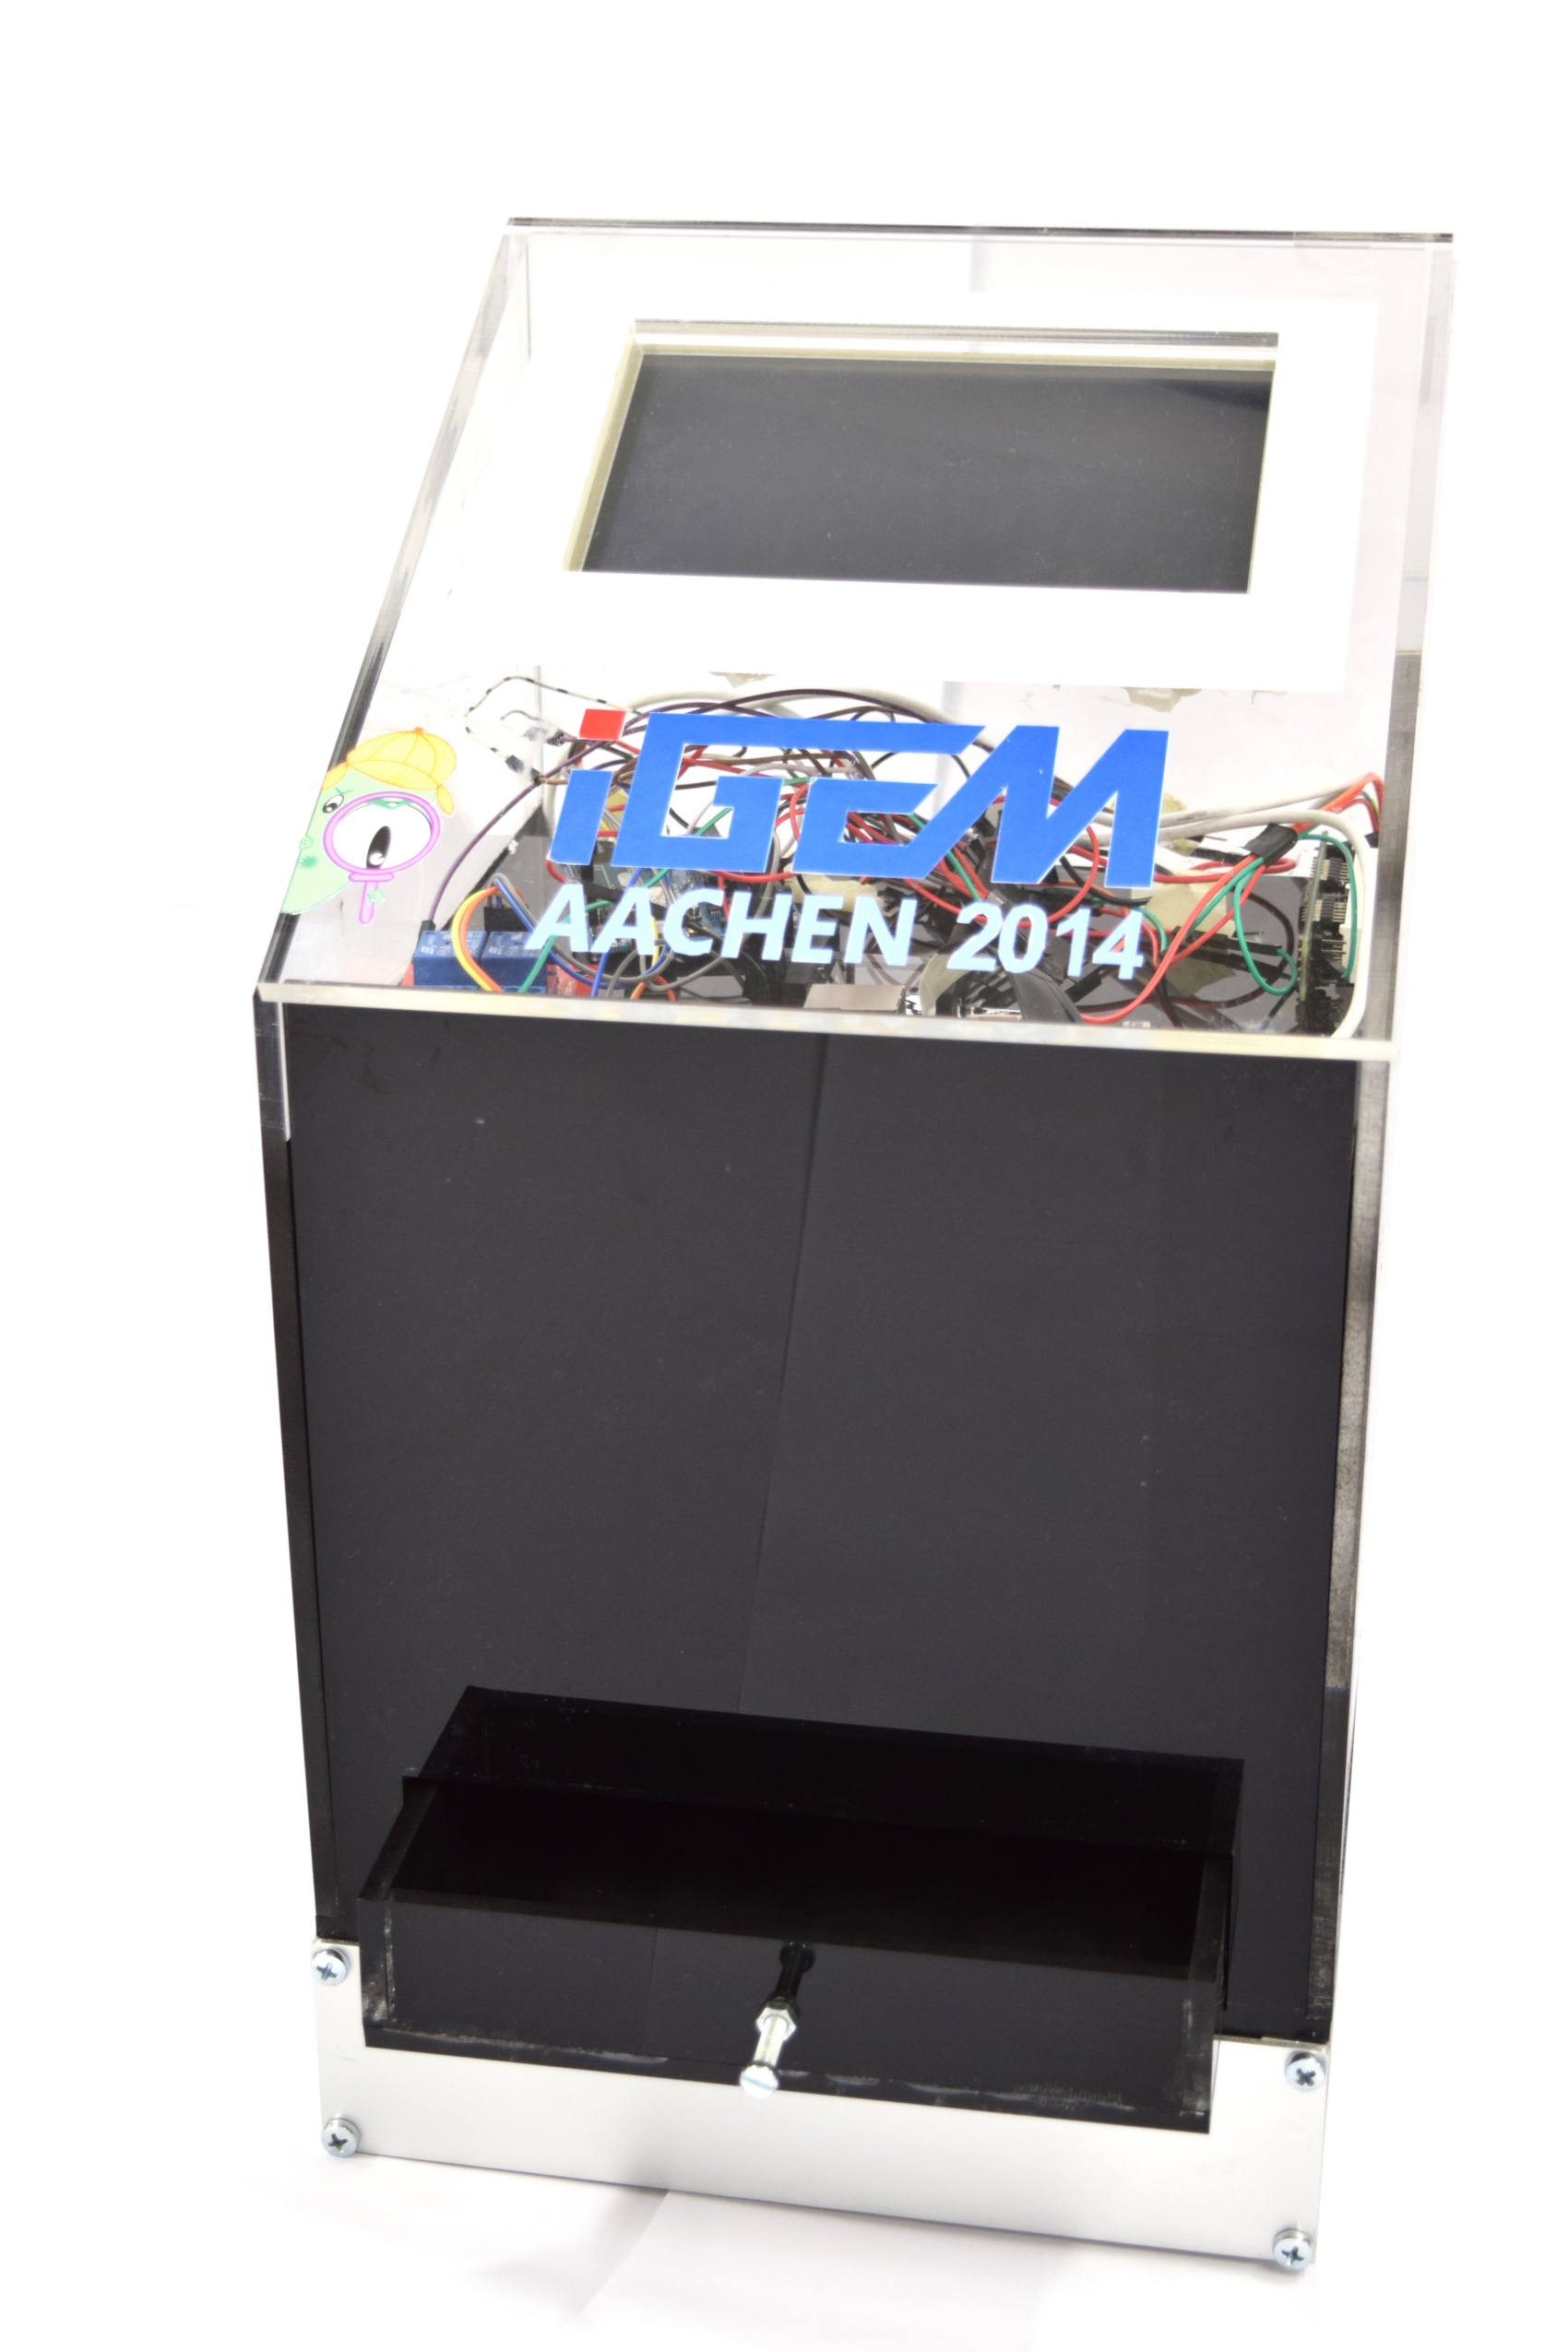 | Mount the device on top of the power supply casing. Add the display and apply some stickers to enjoy your custom-made WatsOn.
|
|