Team:Aachen/Notebook/Engineering/WatsOn
From 2014.igem.org
(→Raspberry Pi - Setup) |
(→DIY: How To Build Your Own WatsOn) |
||
| Line 226: | Line 226: | ||
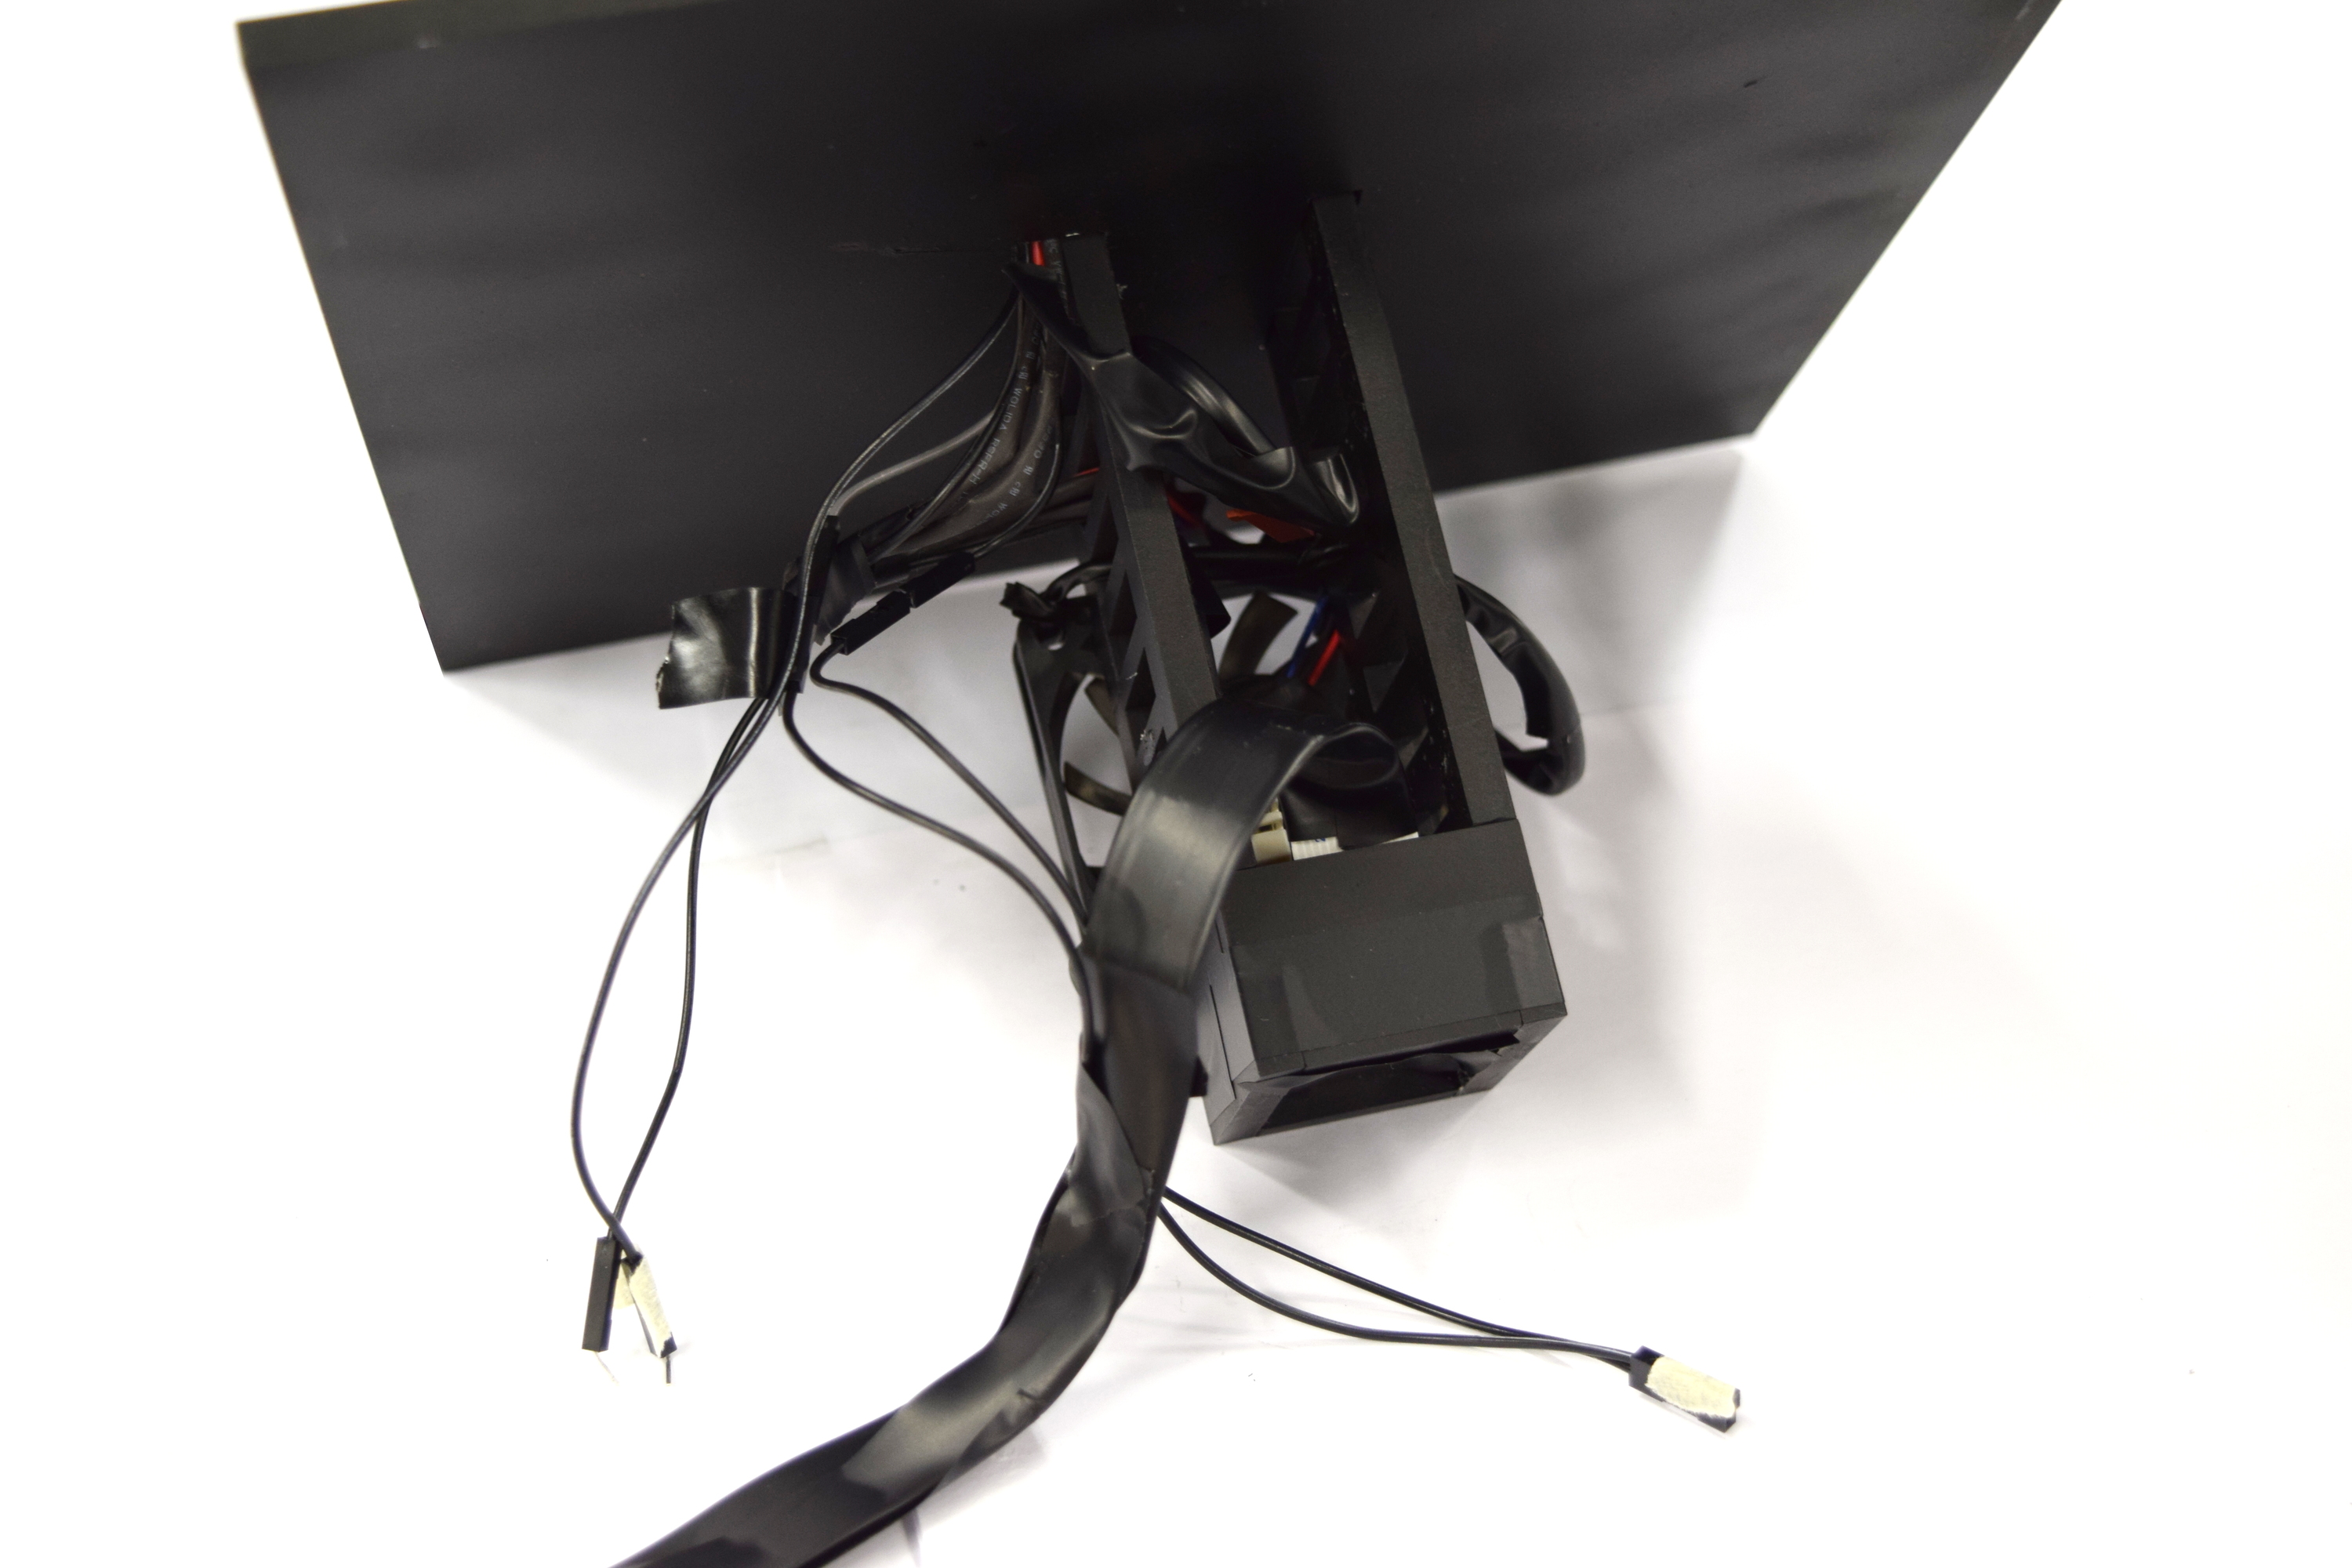
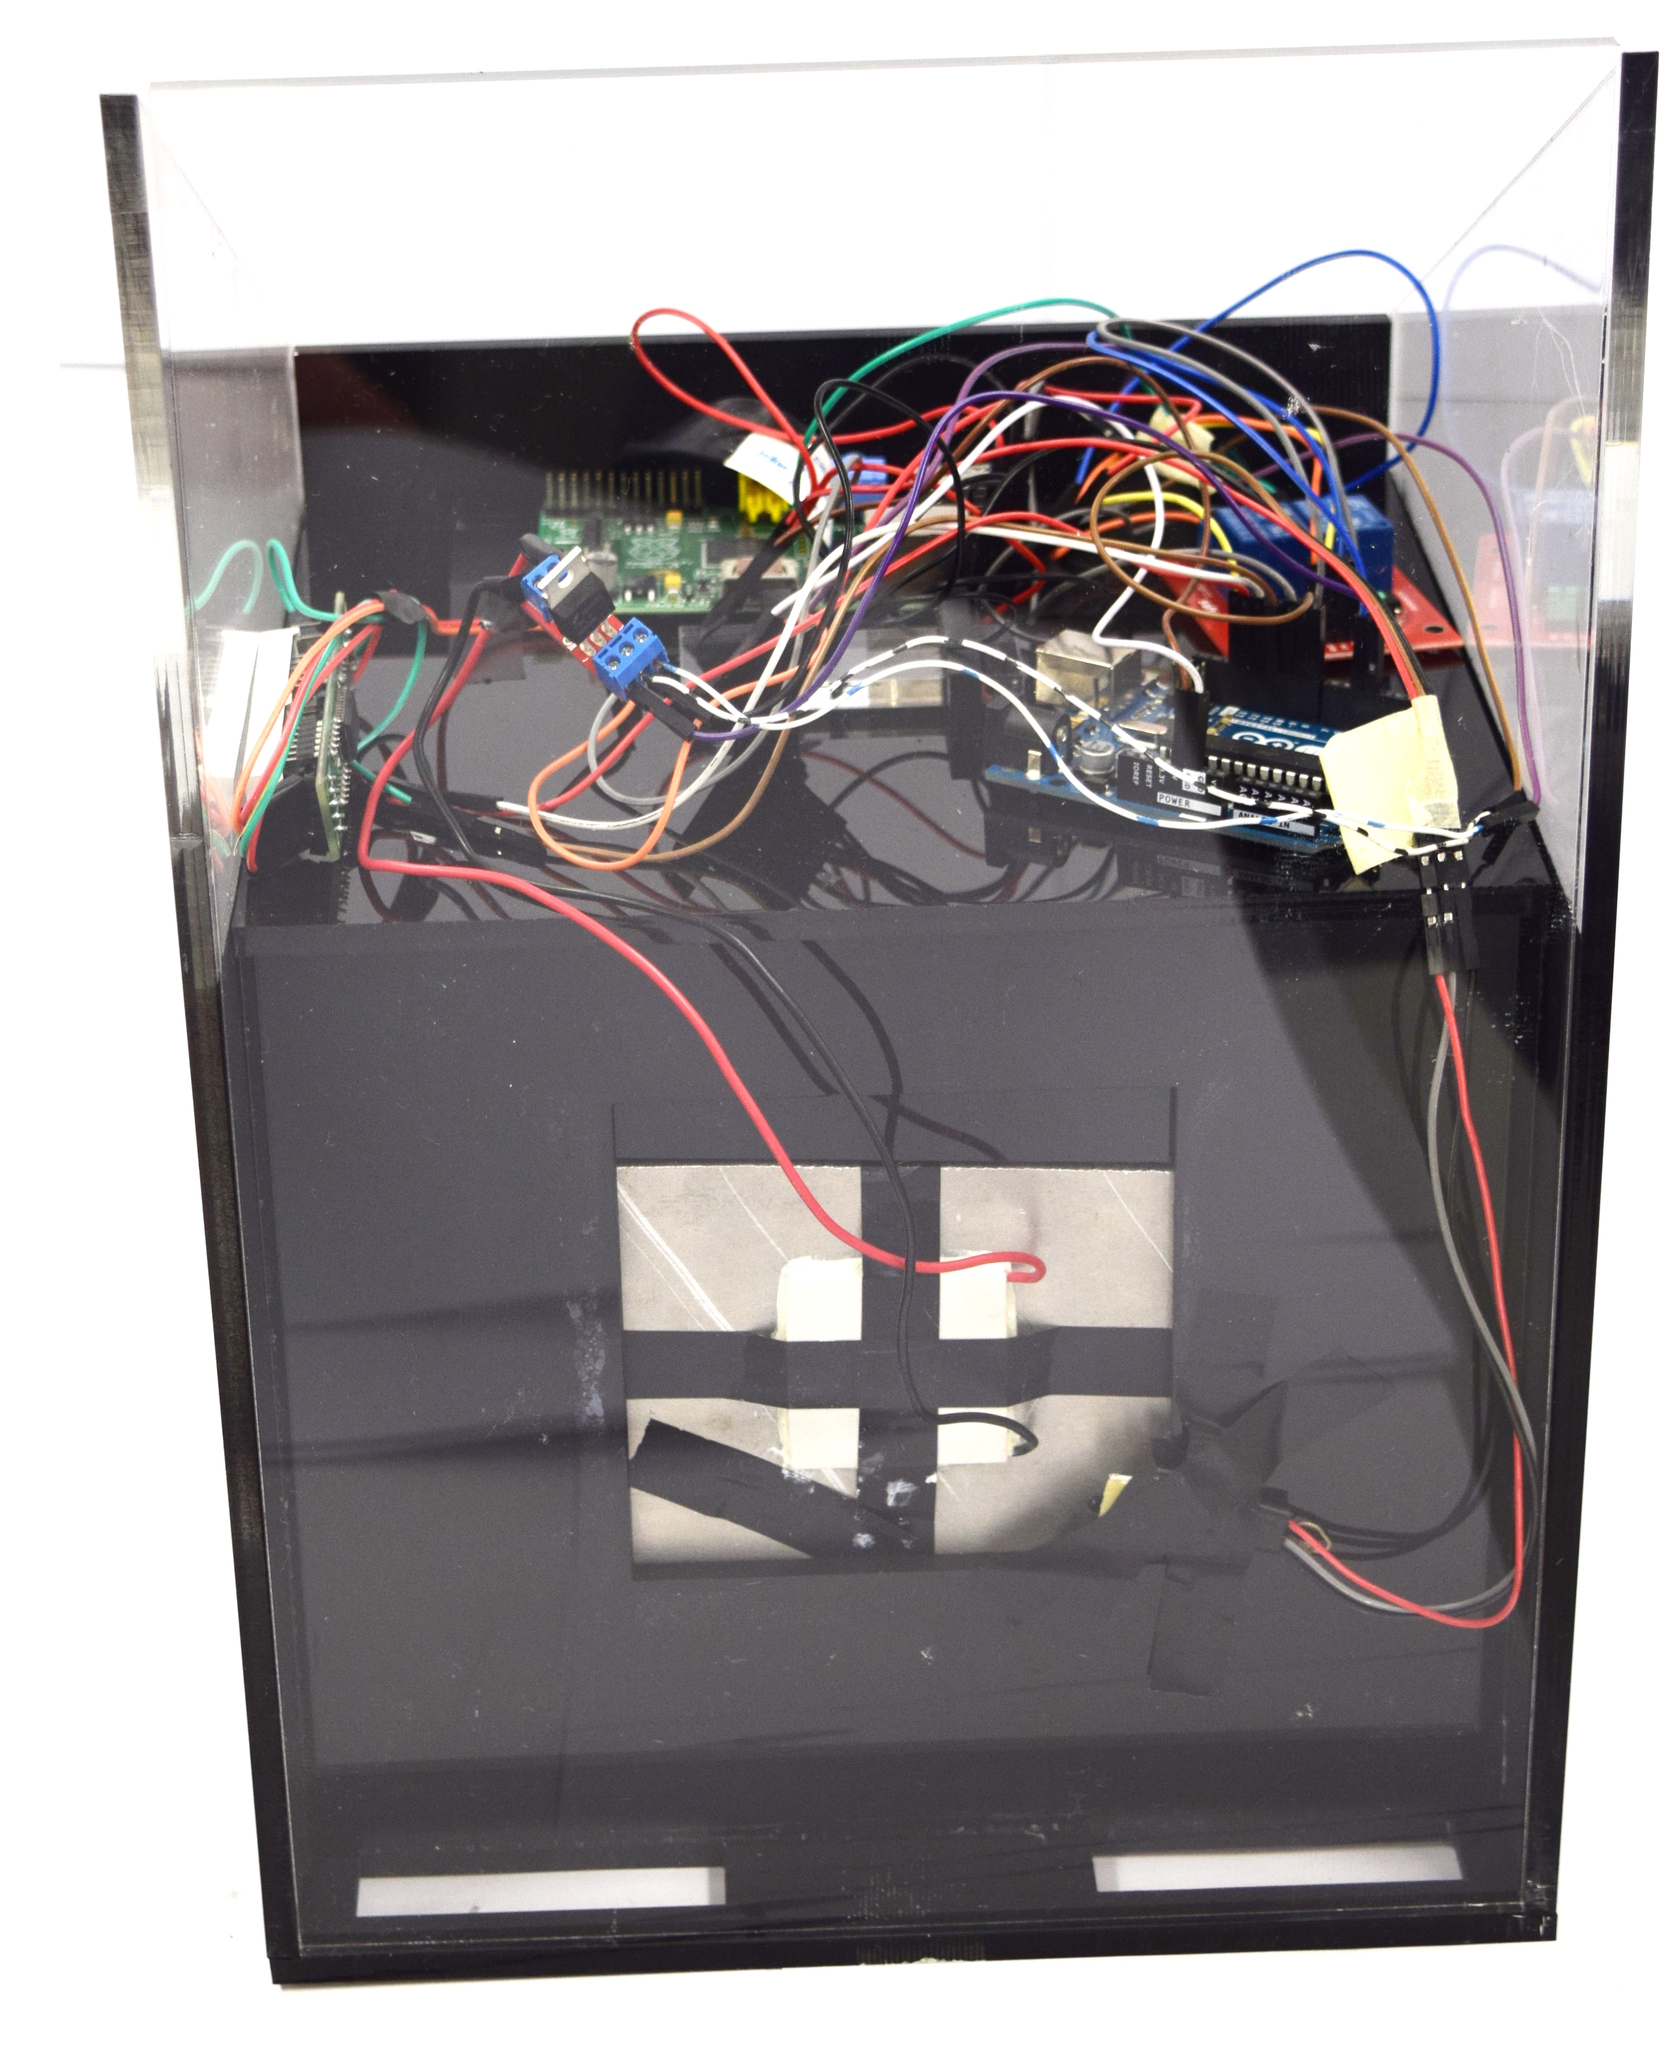
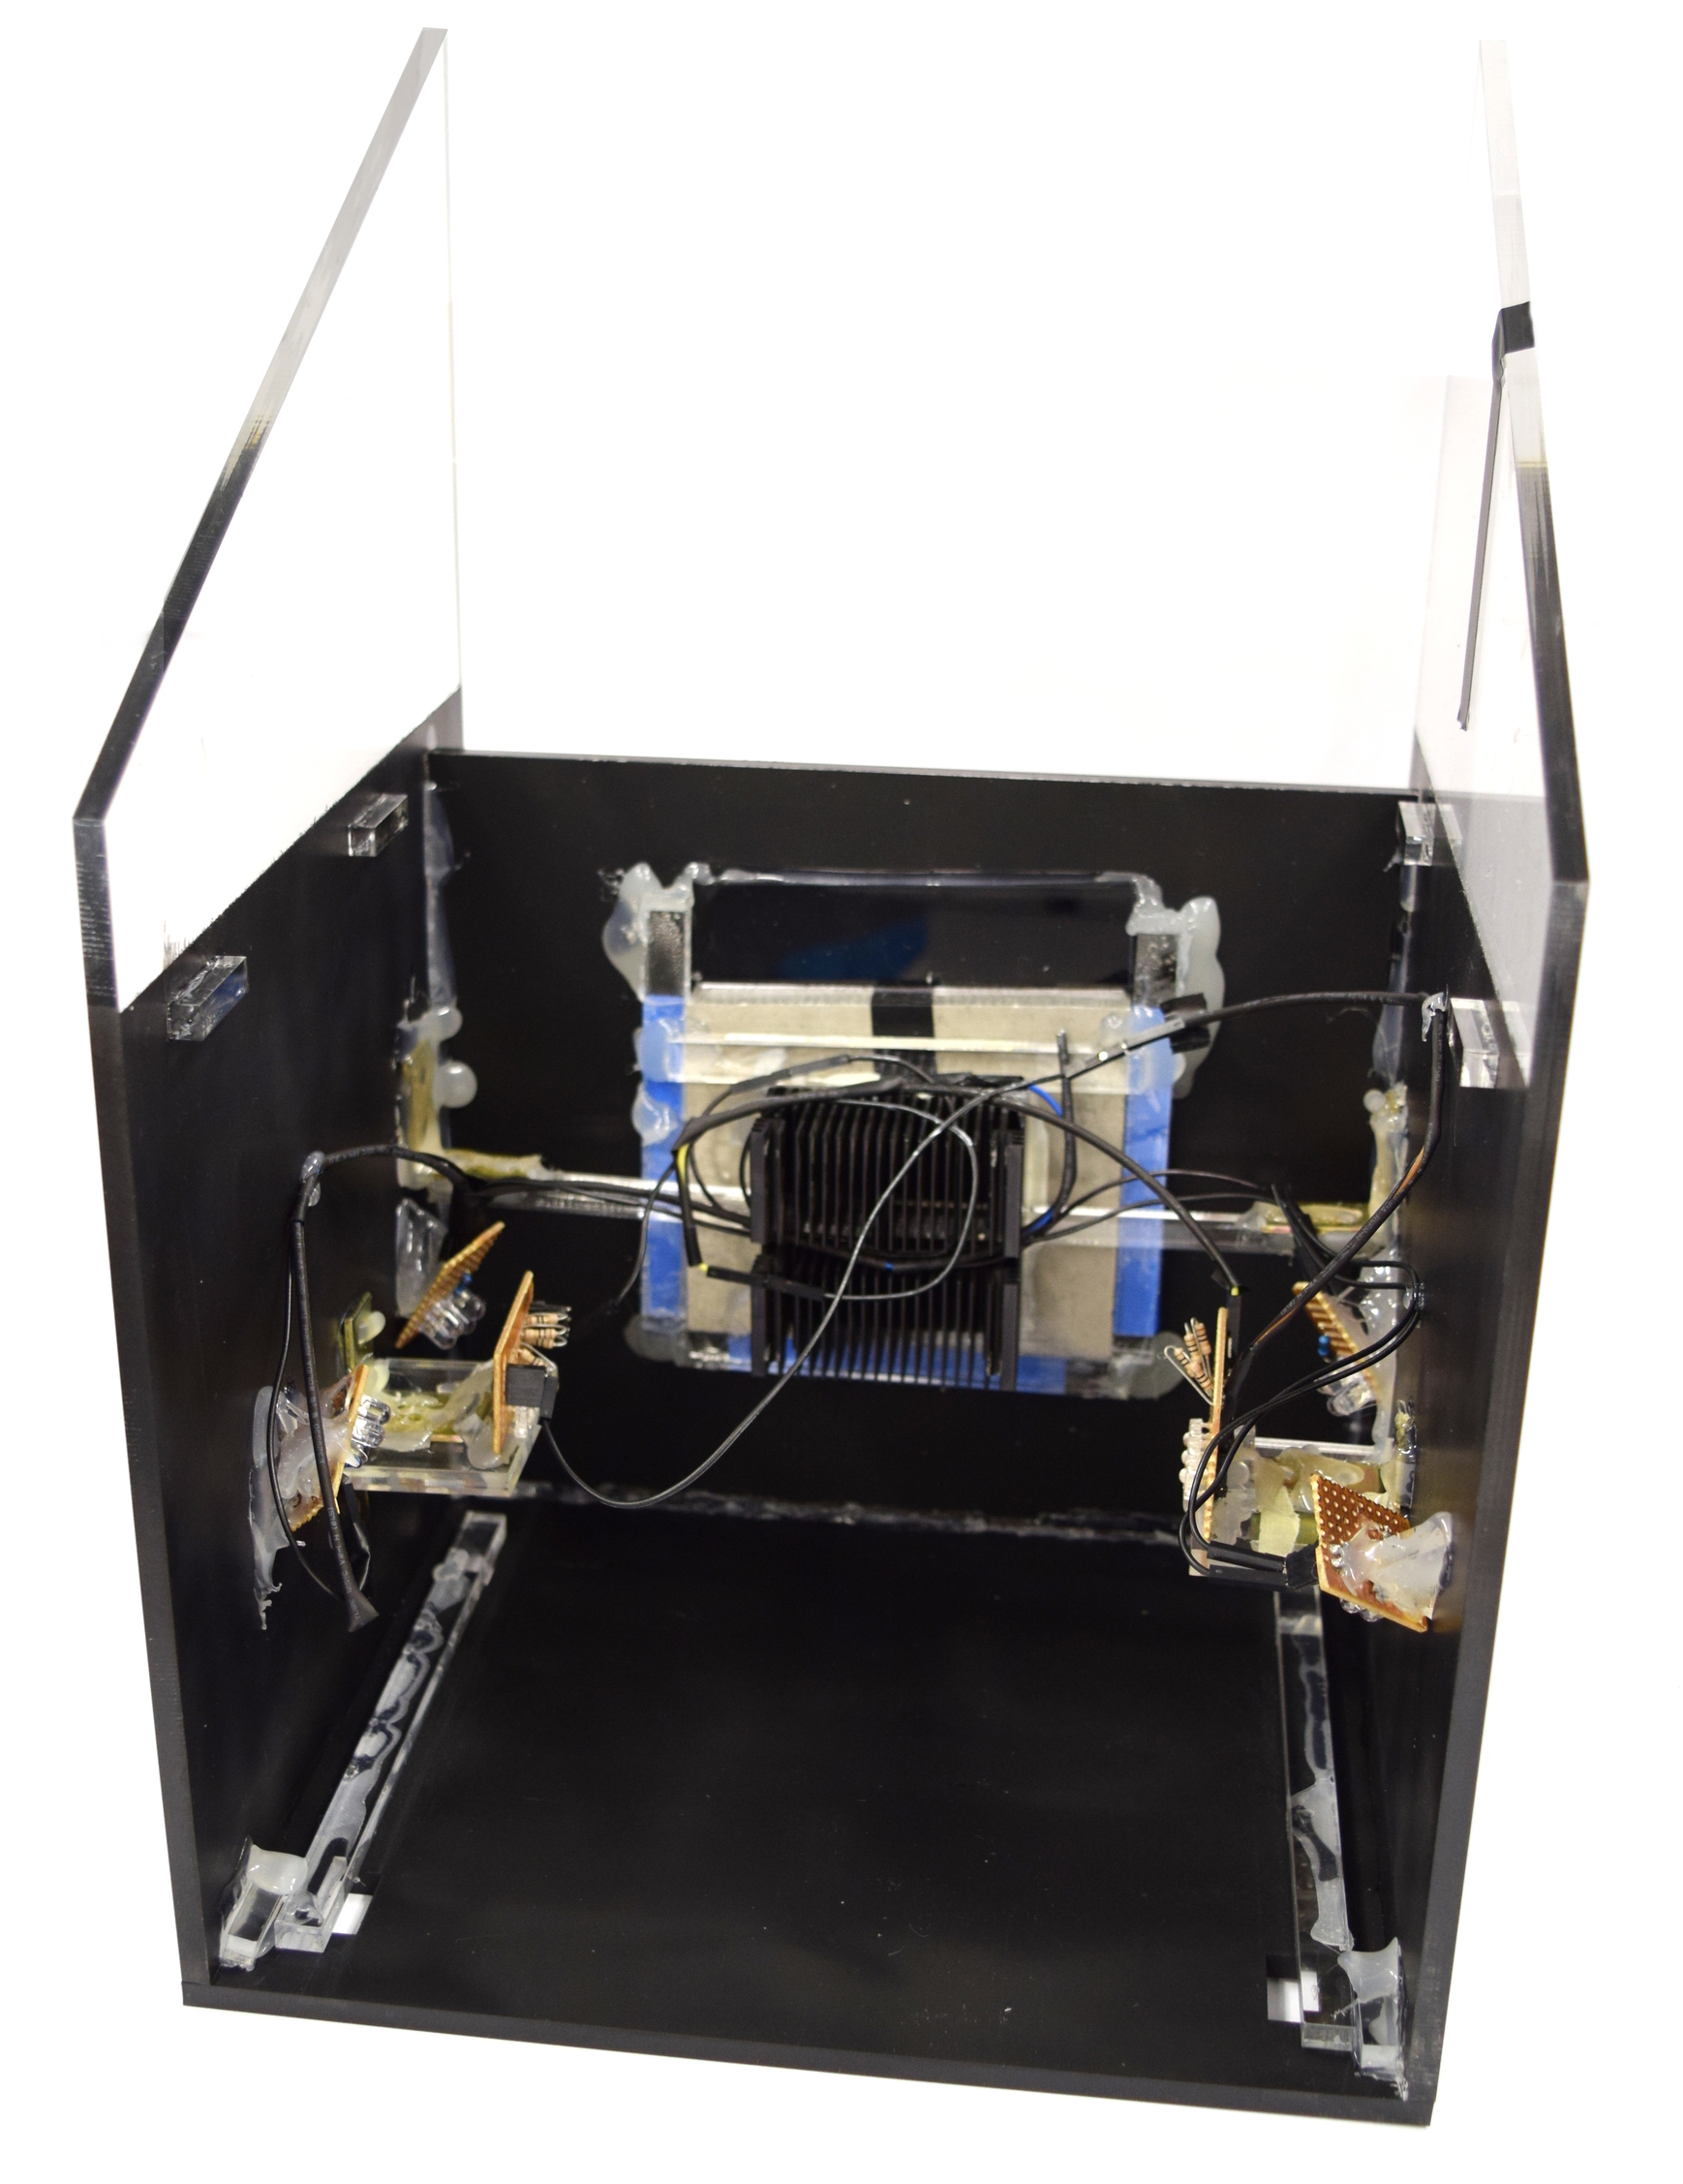
| [[File:Aachen_Device_10.jpg|350px]] || Place the temperature sensor for the aluminium block temperature directly on the block and put the back panel in front of it. | | [[File:Aachen_Device_10.jpg|350px]] || Place the temperature sensor for the aluminium block temperature directly on the block and put the back panel in front of it. | ||
|-style="border-top: 2px #808080 solid;" | |-style="border-top: 2px #808080 solid;" | ||
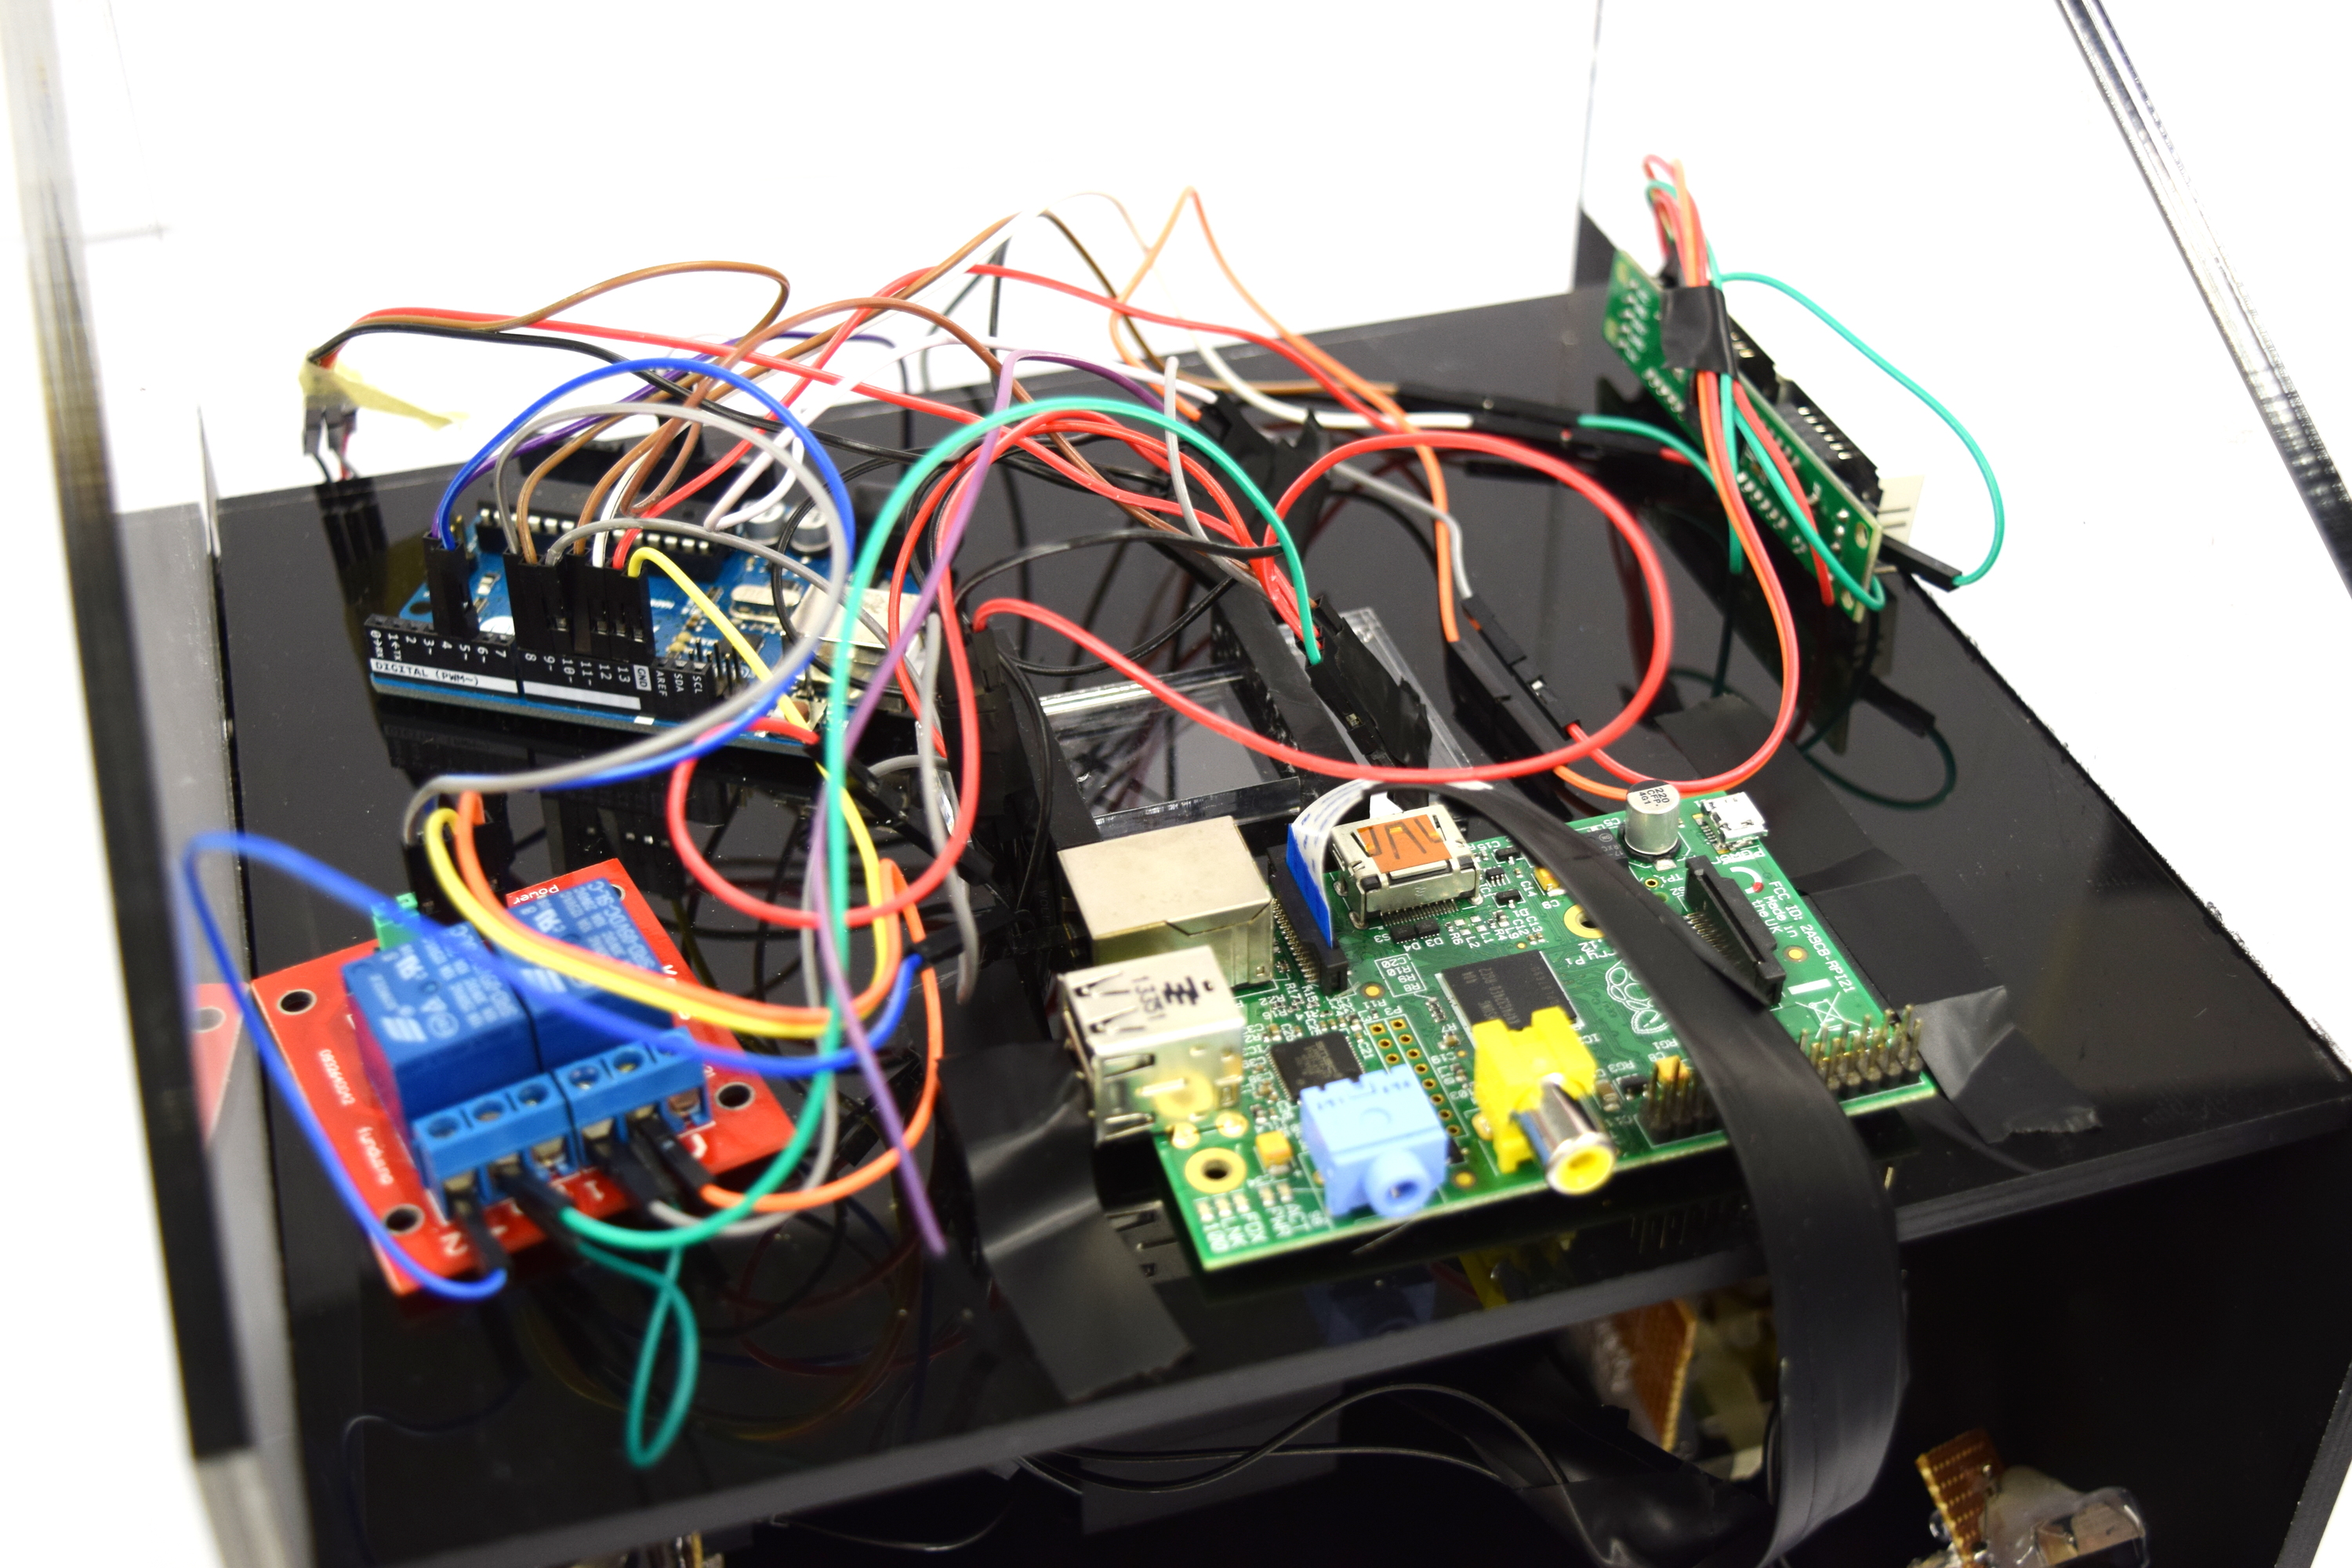
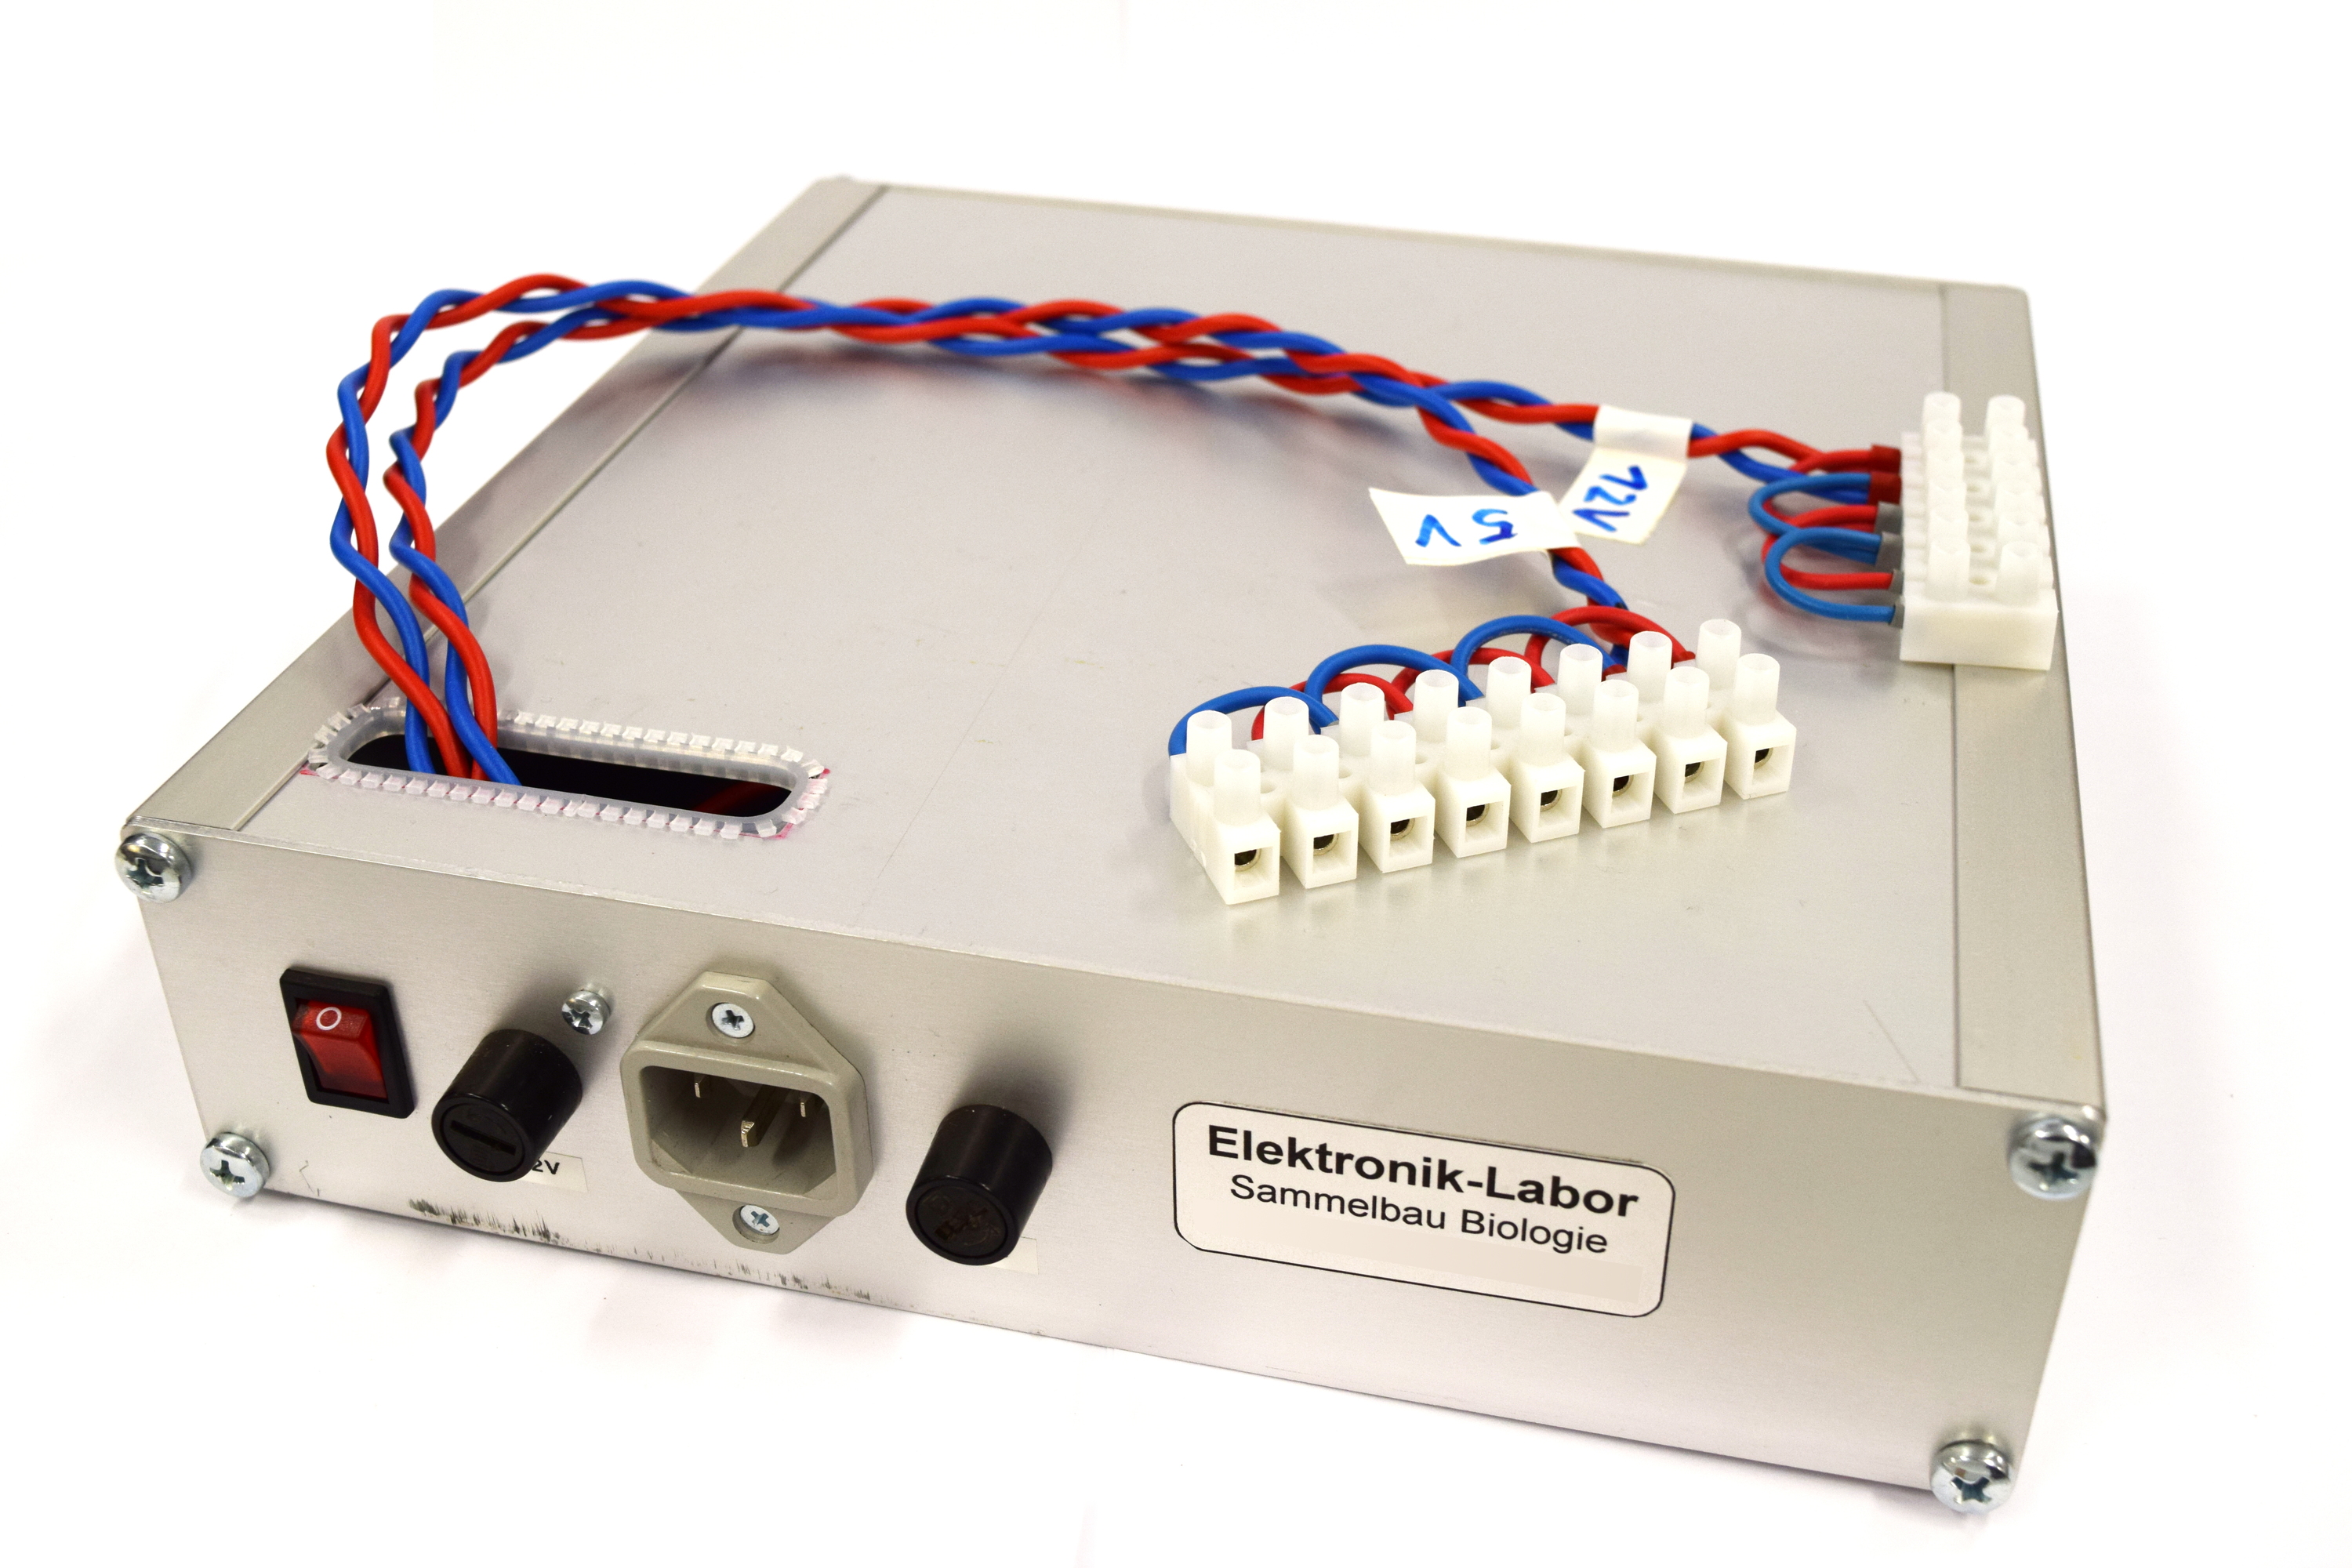
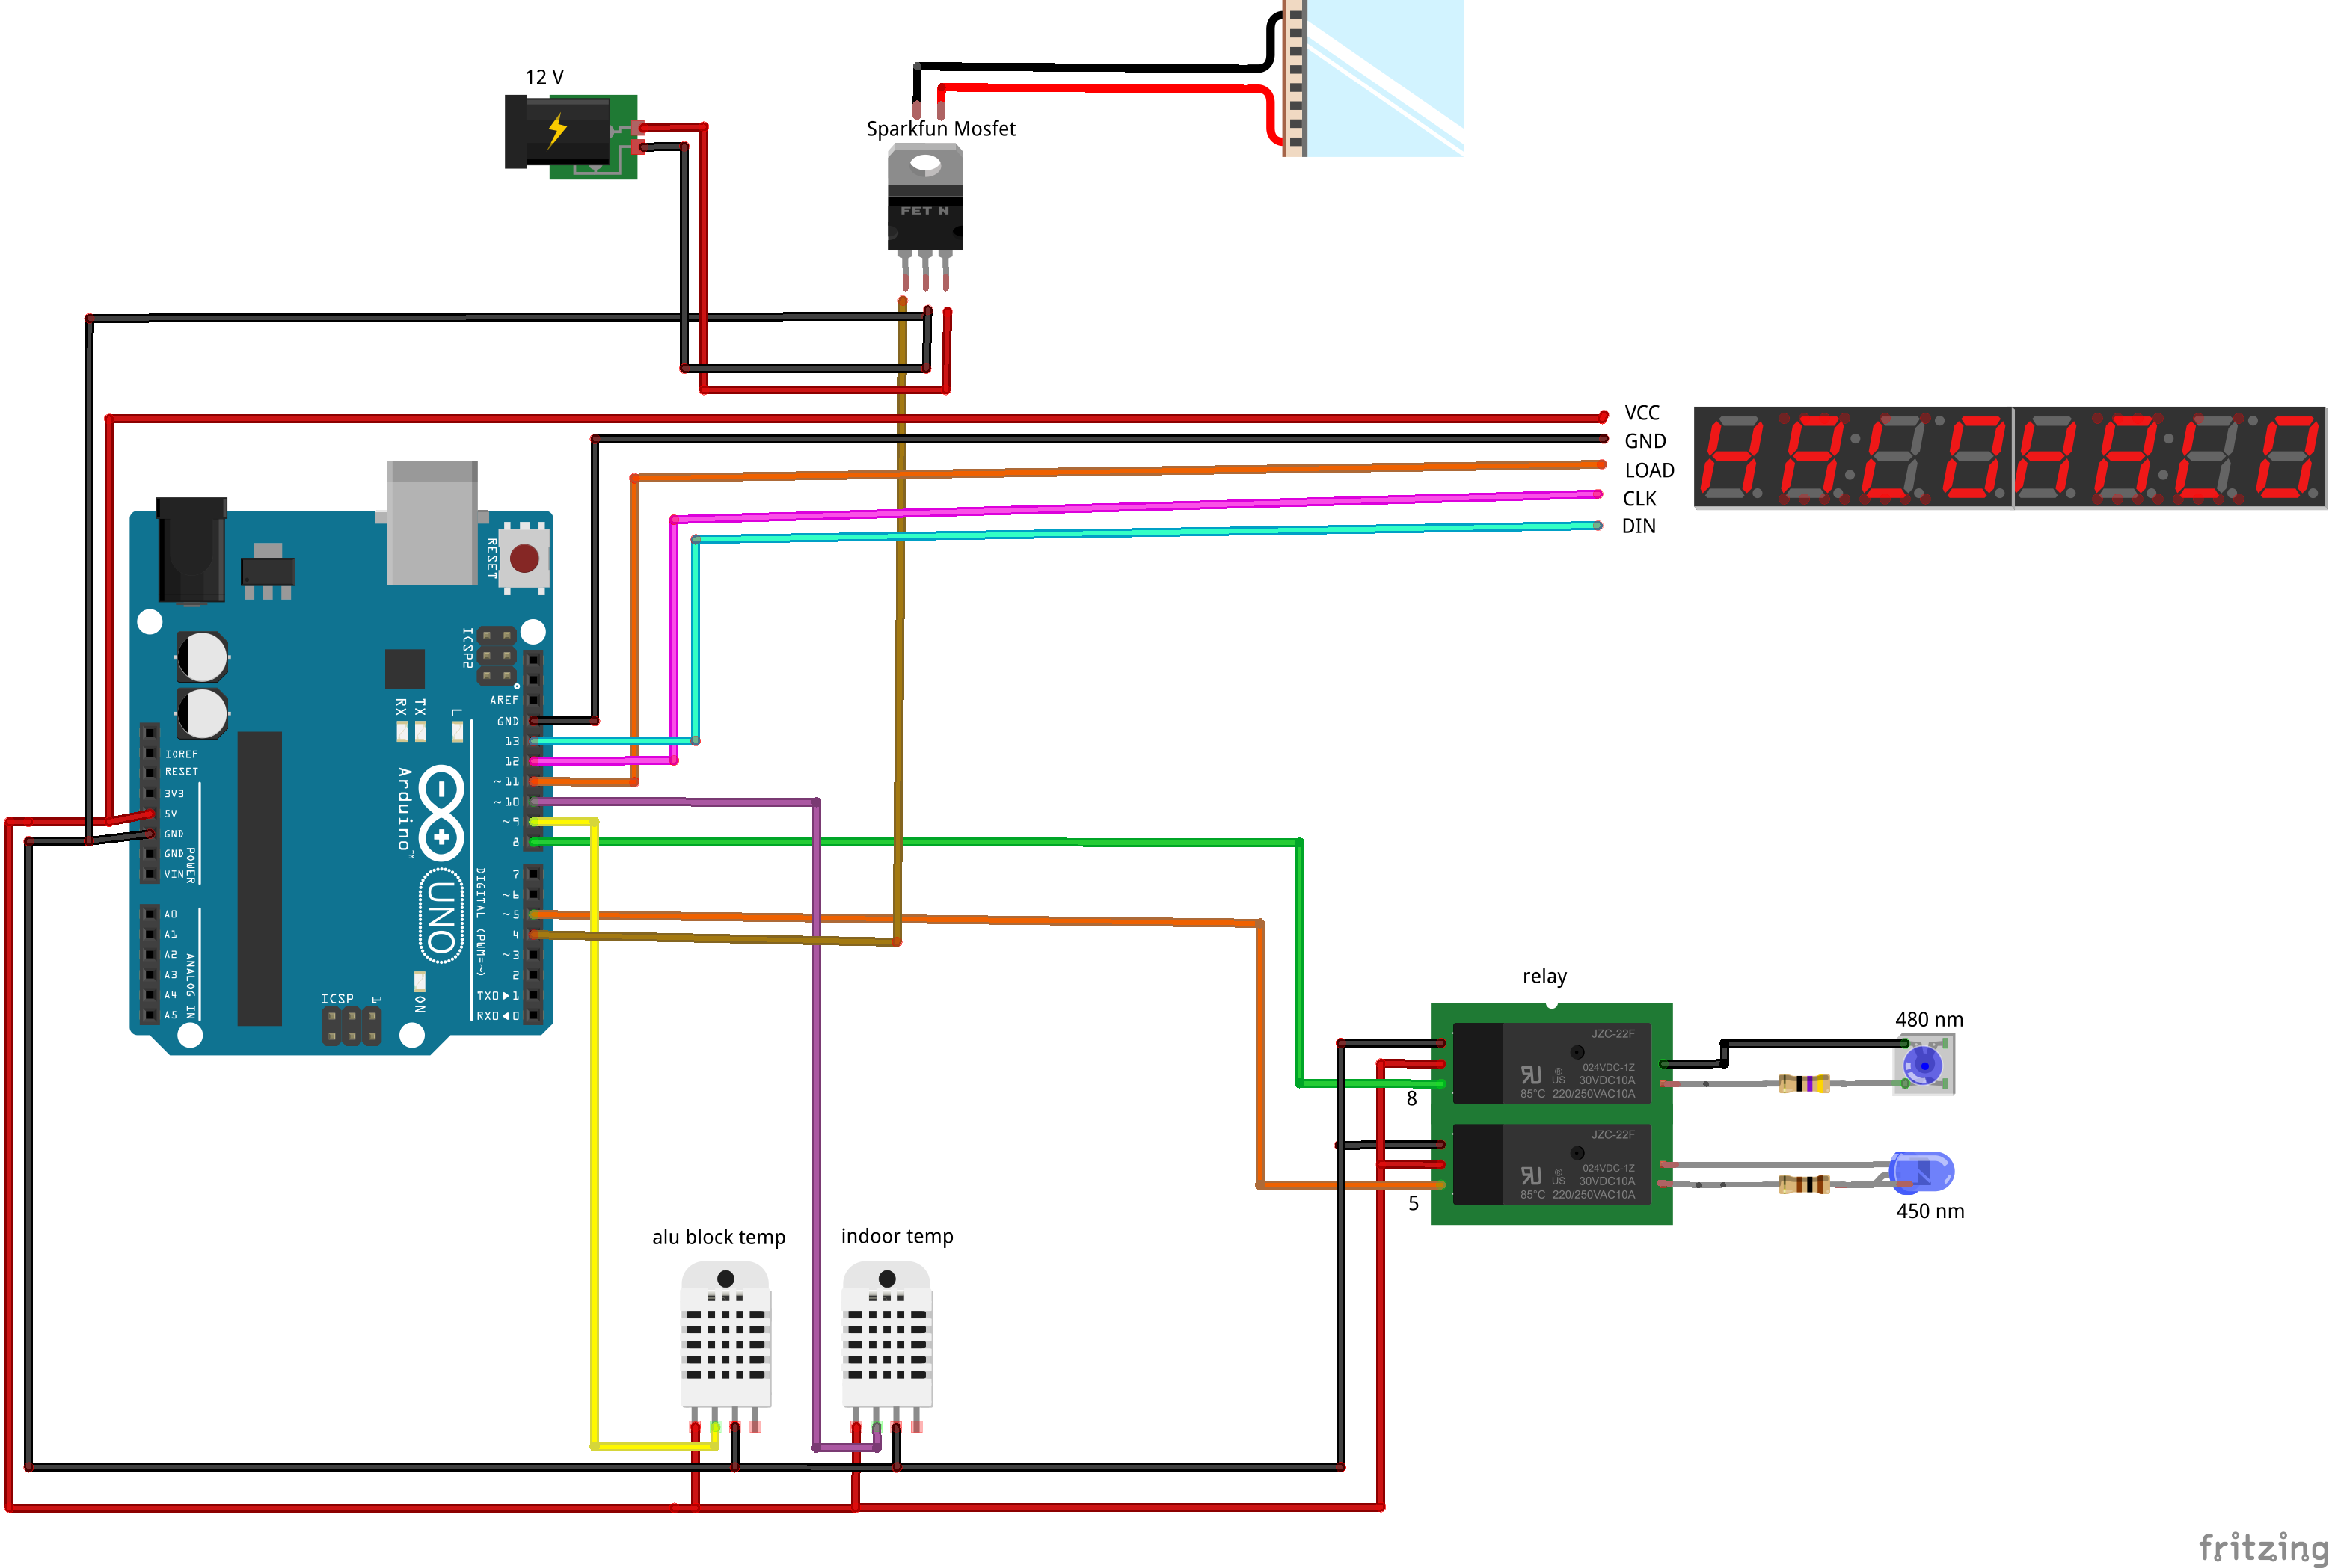
| - | | [[File:Aachen_Device_6.jpg|350px]] || Setup the power supply and connect all devices to either 5V or 12V. Plug the USB-Hub connector into the Raspberry. If you use the GUI locally on the device a mouse and a keyboard need to be attached to the USB-Hub to navigate on the user interface. Follow the steps described in the section ‘Raspberry Pi - Setup’[https://2014.igem.org/Team:Aachen/Notebook/Engineering/WatsOn#watsondiy]. | + | | [[File:Aachen_Device_6.jpg|350px]] || Setup the power supply<sup>[https://2014.igem.org/Team:Aachen/Notebook/Engineering/WatsOn#fn1 1]</sup> and connect all devices to either 5V or 12V. Plug the USB-Hub connector into the Raspberry. If you use the GUI locally on the device a mouse and a keyboard need to be attached to the USB-Hub to navigate on the user interface. Follow the steps described in the section ‘Raspberry Pi - Setup’[https://2014.igem.org/Team:Aachen/Notebook/Engineering/WatsOn#watsondiy]. |
|-style="border-top: 2px #808080 solid;" | |-style="border-top: 2px #808080 solid;" | ||
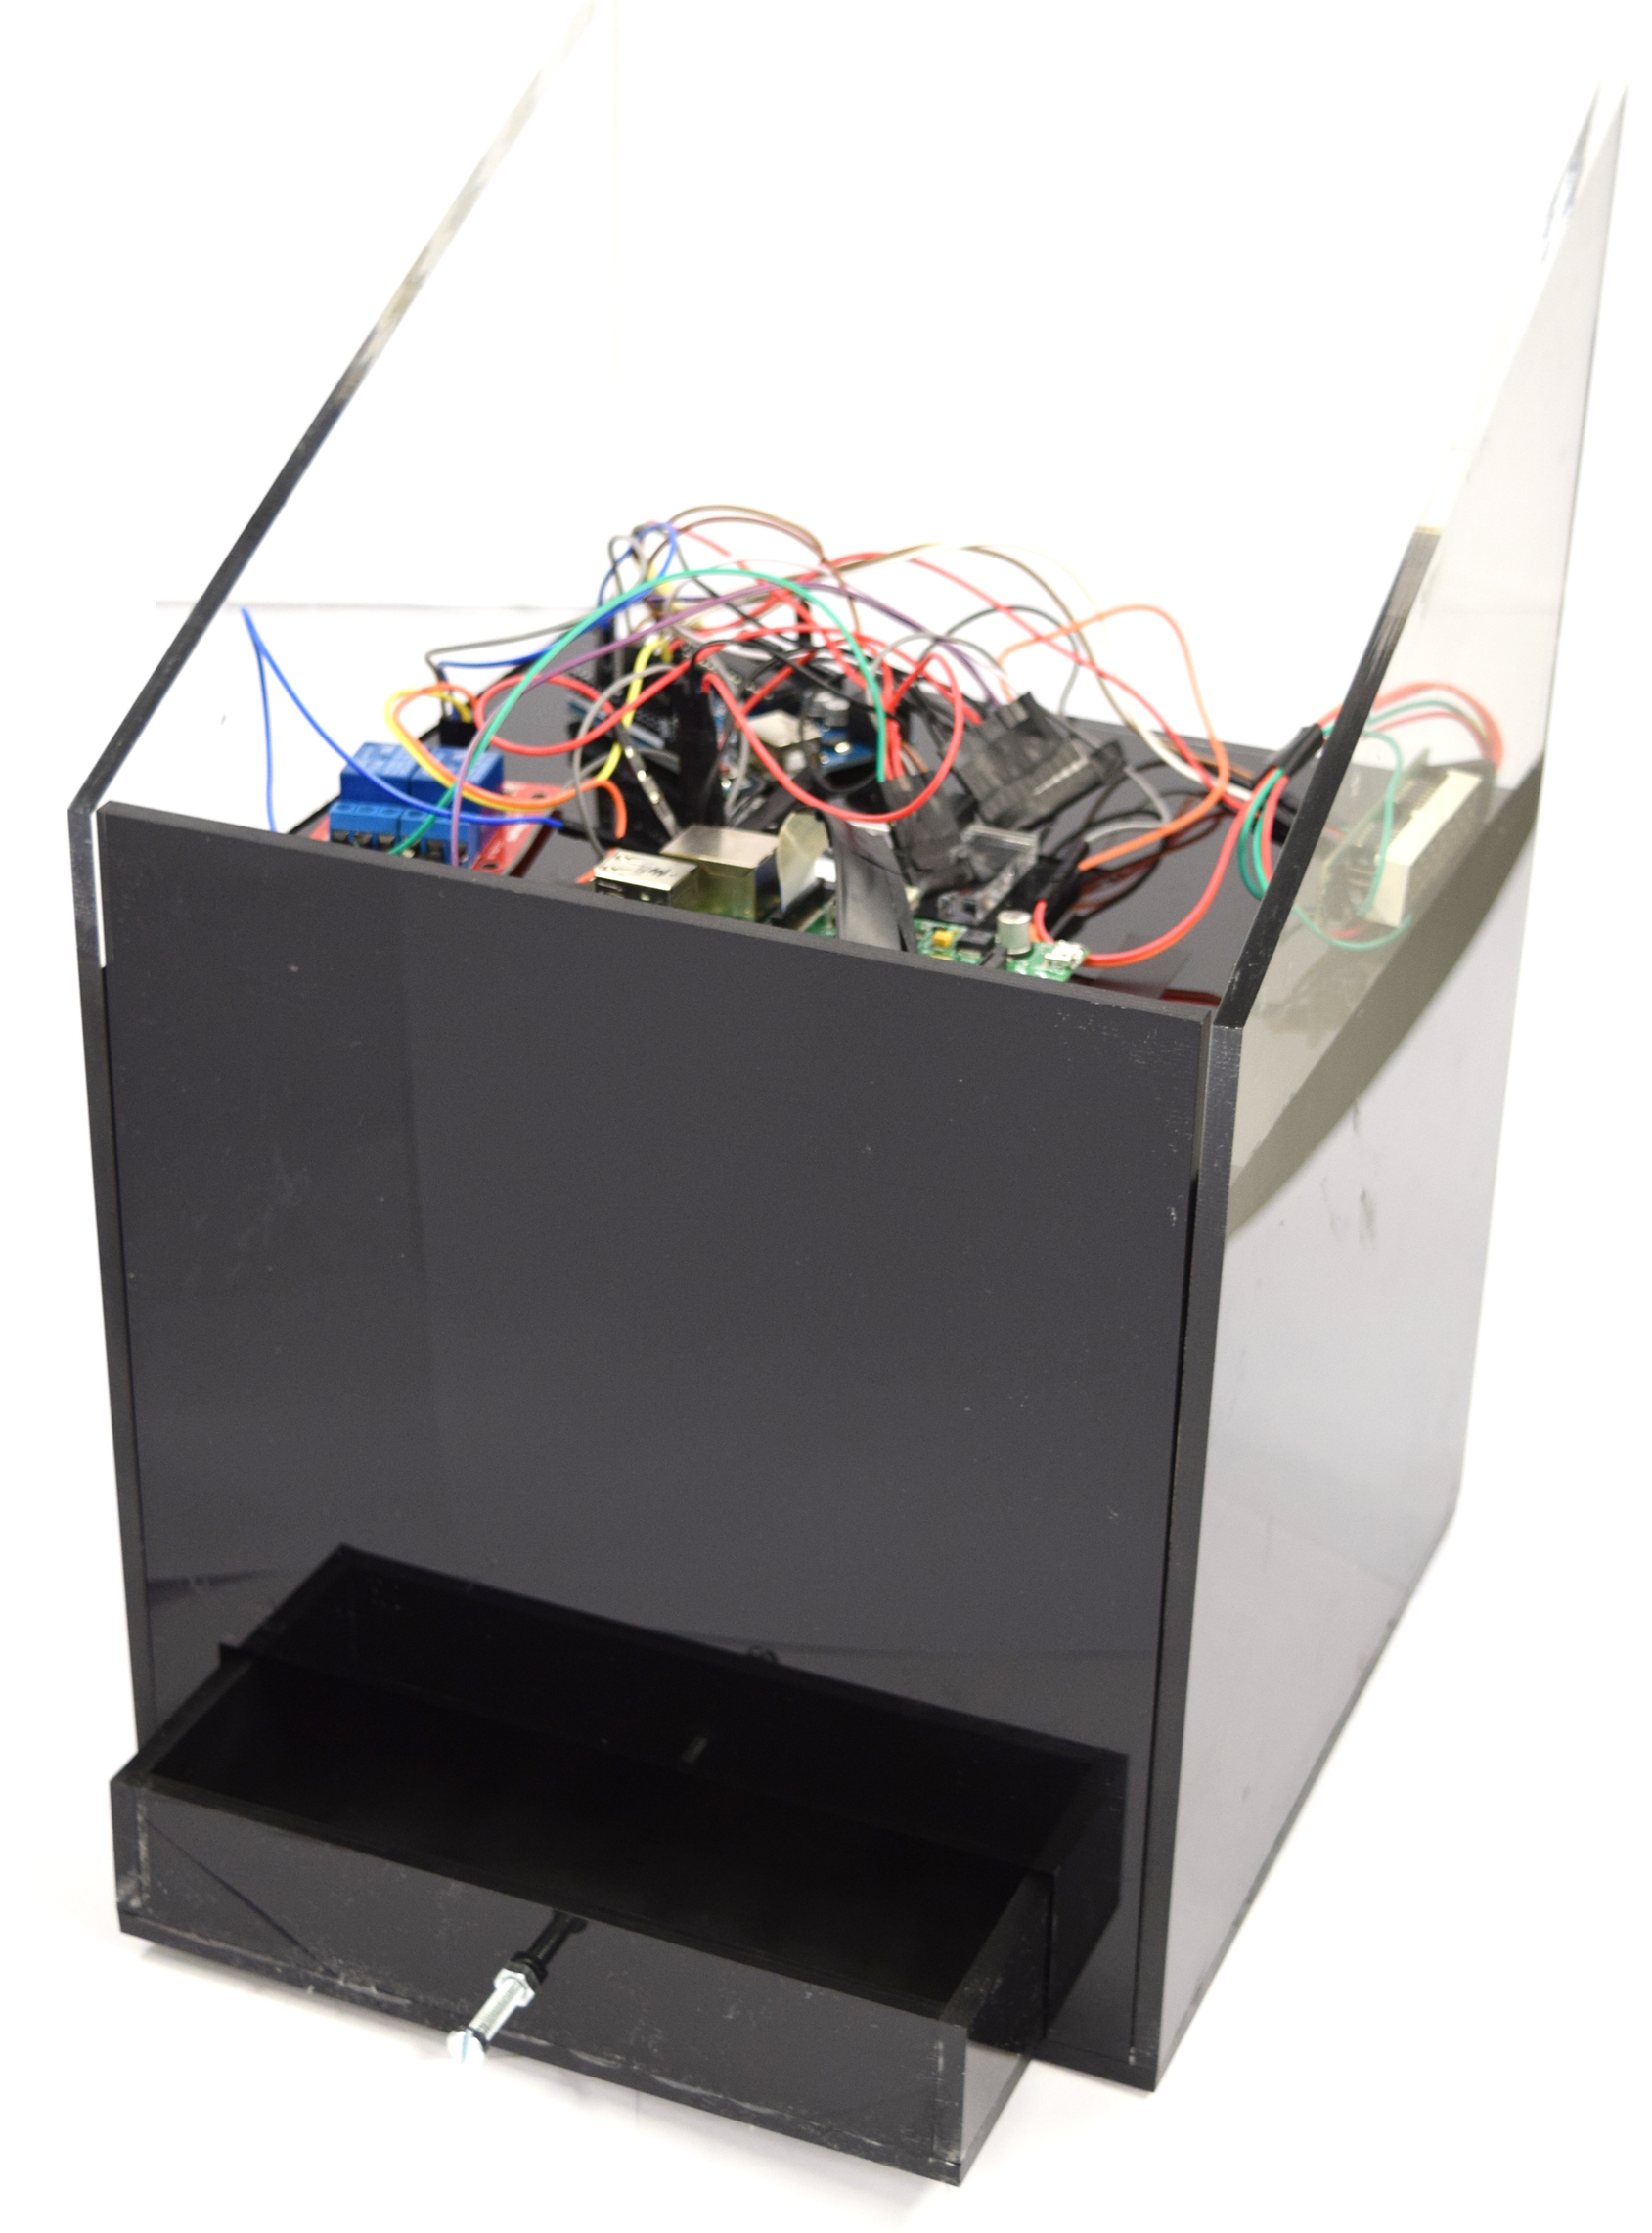
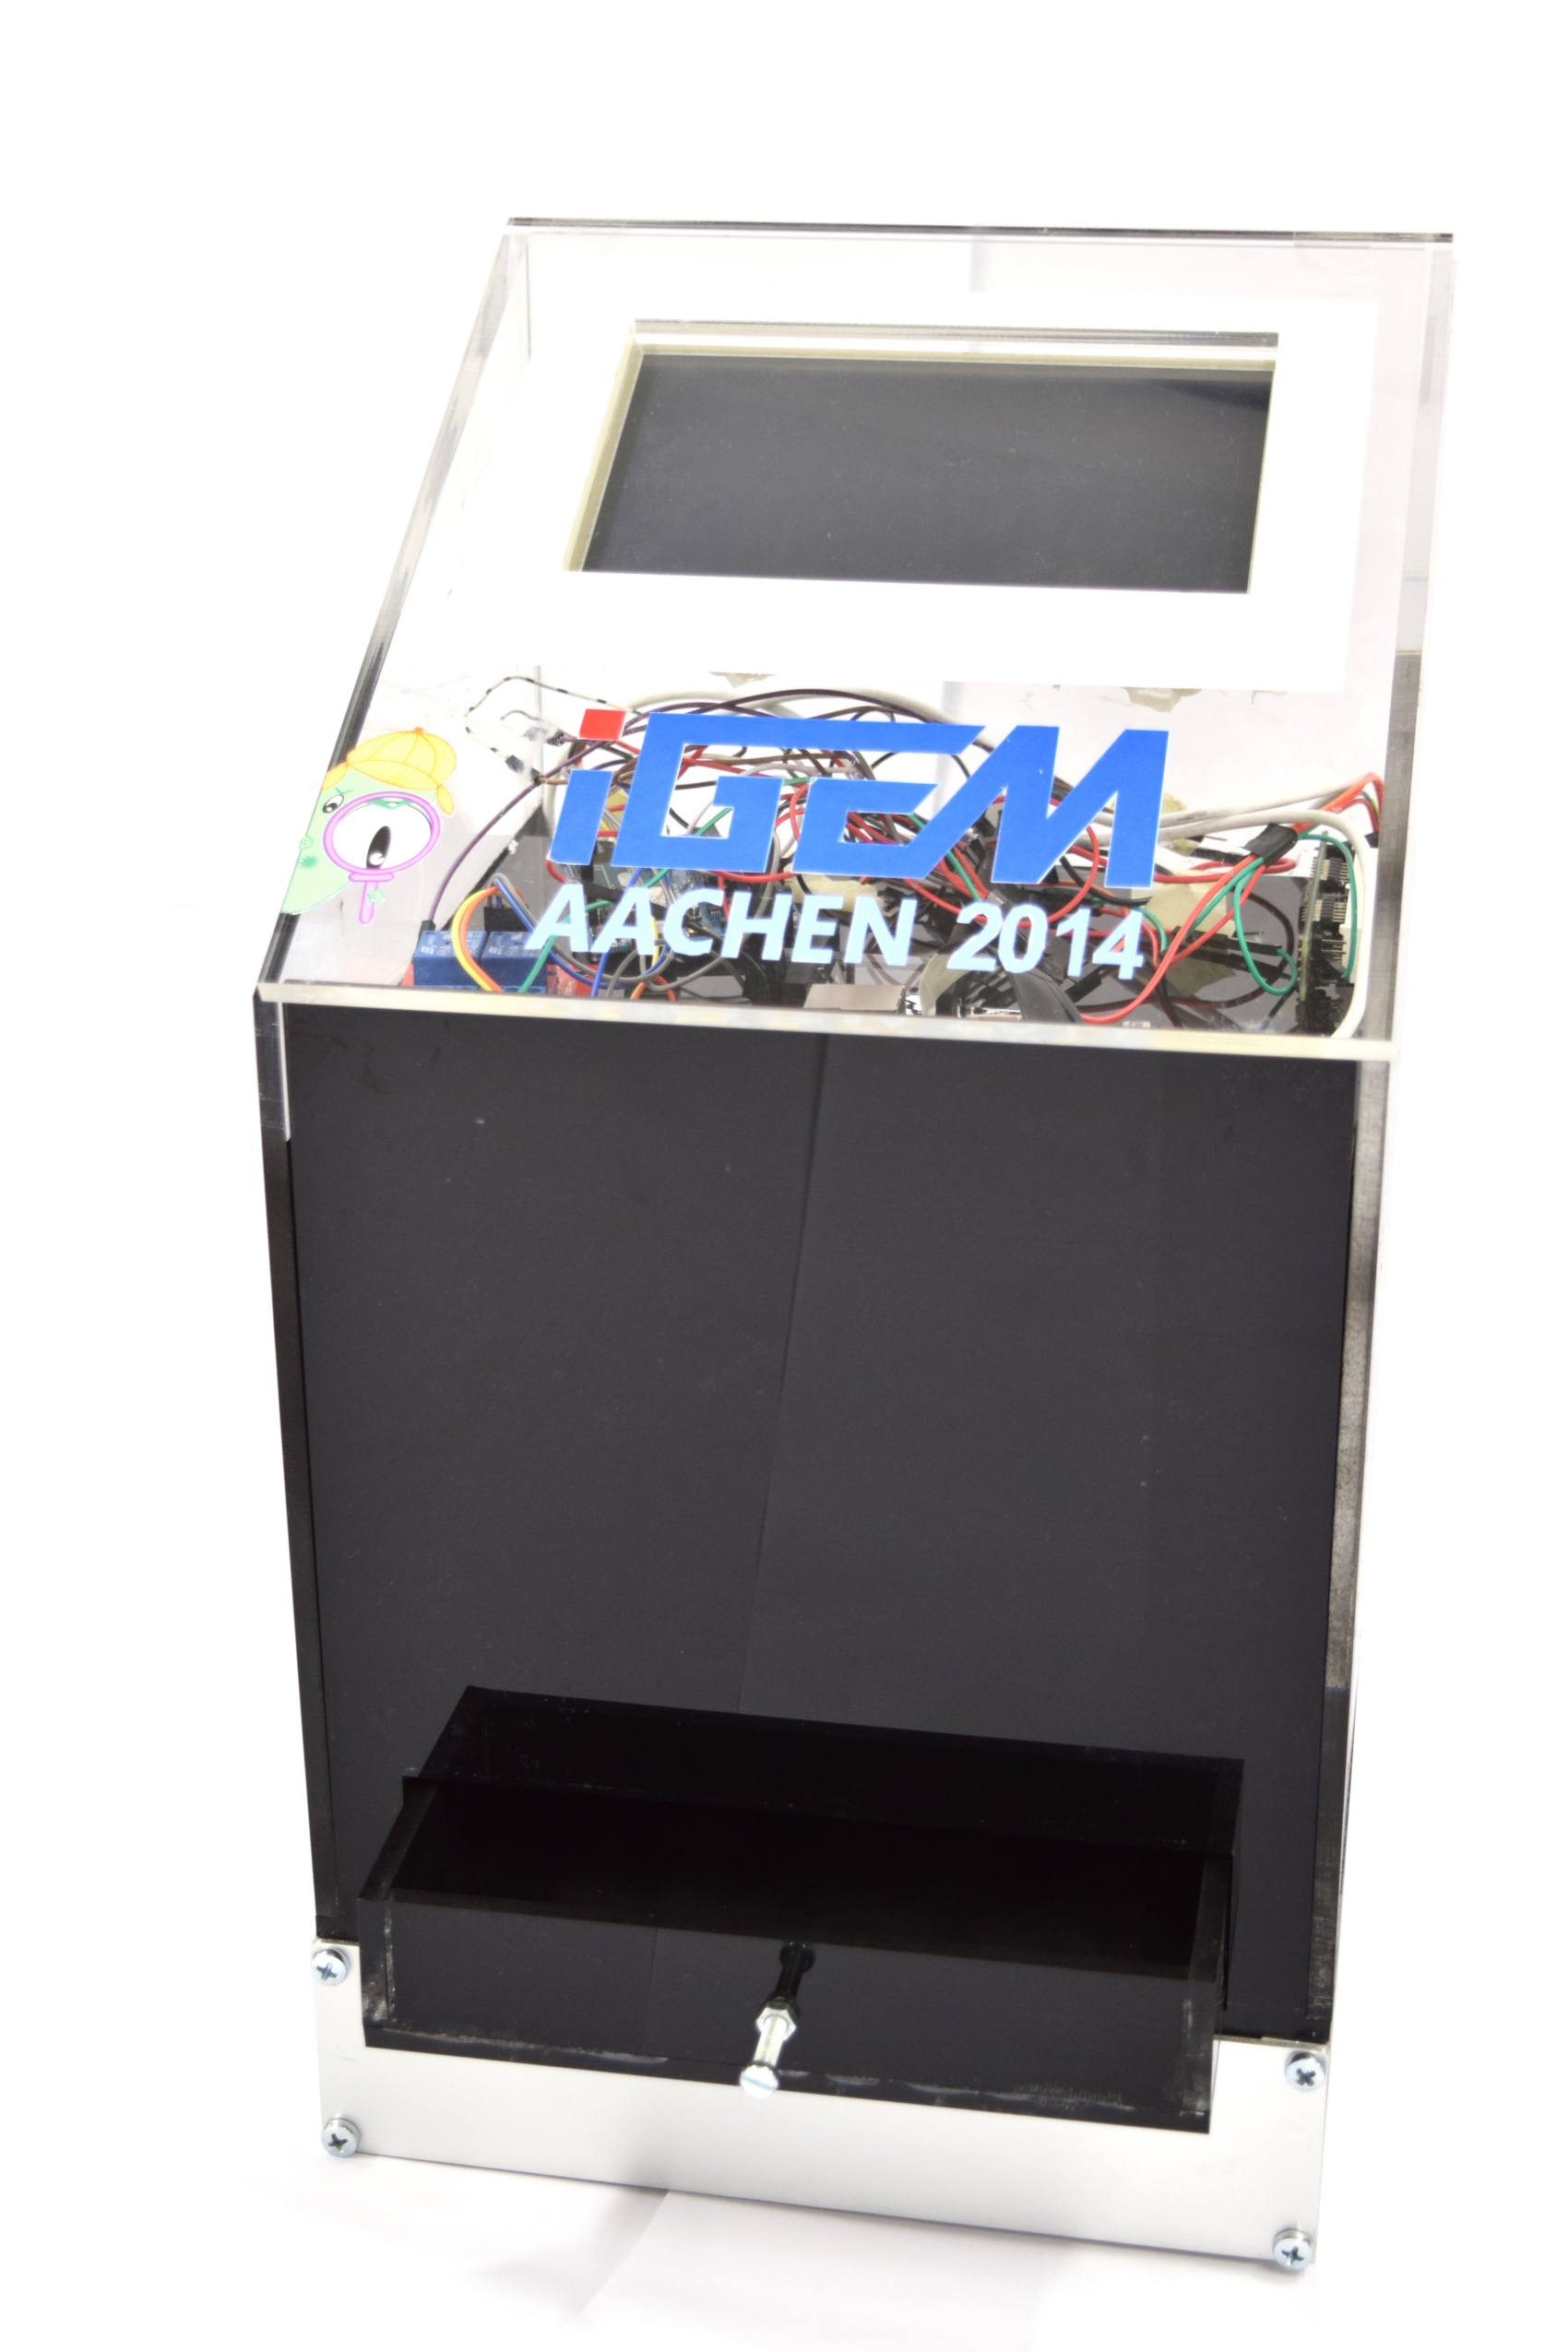
| [[File:Aachen_Device_11.jpg|350px]] || Mount the device on top of the power supply casing. Add the display and apply some stickers to enjoy your custom-made ''WatsOn''. | | [[File:Aachen_Device_11.jpg|350px]] || Mount the device on top of the power supply casing. Add the display and apply some stickers to enjoy your custom-made ''WatsOn''. | ||
|} | |} | ||
| + | |||
| + | <html> | ||
| + | <sup><span class="anchor" id="fn1"></span>1. By German law only certified electricians may work at 230V electronics. Therefore the electrical workshop at our institute created the power supply from our design.<a href="#ref1" title="">↩</a></sup> | ||
| + | </html> | ||
{{Team:Aachen/BlockSeparator}} | {{Team:Aachen/BlockSeparator}} | ||
Revision as of 22:36, 16 October 2014
|
|
|
|
|
 "
"


![350px] [File:Aachen_Device_.3jpg](/wiki/images/7/7b/Aachen_Device_2_3.jpg)
