Team:IvyTech SouthBend IN/progress
From 2014.igem.org
(Difference between revisions)
| Line 68: | Line 68: | ||
<li><a href="#92128">9/21-28/14</a></li> | <li><a href="#92128">9/21-28/14</a></li> | ||
<li><a href="#929104">9/29/14-10/4/14</a></li> | <li><a href="#929104">9/29/14-10/4/14</a></li> | ||
| + | <li><a href="#10511">9/29/14-10/4/14</a></li> | ||
</ul> | </ul> | ||
<!-- column 2 end --> | <!-- column 2 end --> | ||
| Line 79: | Line 80: | ||
<div class="ivy1"> | <div class="ivy1"> | ||
<!-- column 1 start --><br /> | <!-- column 1 start --><br /> | ||
| - | <div id="memo2g"><a name=" | + | <div id="memo2g"><a name="10511">Week</a> of 10/05/14 through 10/11/14</div> |
<ul> | <ul> | ||
<li>This week we began work on the nanotechnology aspects of our project. The main focus was working on the microfluidic channel, the volume of space that is going to hold the water sample while the biochemical reaction for beta-galactosidase is taking place. We used negative lithography to cast a master mold of a chamber we designed and thought would be best suited for our device. After the mold was cast and sent through numerous bake sessions, it was inspected and determined to be an acceptable mold. We then made a polydimethylsiloxane (PDMS) mixture with a 10:1 ratio with a curing agent. After pouring it into the mold, great care was taken to ensure there were no bubbles left in the PDMS mixture. After being left to dry and hardened, a plasma generator was used to bind the cut out piece to a glass slide. The patterned wafer negative mold microfluidic chamber width is 14.562mm. Its height is 21.3μm at the sidewall and 22.3μm in the middle. A single pillar width is 1.611mm and “height” is 20.8μm. The three microfluidic channel widths are 0.6688mm, 0.5472mm and 0.6080mm while the middle microfluidic channel height is 20.9μm. It can hold a water sample of 6.75 uL. Unfortunately, after testing it with ink we got negative results. Two chambers were tested and both collapsed. We are going to try again using shorter channels and combining pillars so there is a better support system. </li><br /> | <li>This week we began work on the nanotechnology aspects of our project. The main focus was working on the microfluidic channel, the volume of space that is going to hold the water sample while the biochemical reaction for beta-galactosidase is taking place. We used negative lithography to cast a master mold of a chamber we designed and thought would be best suited for our device. After the mold was cast and sent through numerous bake sessions, it was inspected and determined to be an acceptable mold. We then made a polydimethylsiloxane (PDMS) mixture with a 10:1 ratio with a curing agent. After pouring it into the mold, great care was taken to ensure there were no bubbles left in the PDMS mixture. After being left to dry and hardened, a plasma generator was used to bind the cut out piece to a glass slide. The patterned wafer negative mold microfluidic chamber width is 14.562mm. Its height is 21.3μm at the sidewall and 22.3μm in the middle. A single pillar width is 1.611mm and “height” is 20.8μm. The three microfluidic channel widths are 0.6688mm, 0.5472mm and 0.6080mm while the middle microfluidic channel height is 20.9μm. It can hold a water sample of 6.75 uL. Unfortunately, after testing it with ink we got negative results. Two chambers were tested and both collapsed. We are going to try again using shorter channels and combining pillars so there is a better support system. </li><br /> | ||
Revision as of 22:24, 14 October 2014
Week of 8/3/14 through 8/9/14
- During this week, the team realized that the contamination was coming from our stock of cells that was being kept in the -80C freezer. We have no idea how they became contaminated, seeing as continued to use the line of cells we froze for a week after we froze them, but before any contamination occurred. Nonetheless, one of our advisers has procured a new stock of top 10 E. coli cells for us to use.
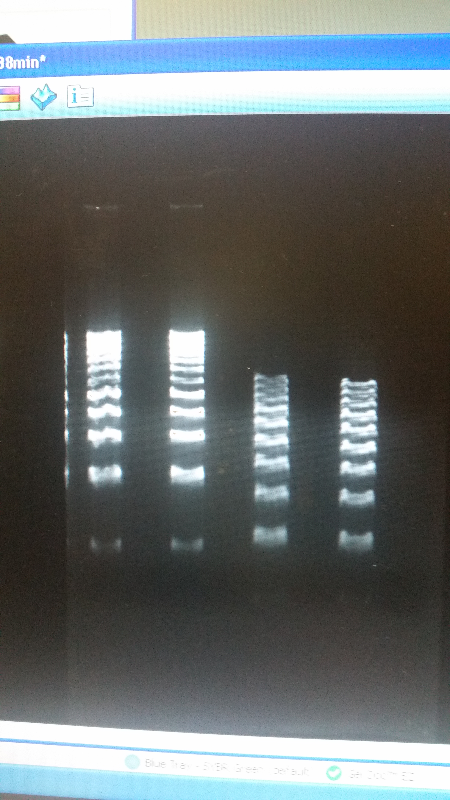
- After unsuccessful runs of electrophoresis gels, we have run out of DNA to try to measure. So, we took some time out this week to streak, grow, and purify lines of our K1477014 and K1477030 parts on both pSB1C3 and pSB1AT3 backbones.
Week of 7/13/14 through 7/19/14
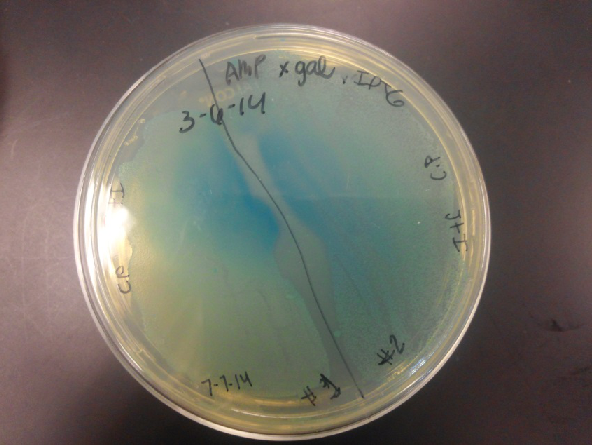
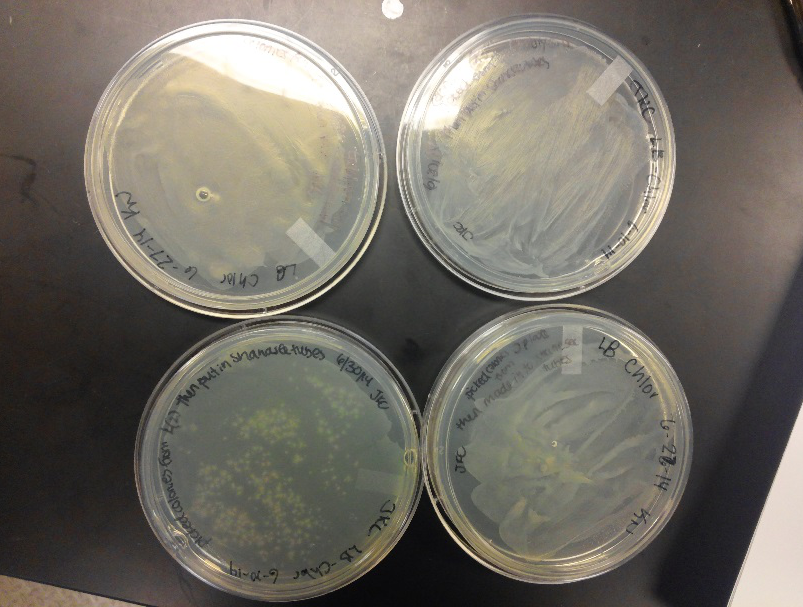
- This week we worked towards switching our part's backbone from pSB1AT3 to pSB1C3. We had some difficulty doing this. The first attempt was fruitless, but on our second attempt we had success and we now have a stock of our part on a chlor-resistant backbone.
- Unfortunately, We no longer have any stock of our original part. So, now we are again following the Biolabs Biobrick Assembly Manual to reconstruct our parts K1477014 and K1477030. Our first try yielded nothing.
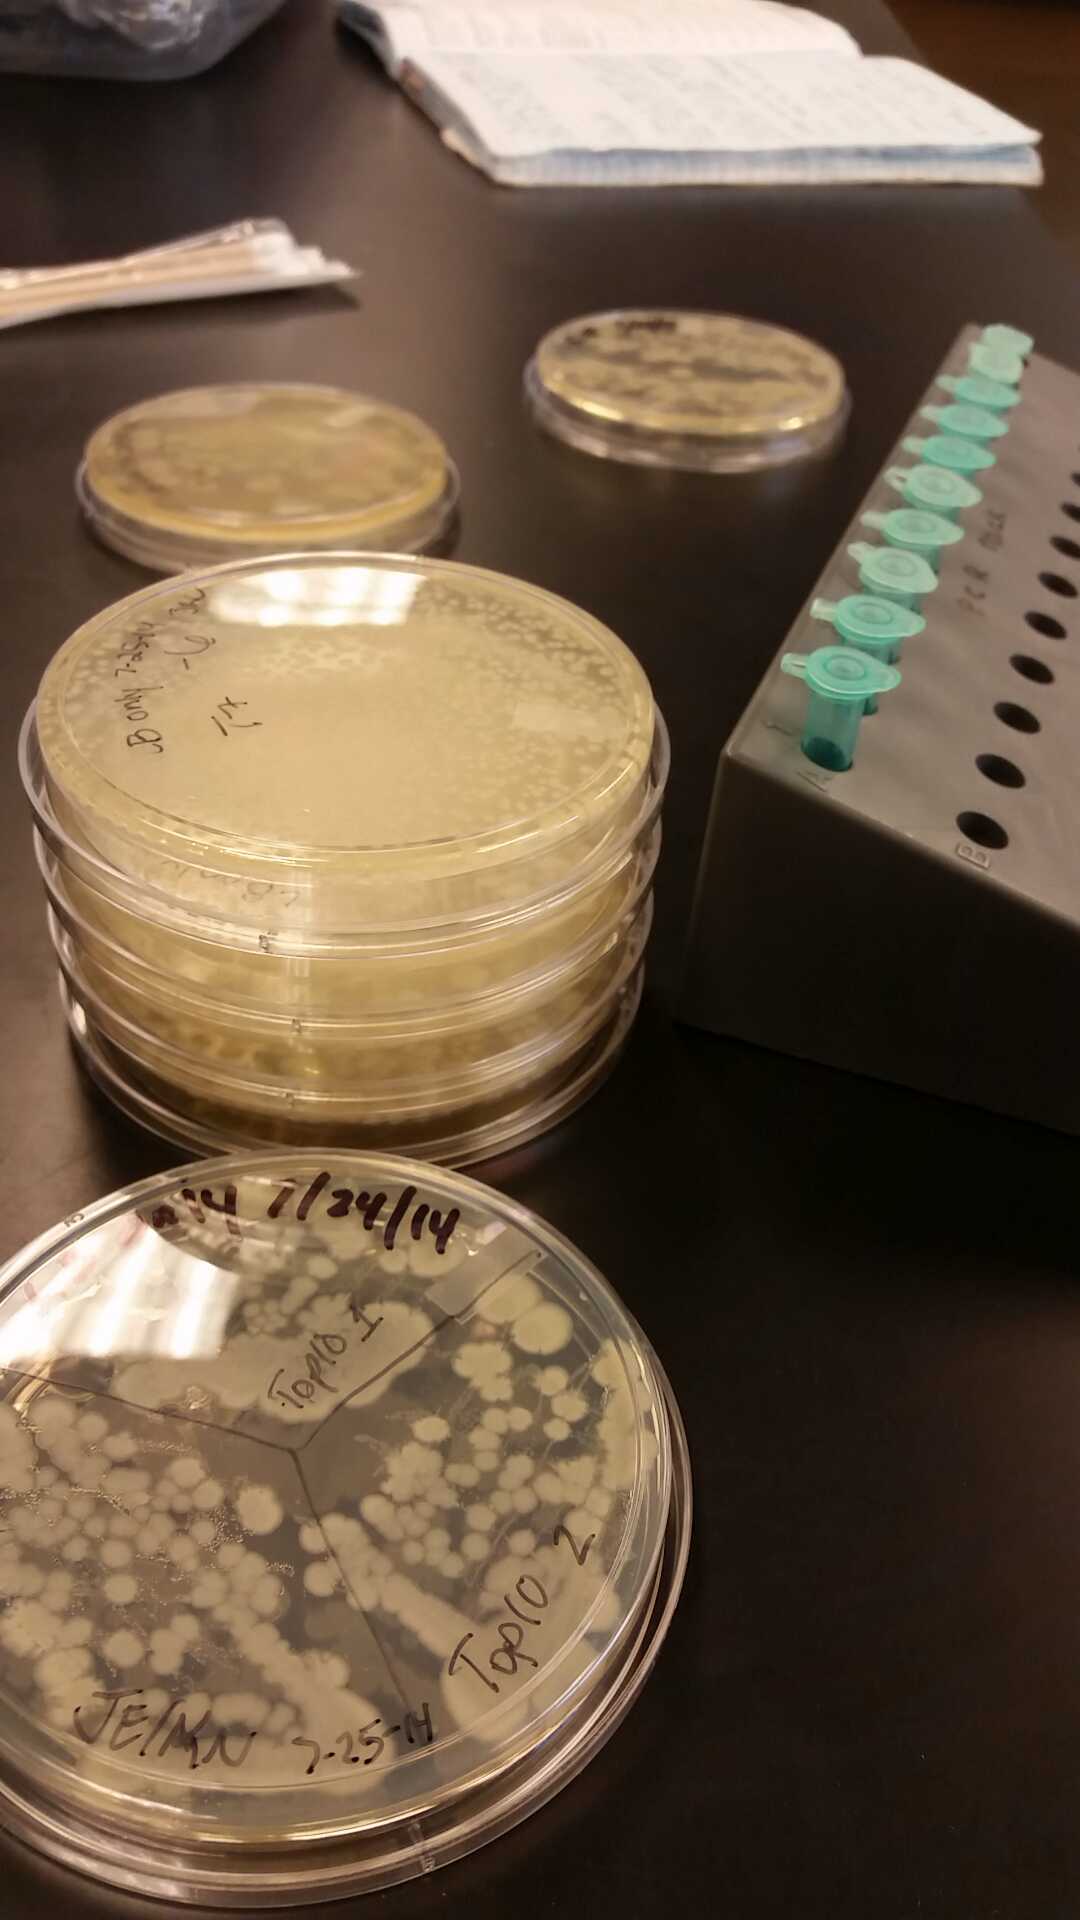
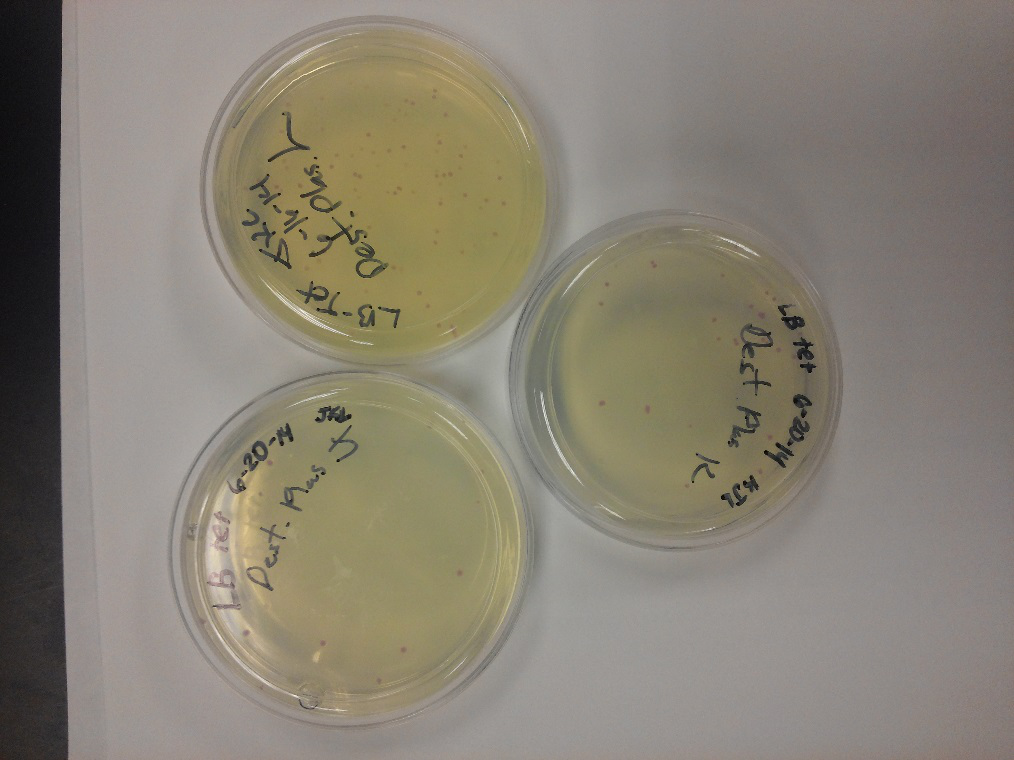
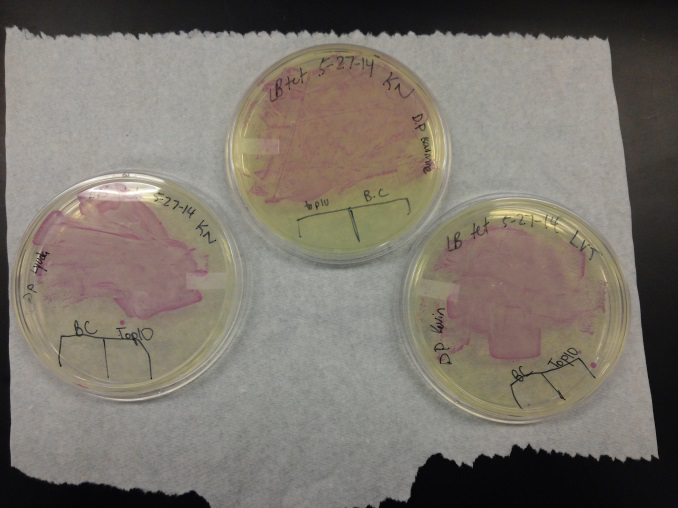
- Our second run through of the protocol resulted in the in the growth of red colonies on chlor plates after electroportion of our part into Top 10 cells. However, we need white colonies to grow because this will point towards the rfp being repressed when the three parts come together. Red colonies are a sign that we did not have a successful assembly of our parts.
Week of 5/25/14 through 5/31/14
- We transformed Top 10 cells through electroporation with registry parts K112806 (Endolysin,) I732020 (LacZoperon Mutant,) J23102 (p-con) and I712074 (T7 promoter.)
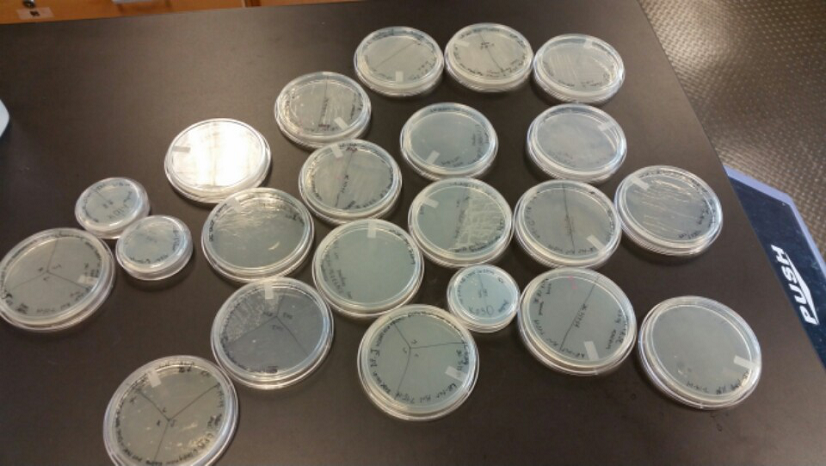
- After streaking on plates, and leaving them in the incubator for a day, there was growth on all plates, showing that a successful transformation occured.
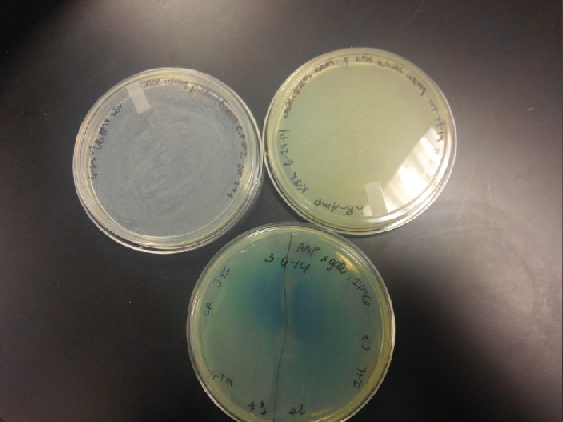
- Plates containing J23102 were red-another sign of success. Unfortunately, it looks like contamination has arisen as well, and is spreading on plates with I712074 and K112806 growth.
- The contamination persisted all week, but we were able to get plates with transformed parts that contained no contamination growth.
- We then ran a DNA purification protocol of J23102 and I732020 to get them ready for a biobrick assembly protocol.
 "
"


