Team:Aachen/Project/Measurement Device
From 2014.igem.org
(Difference between revisions)
| Line 101: | Line 101: | ||
{| class="wikitable centered" | {| class="wikitable centered" | ||
|- | |- | ||
| - | | [[File:Aachen_Device_1.jpg| | + | | [[File:Aachen_Device_1.jpg|300px]] || Start building your own ''WatsOn'' by assembling the base plate, the sides and the interior wall. |
|- | |- | ||
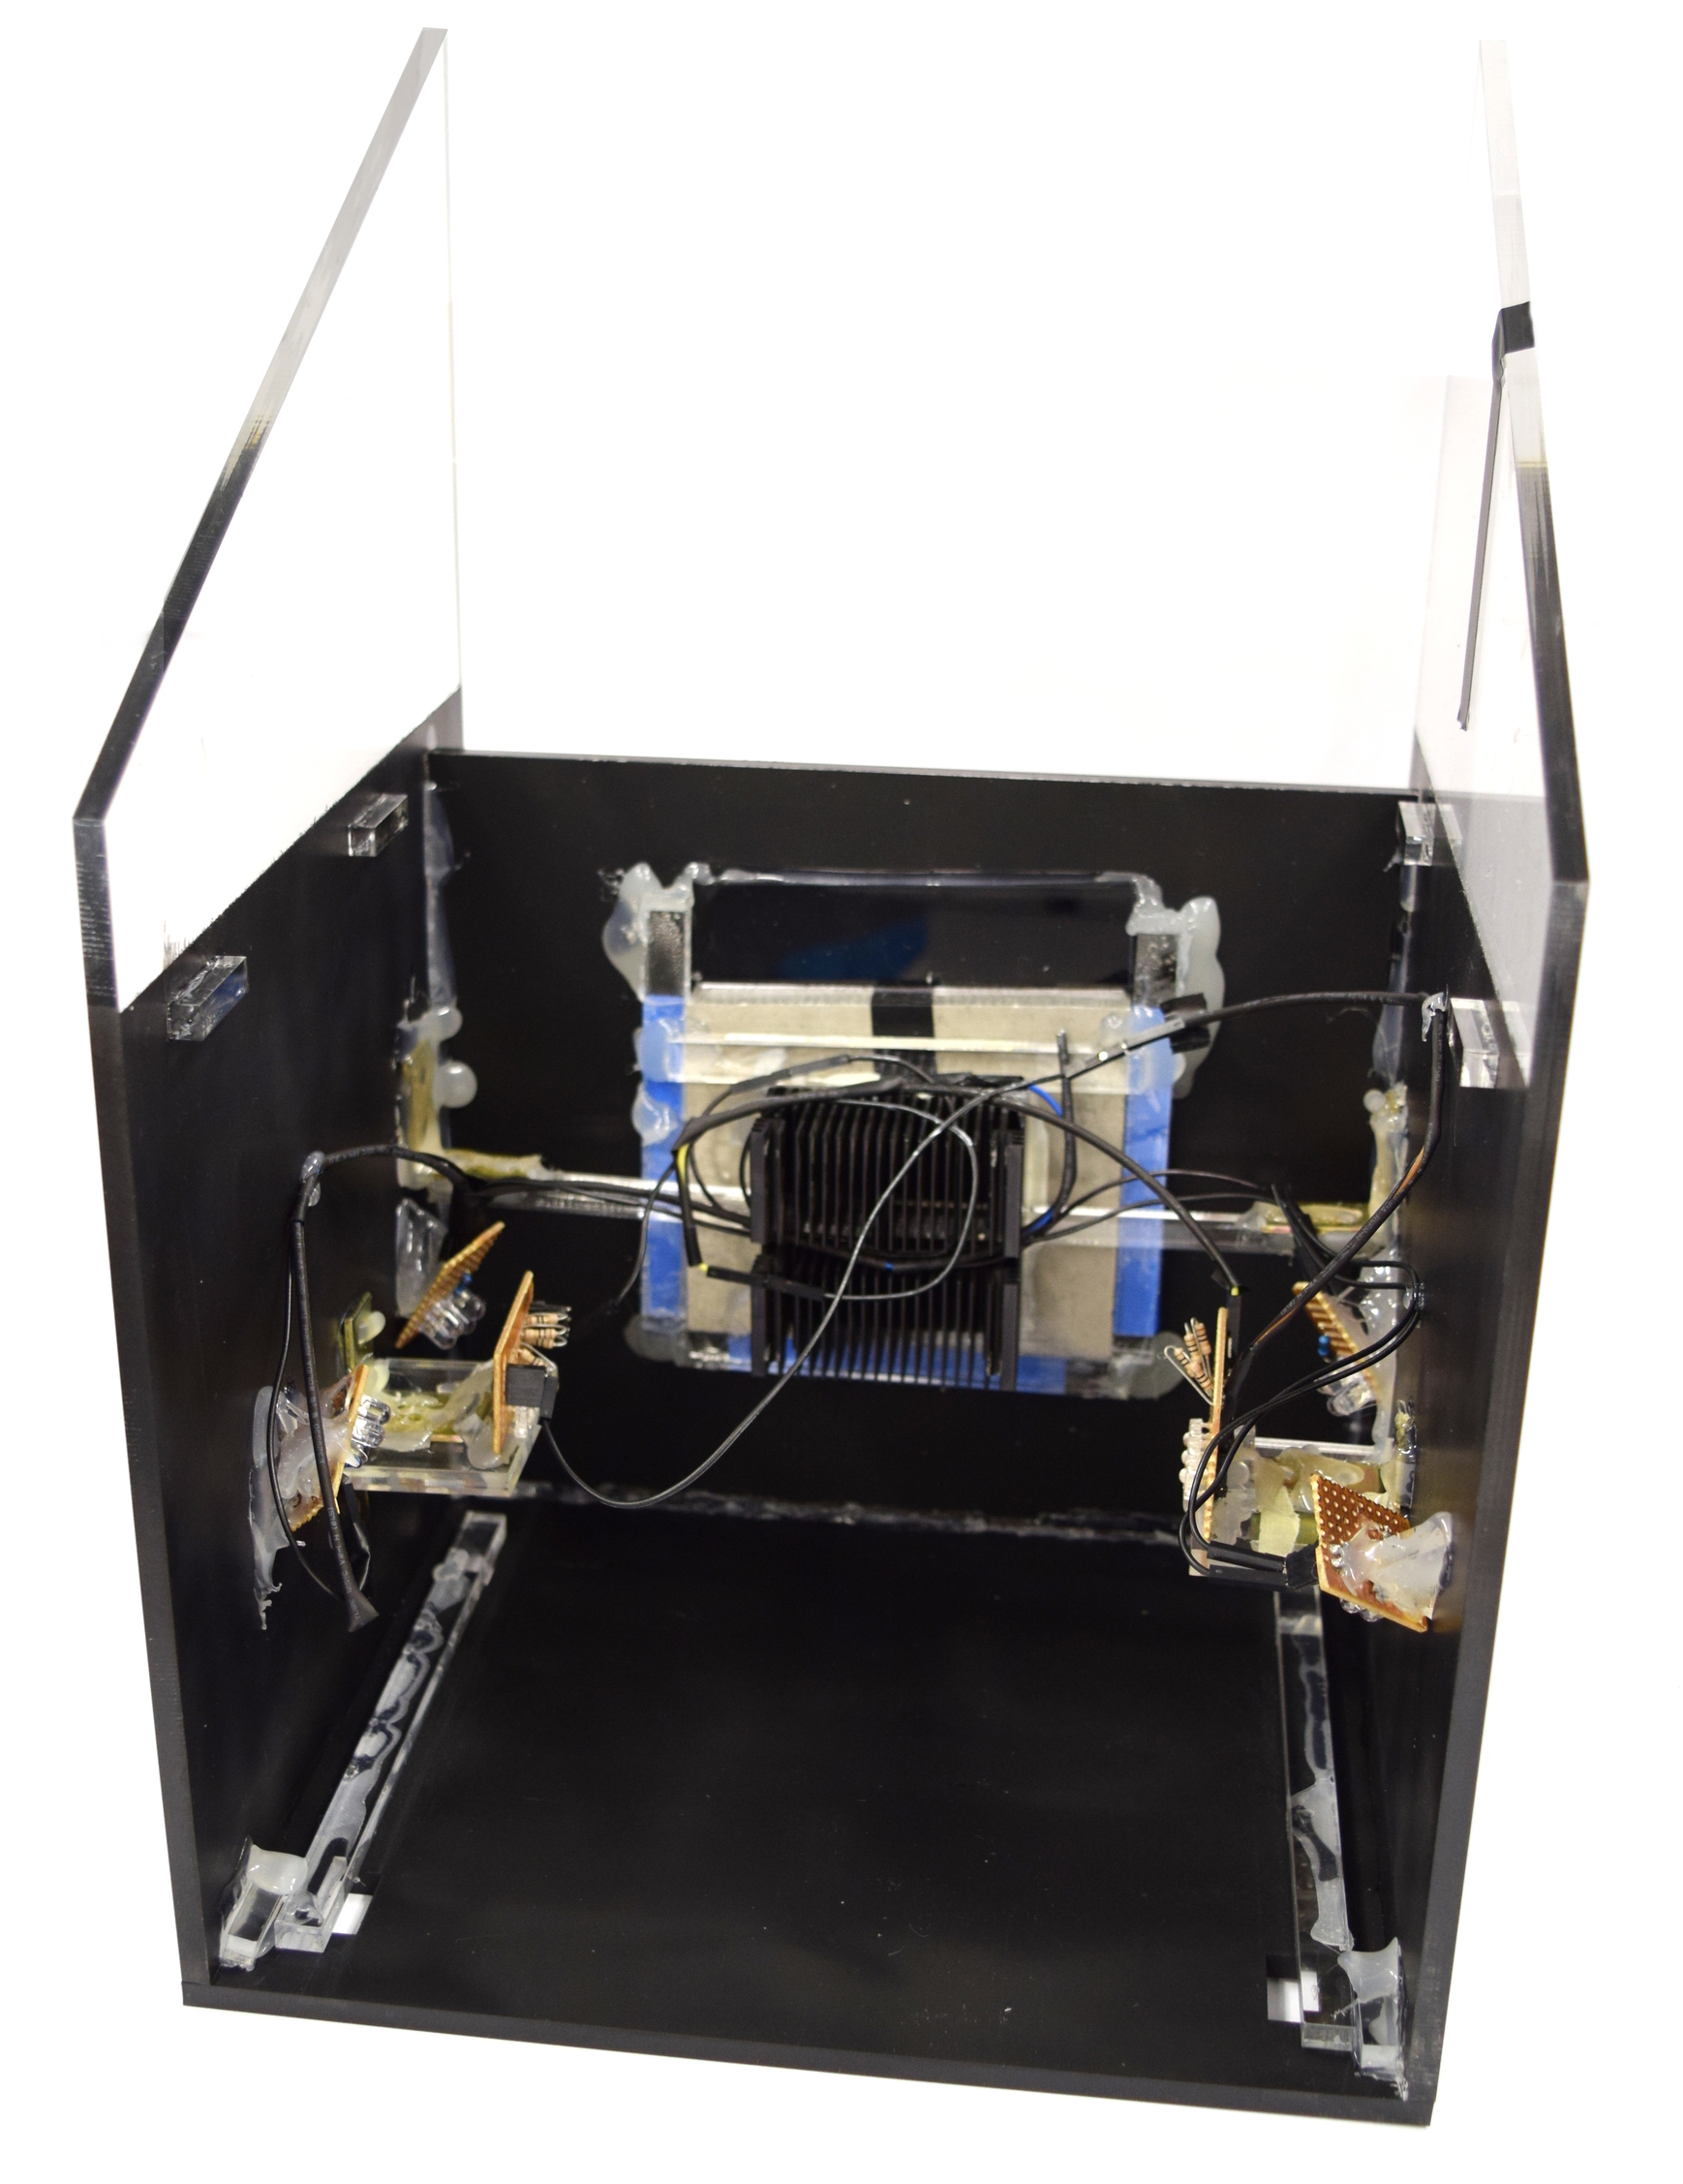
| - | | [[File:Aachen_Device_2_3.jpg| | + | | [[File:Aachen_Device_2_3.jpg|350px] [File:Aachen_Device_.3jpg|300px]] || Fix the Peltier heater on the back of the aluminum block and place it in the hole of the interior wall. |
Arrange the 4x4 450nm LEDs and the 2x3 480nm LEDs | Arrange the 4x4 450nm LEDs and the 2x3 480nm LEDs | ||
|- | |- | ||
| - | | [[File:Aachen_Device_7.jpg| | + | | [[File:Aachen_Device_7.jpg|350px]] || Assemble the camera holder with the camera and the corresponding filter slide on the lower part. Over the camera you can place the temperatur sensor for measuring the indoor temperature. Finally put the fan on the back of the camera holder. |
|- | |- | ||
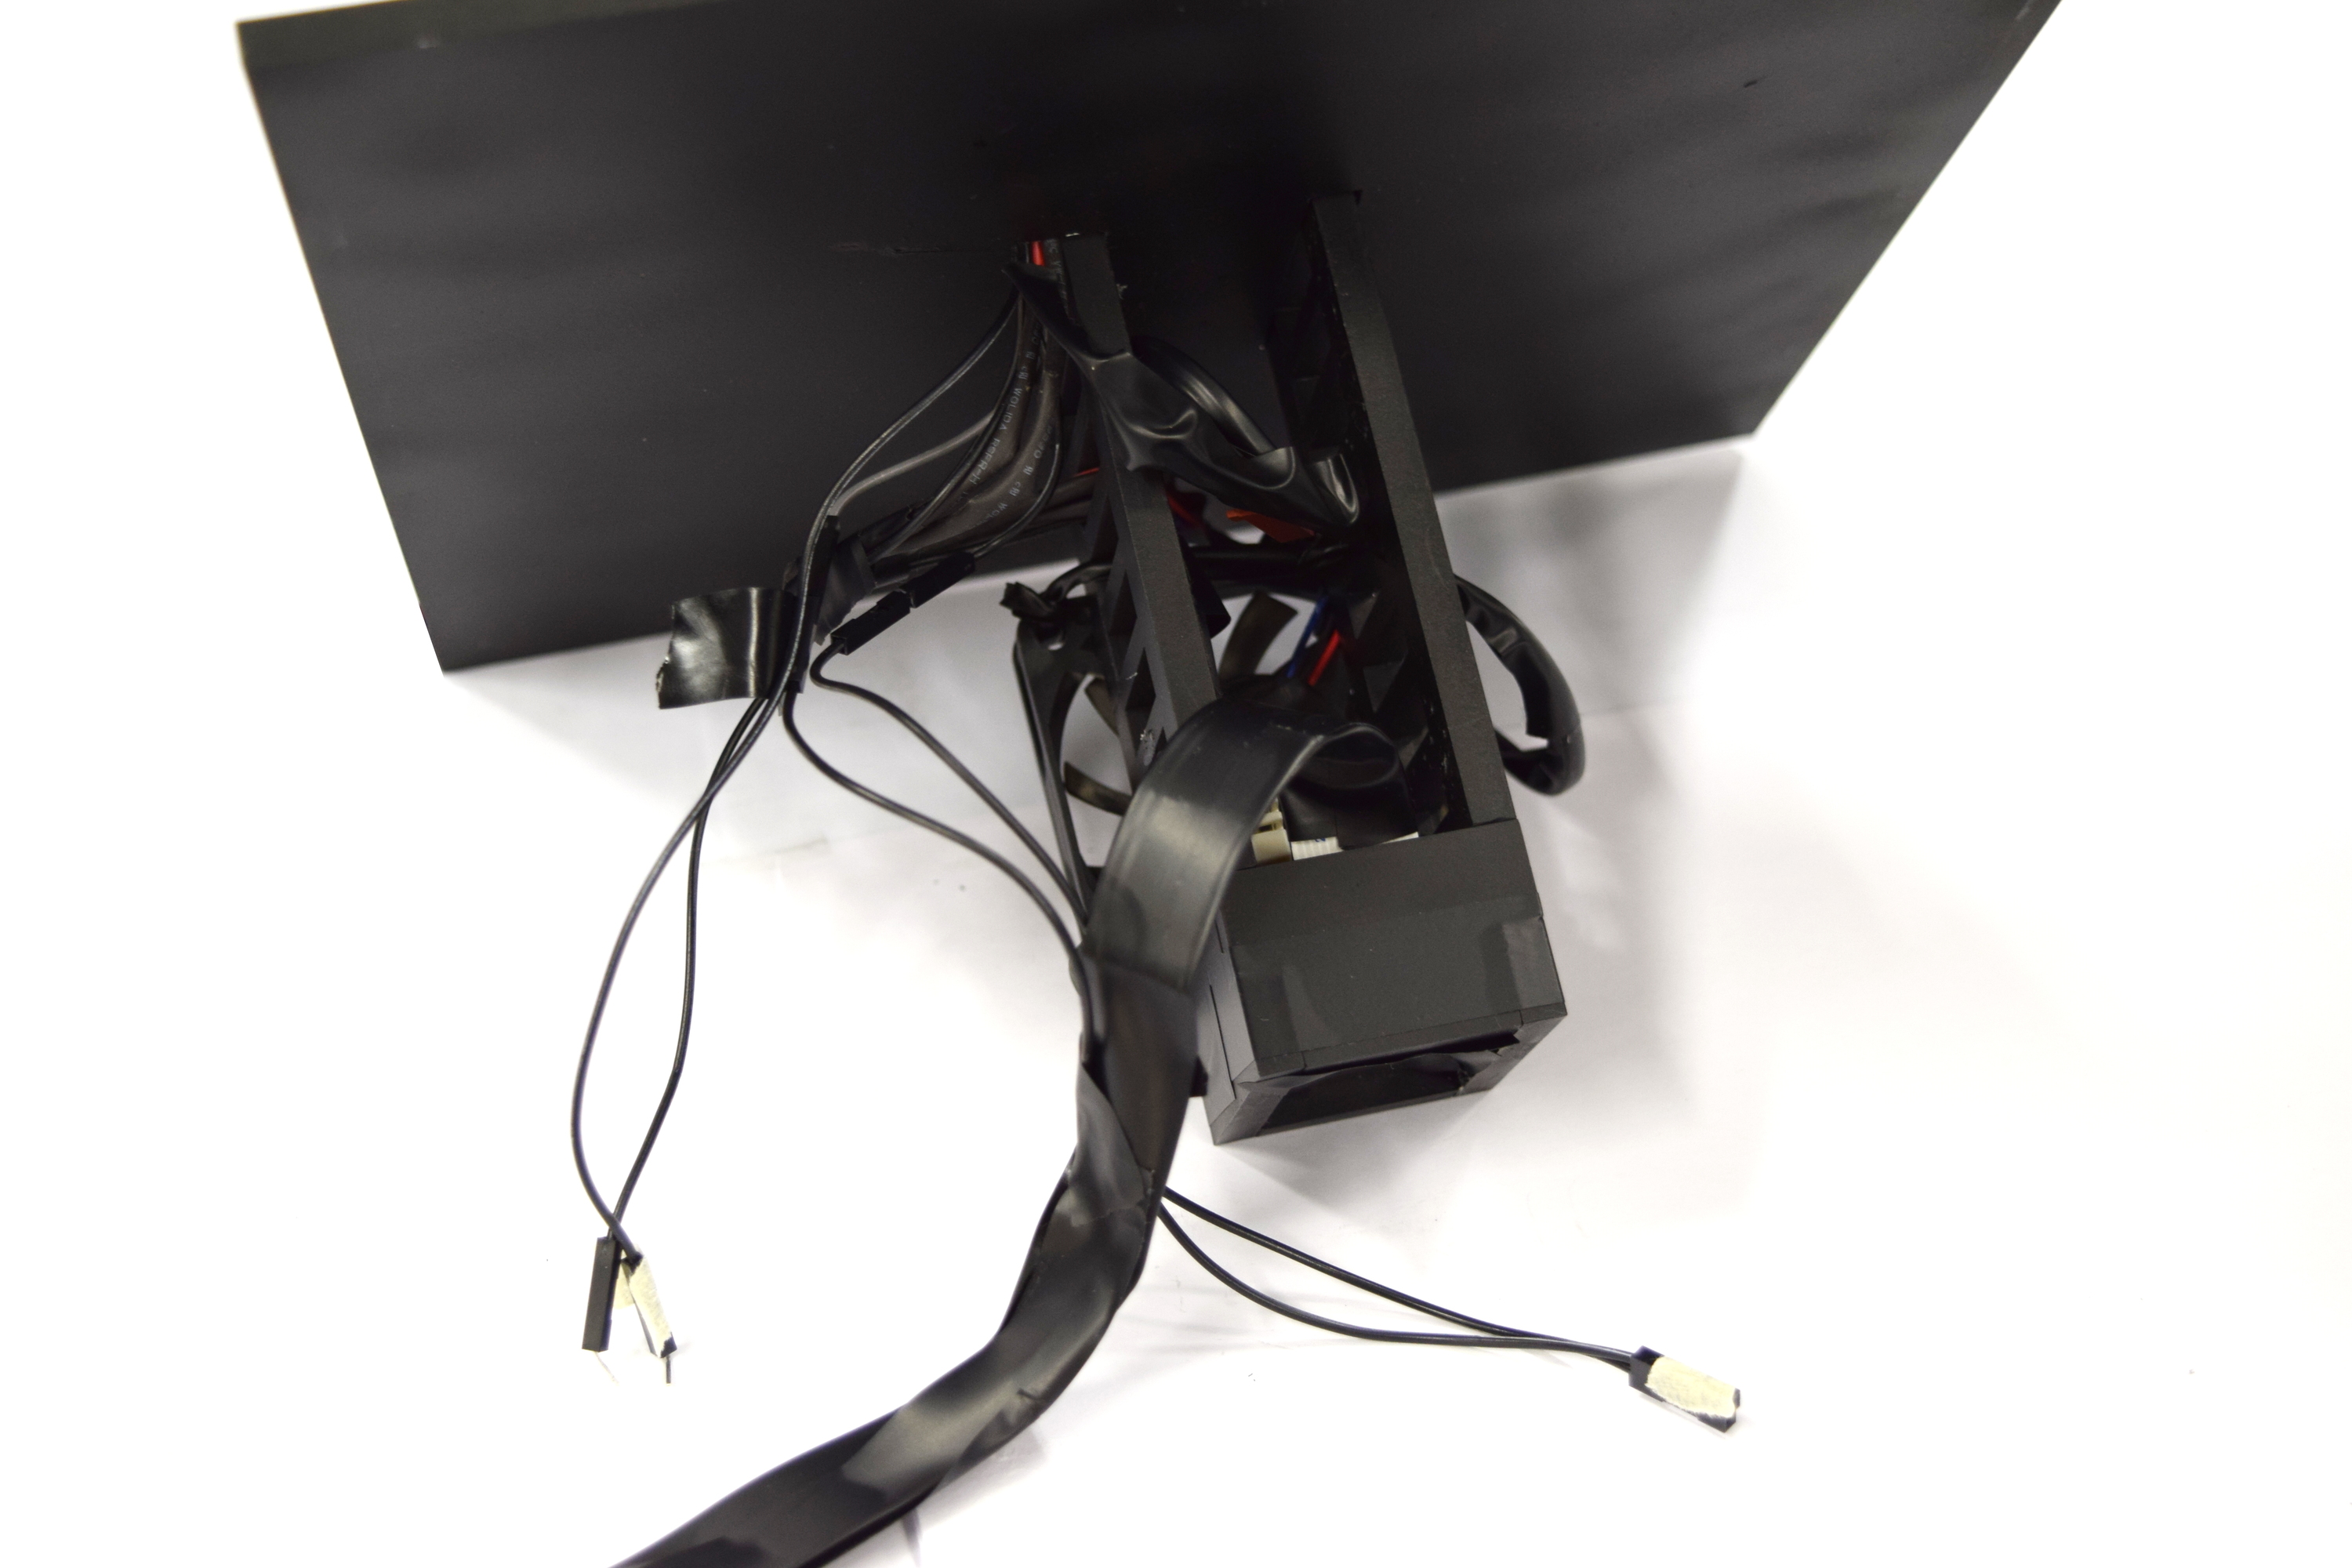
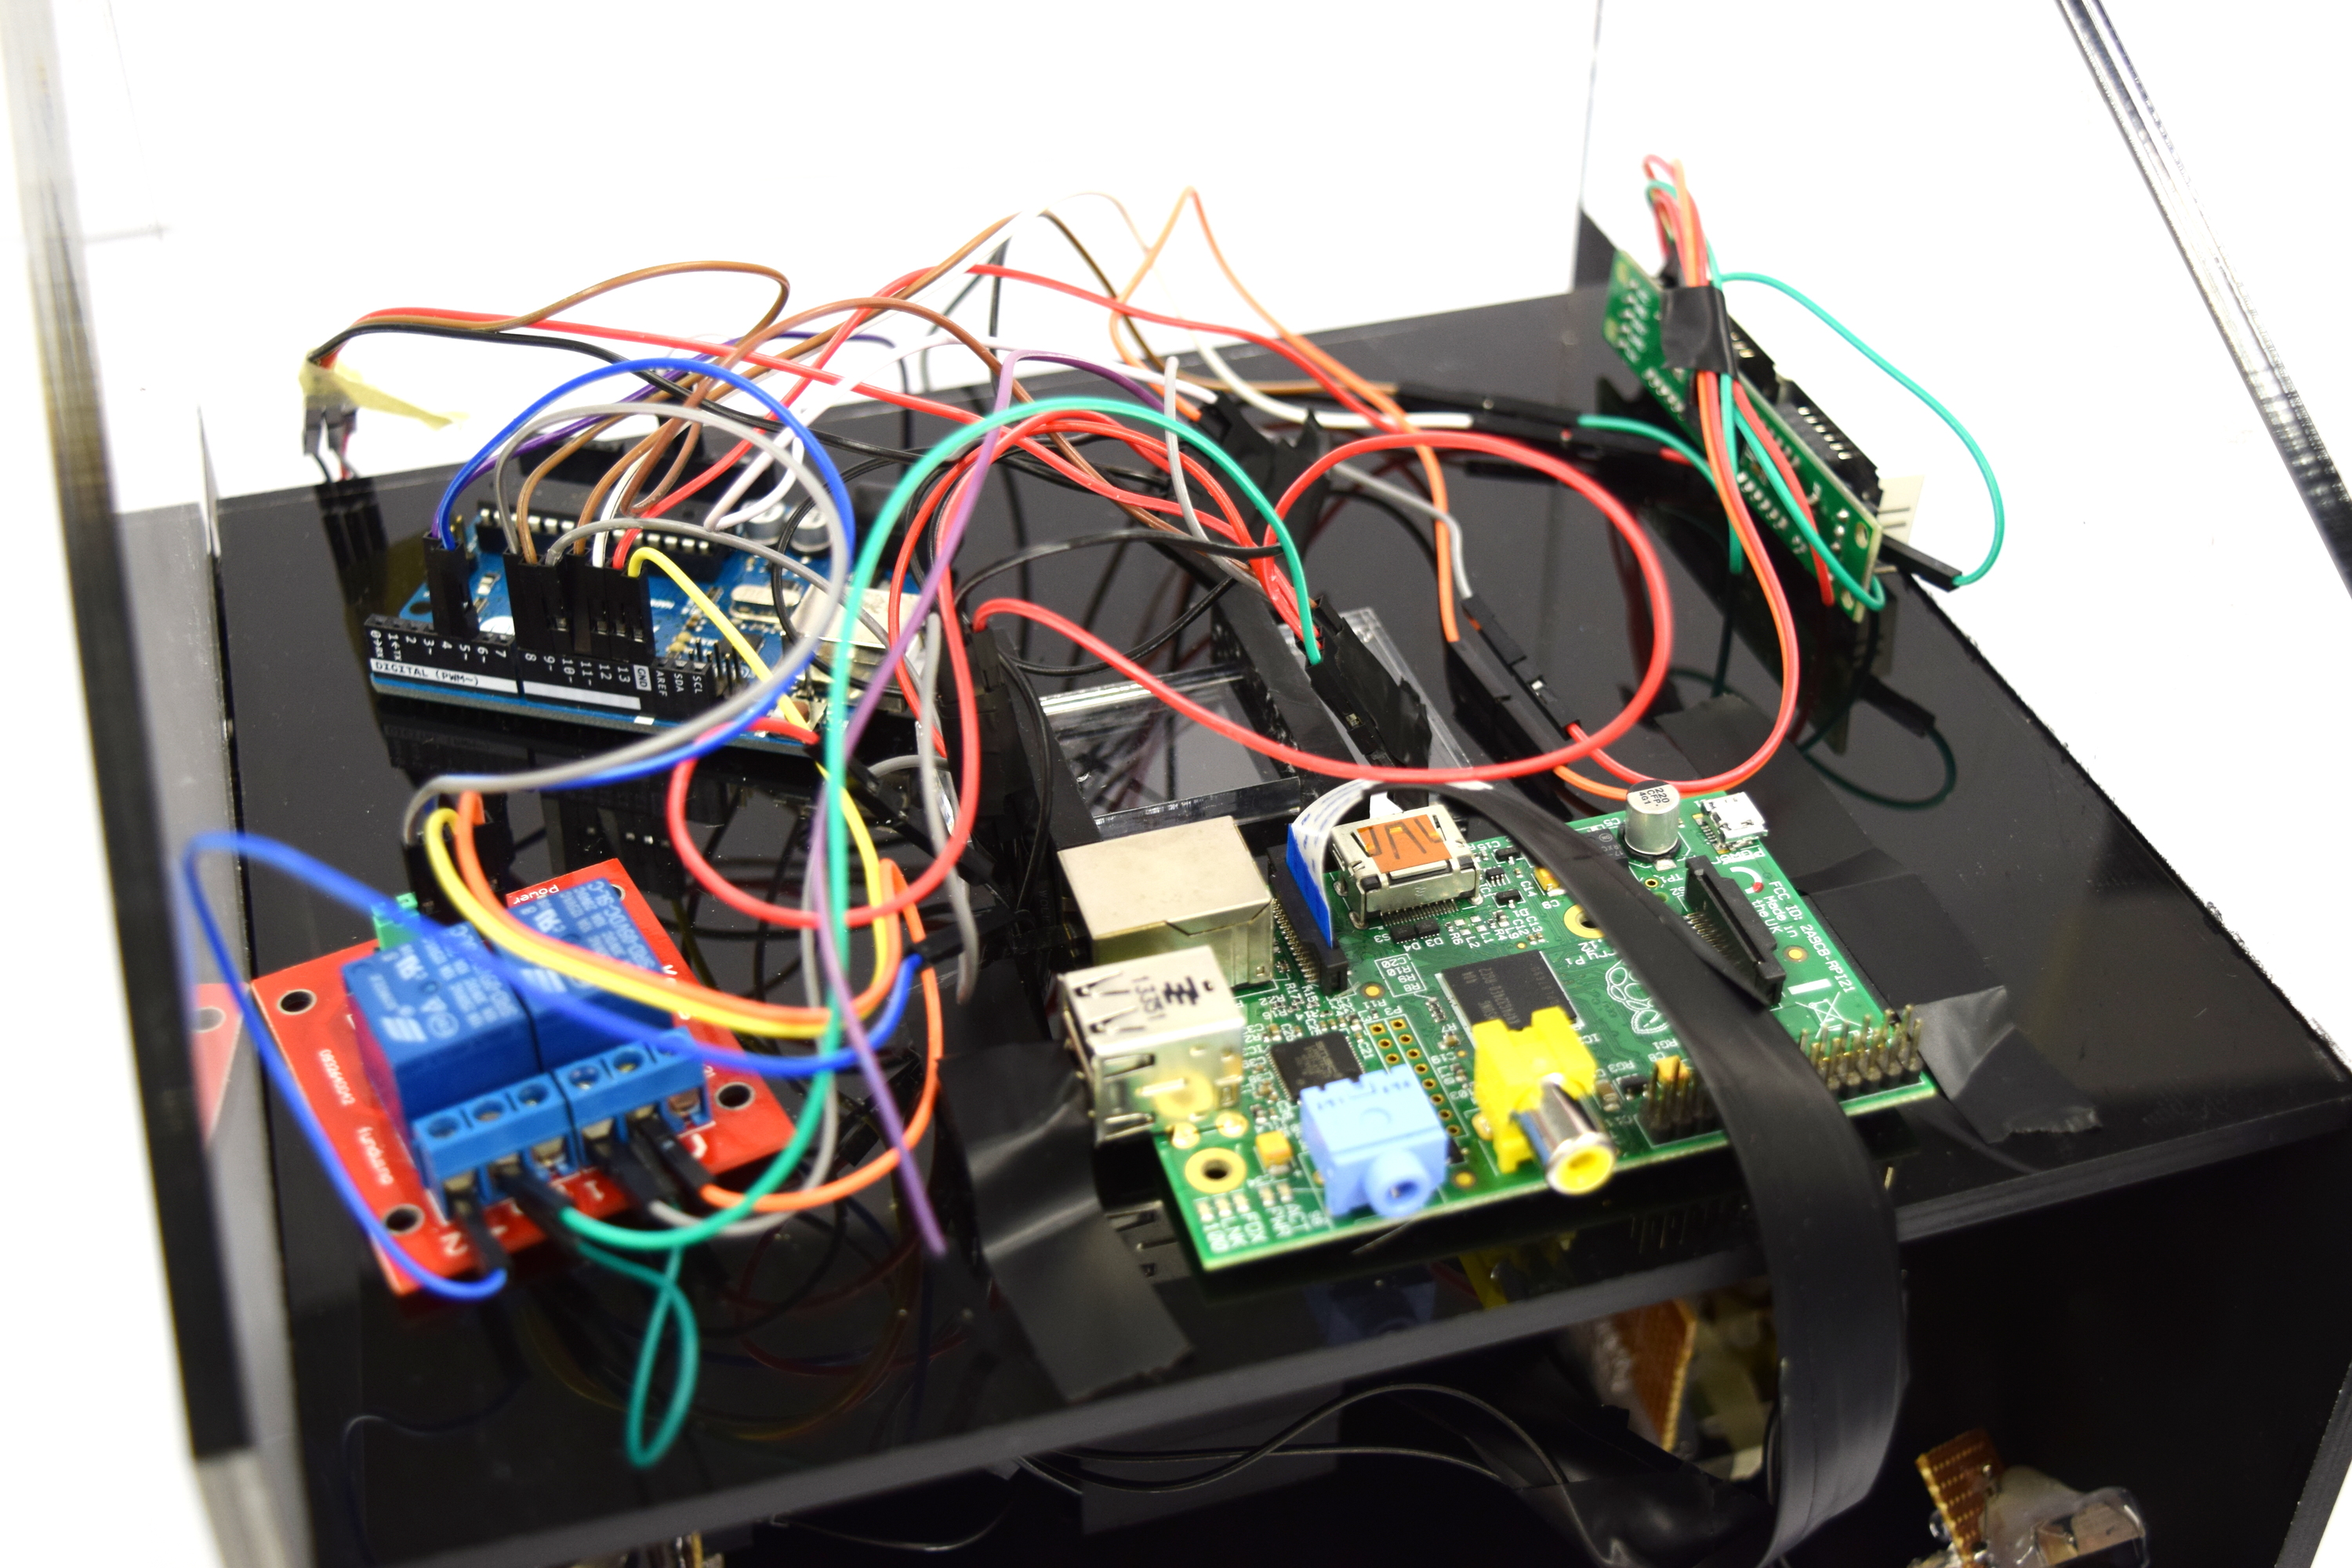
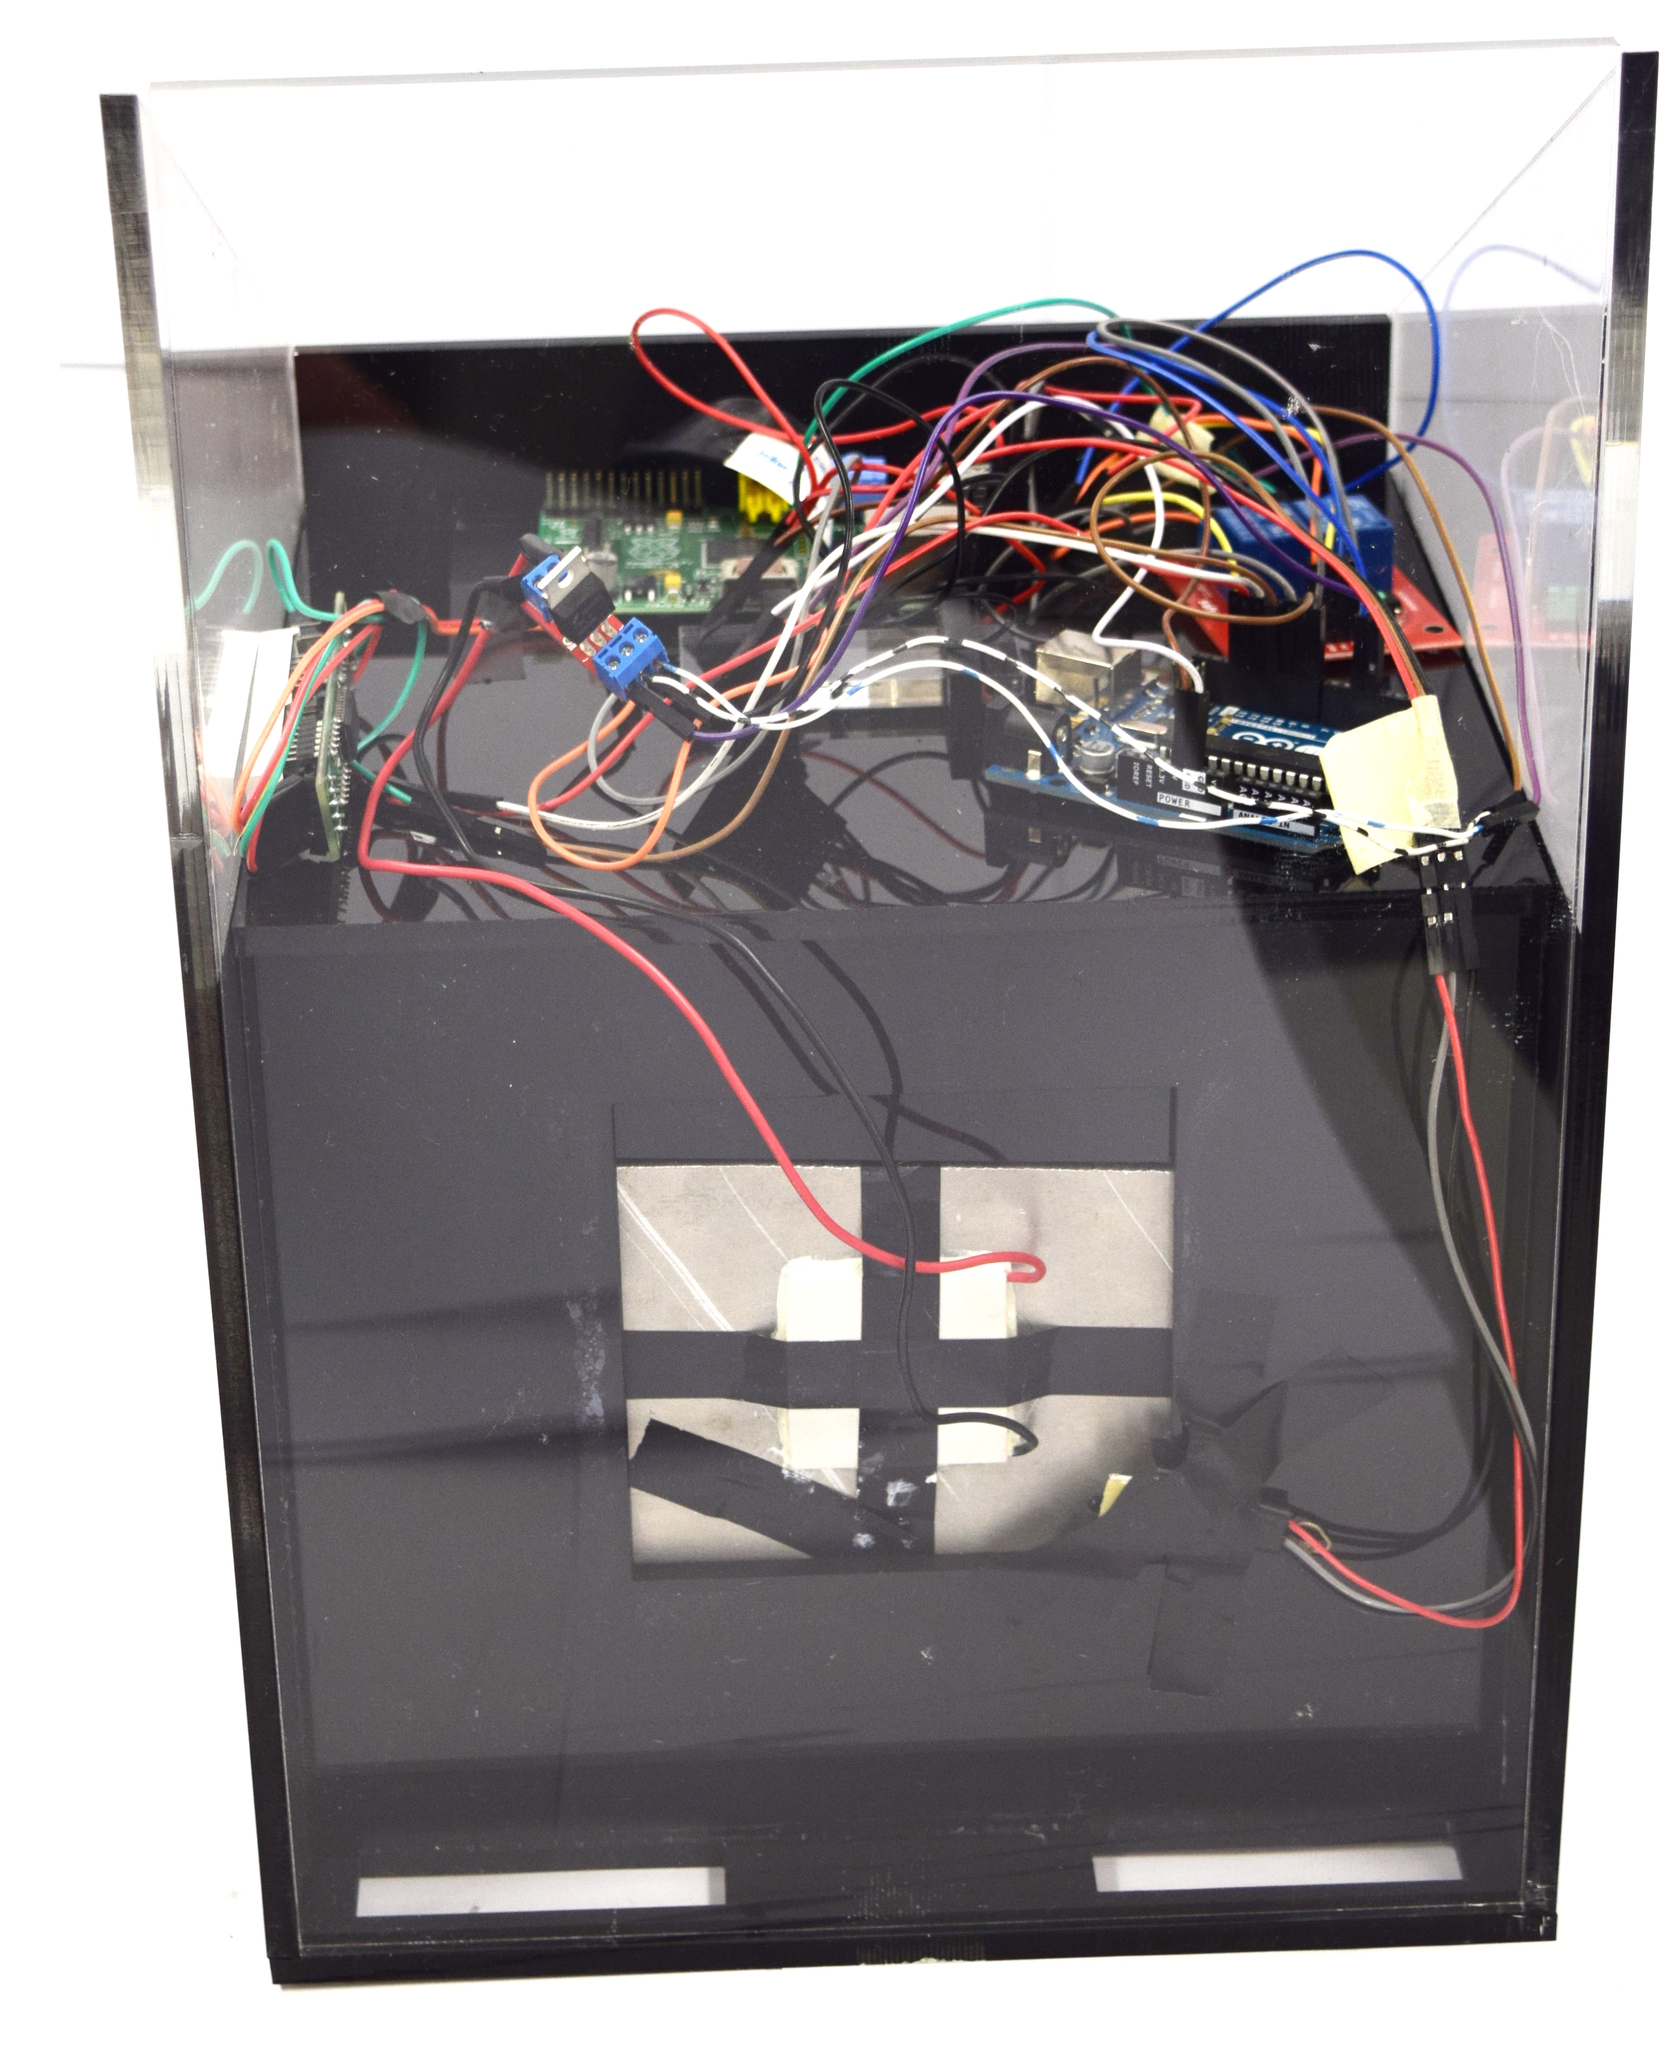
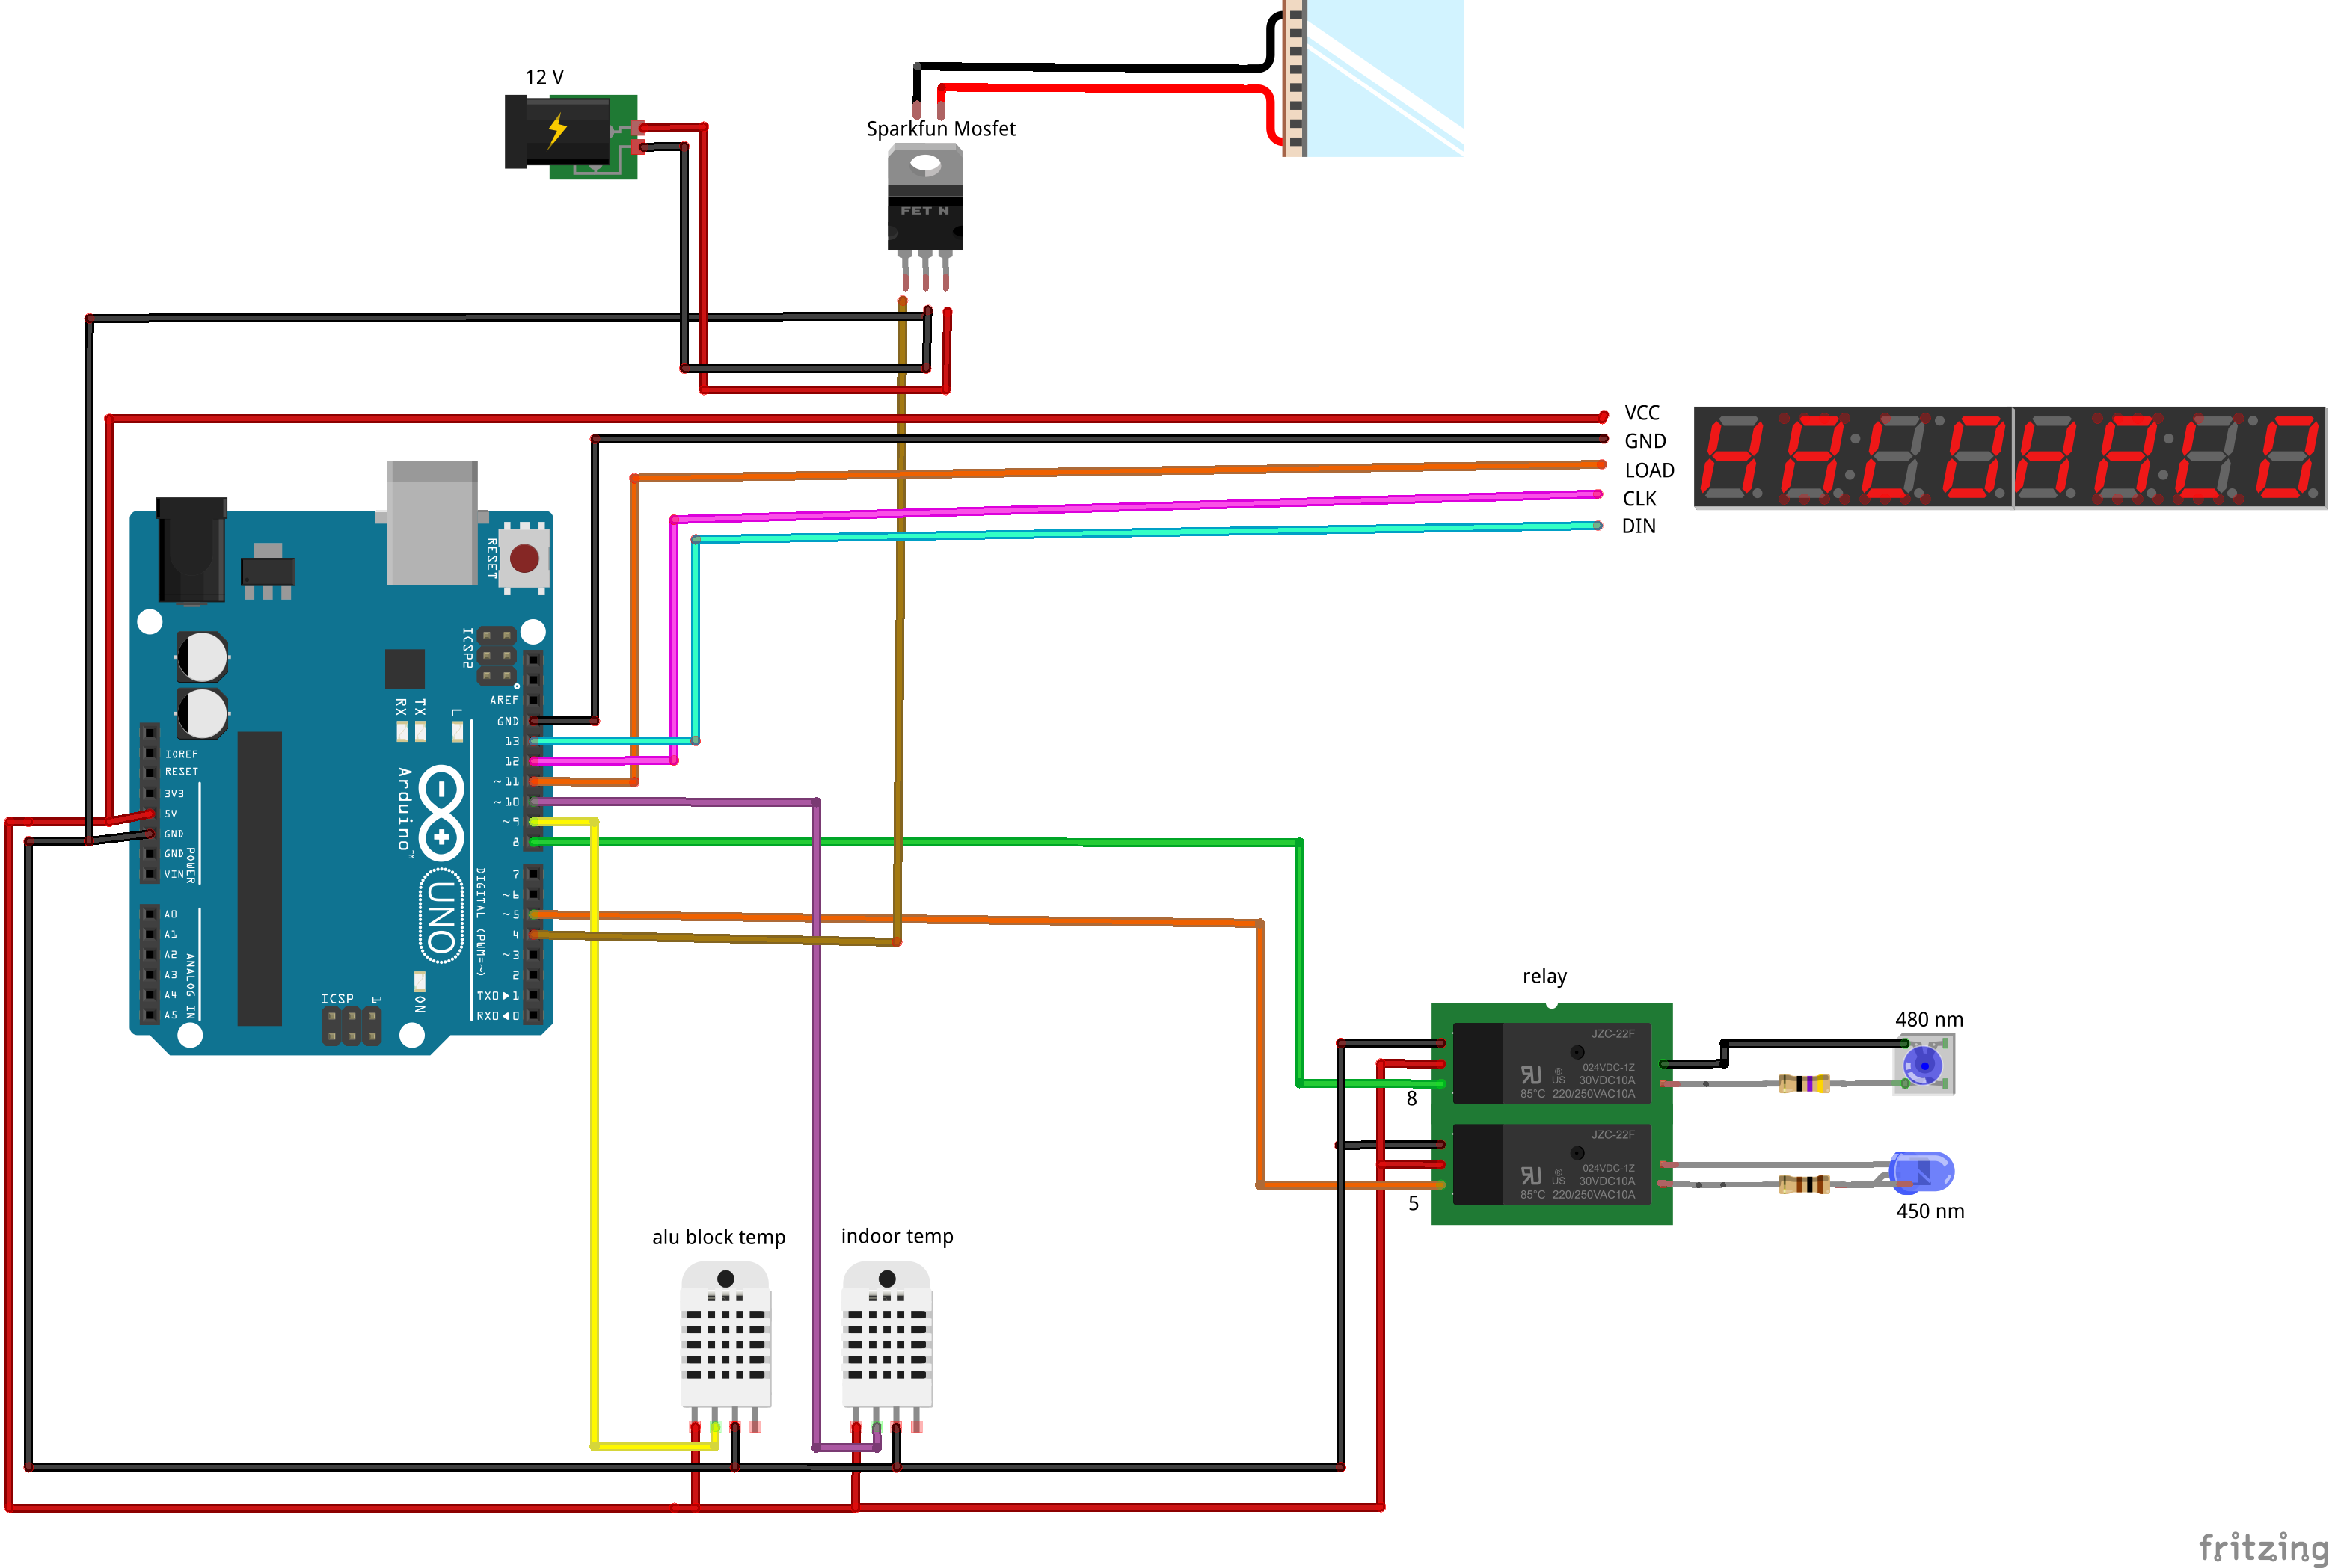
| - | | [[File:Aachen_Device_8.jpg| | + | | [[File:Aachen_Device_8.jpg|350px]] || Connect the electronic components on the outside and the inside according to the wiring diagramm. |
|- | |- | ||
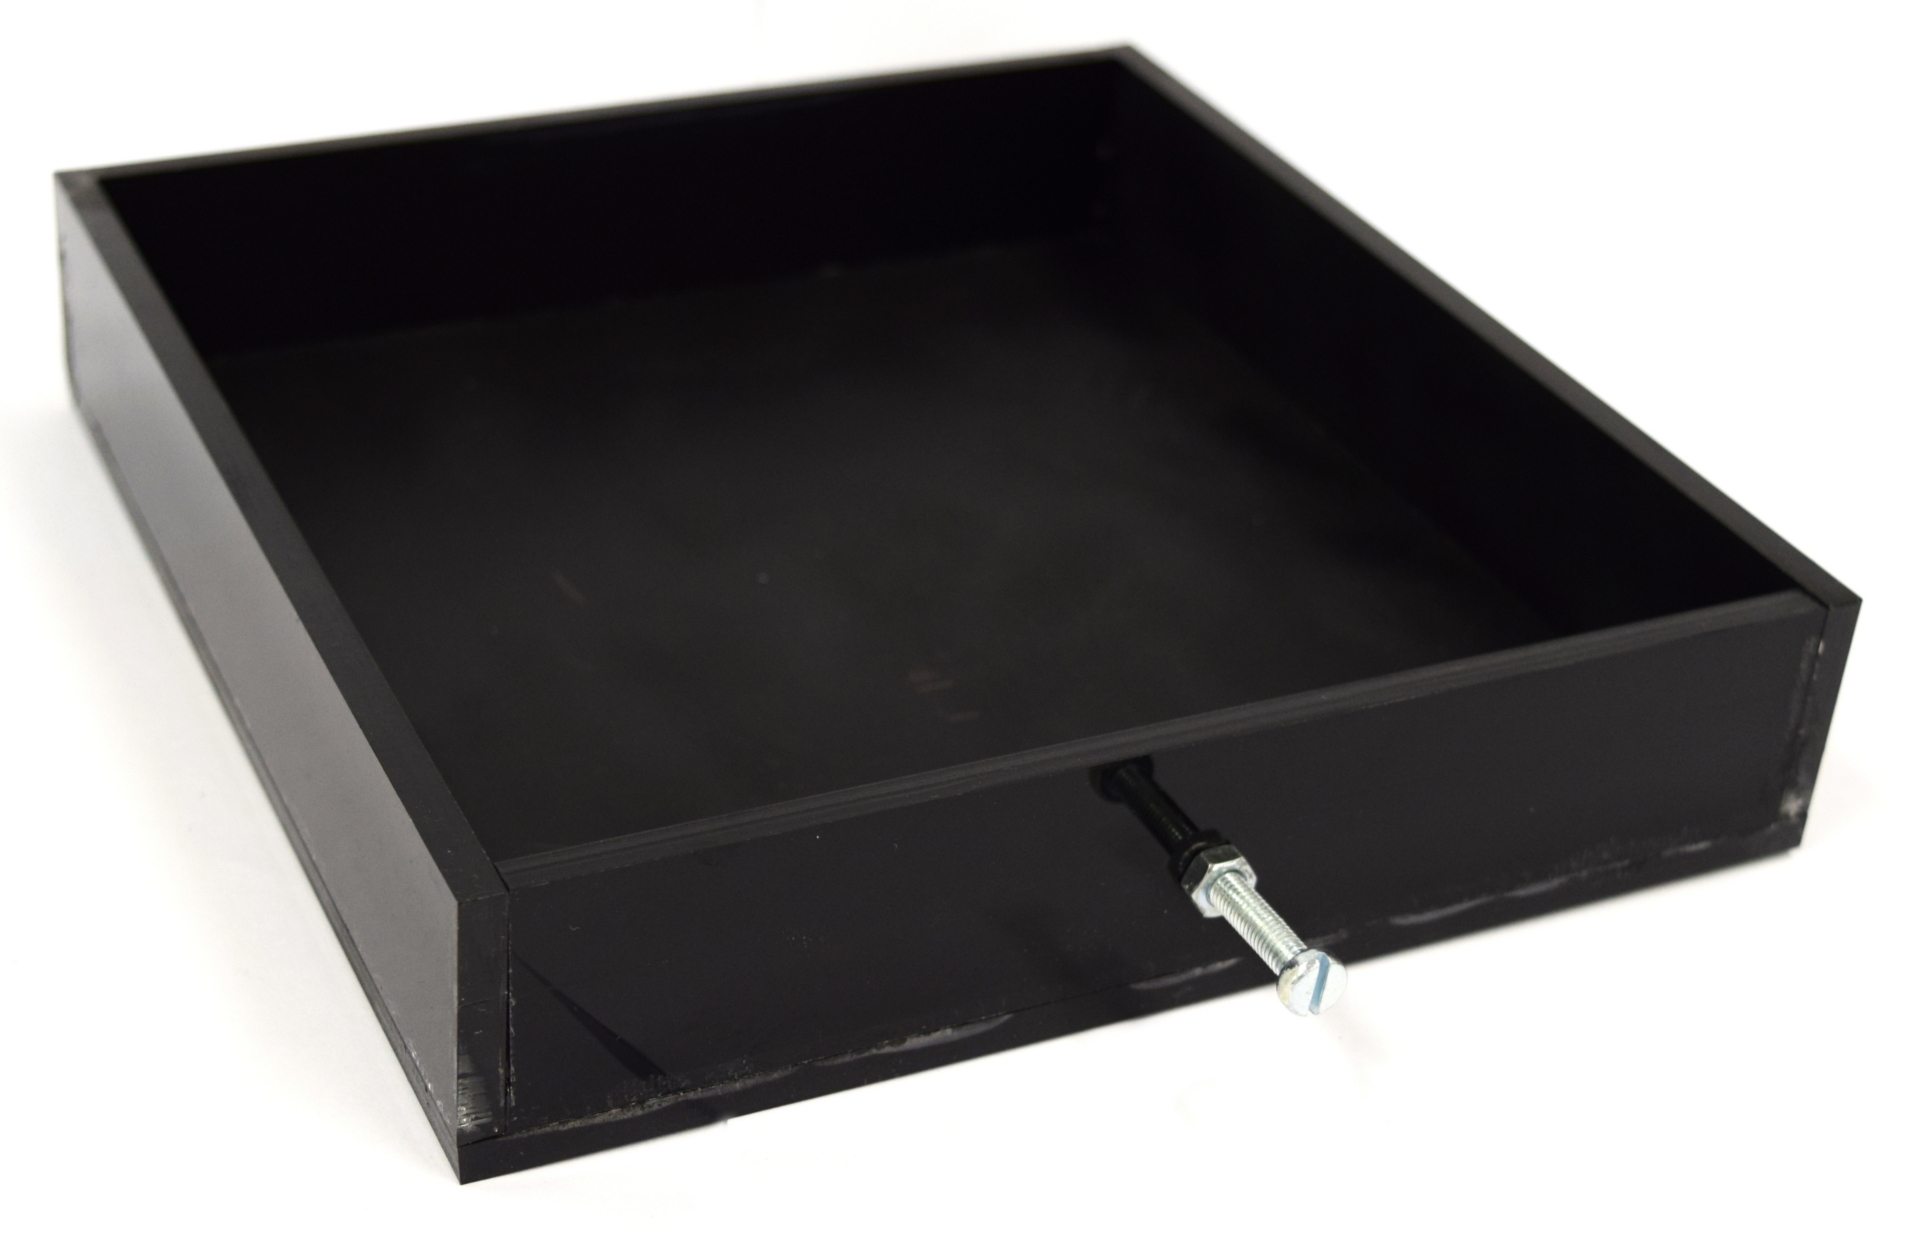
| - | | [[File:Aachen_Device_4.jpg| | + | | [[File:Aachen_Device_4.jpg|350px]] || Put together the drawer. |
|- | |- | ||
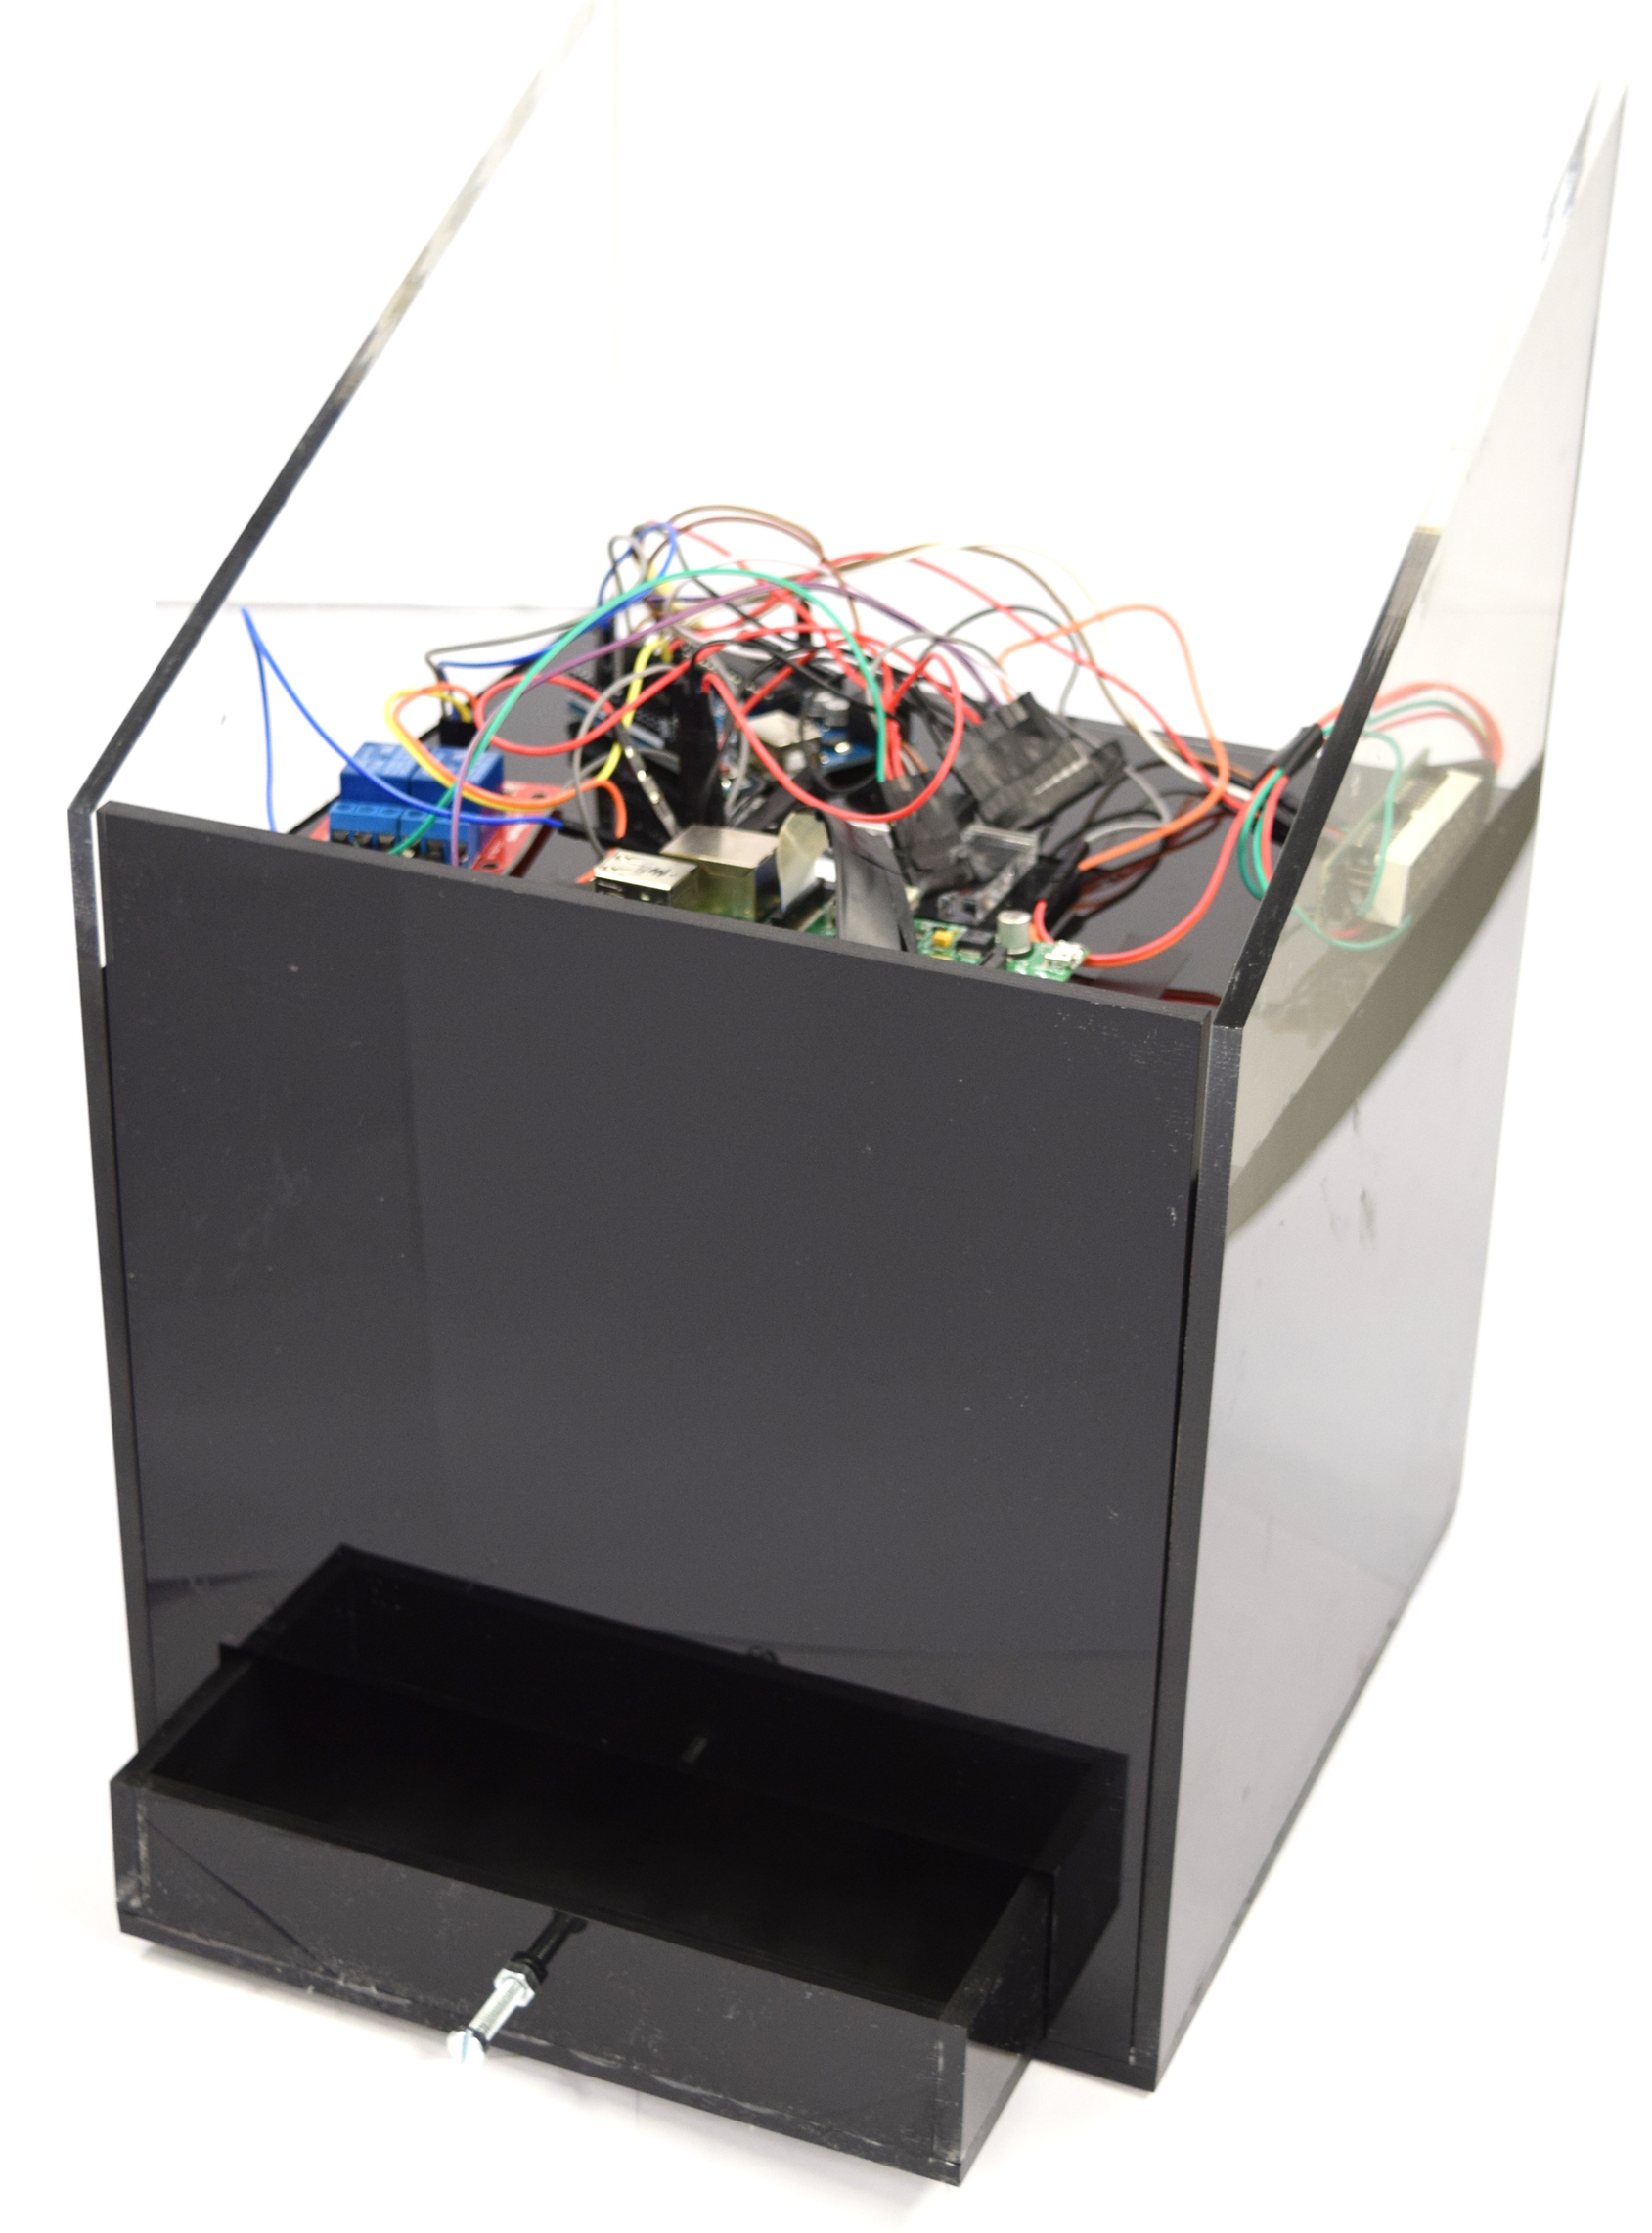
| - | | [[File:Aachen_Device_9.jpg| | + | | [[File:Aachen_Device_9.jpg|350px]] || Position the front panel and insert the drawer. |
|- | |- | ||
| - | | [[File:Aachen_Device_10.jpg| | + | | [[File:Aachen_Device_10.jpg|350px]] || Place the temperatur sensor for the aluminium block tempteratur directly on the block and put the back panel in front of it. |
|- | |- | ||
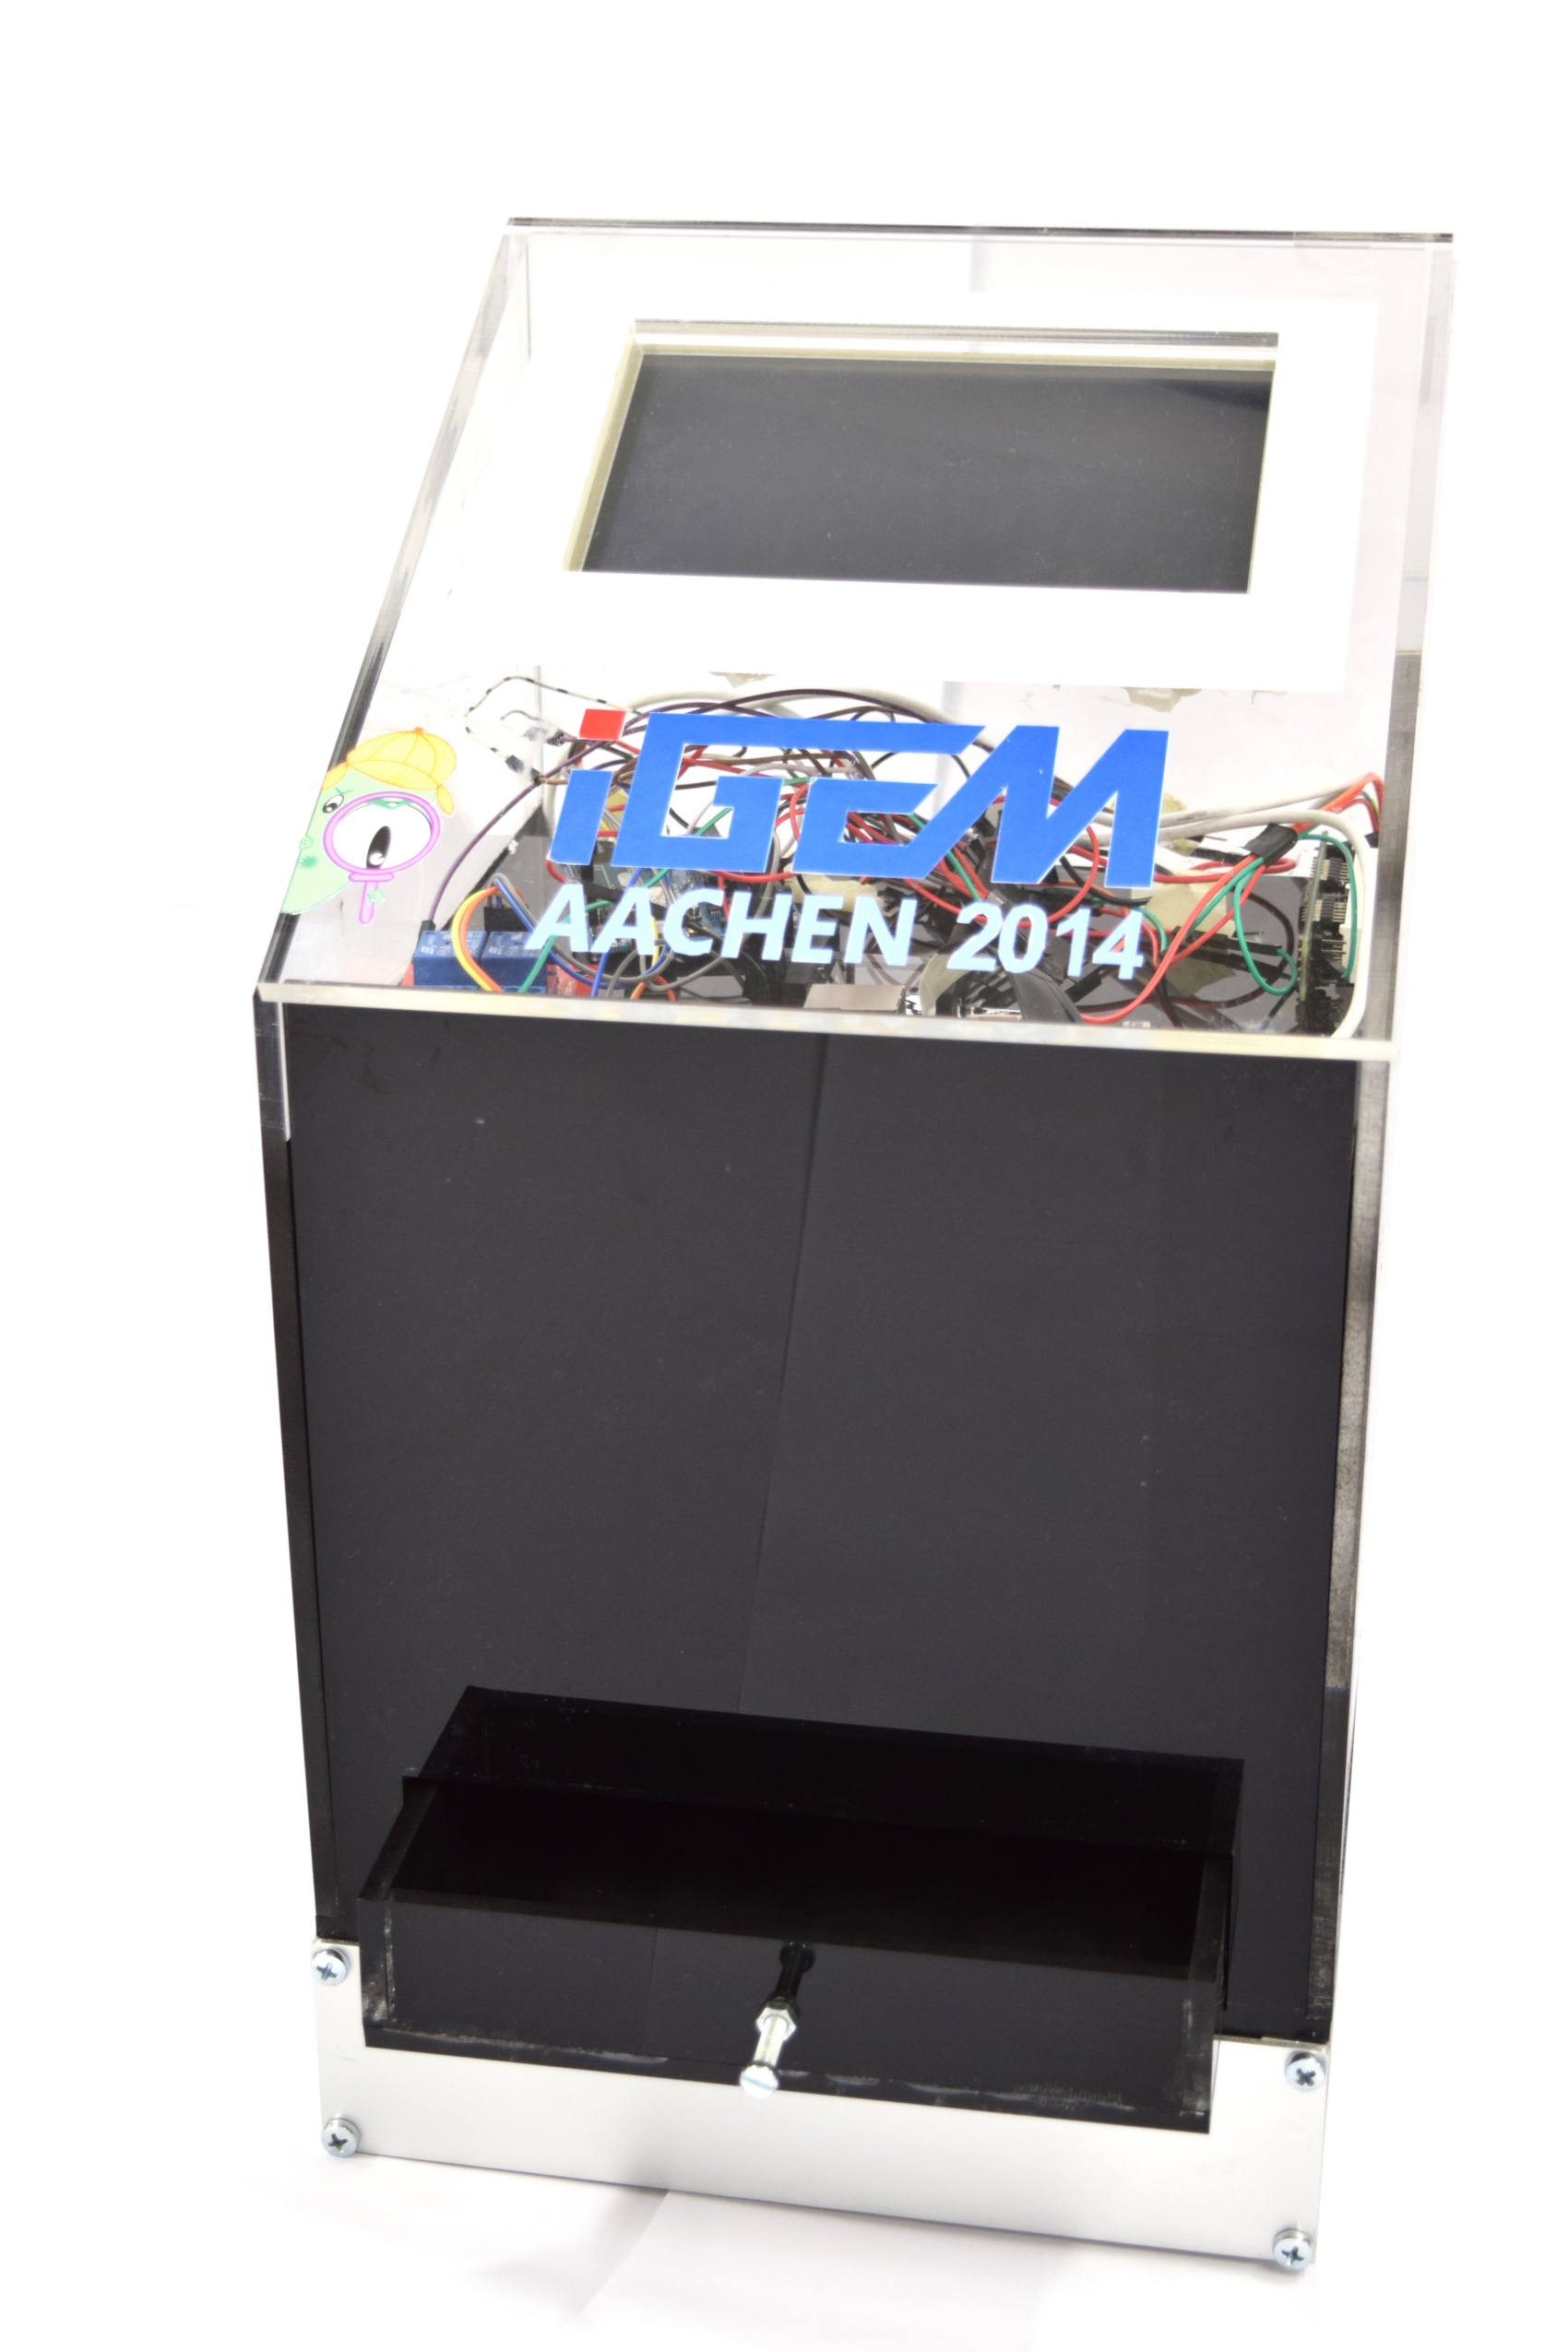
| - | | [[File:Aachen_Device_11.jpg| | + | | [[File:Aachen_Device_11.jpg|350px]] || Add the display and apply some stickers to enjoy your custom made ''WatsOn''. |
|} | |} | ||
{{Team:Aachen/Footer}} | {{Team:Aachen/Footer}} | ||
Revision as of 18:57, 12 October 2014
|
|
|
|
|
 "
"
![350px] [File:Aachen_Device_.3jpg](/wiki/images/7/7b/Aachen_Device_2_3.jpg)
