Team:Aachen/OD/F device
From 2014.igem.org
(→Getting your Device) |
(→Building your own OD/F device) |
||
| Line 60: | Line 60: | ||
= Building your own OD/F device = | = Building your own OD/F device = | ||
| - | { | + | {| class="wikitable" |
| + | ! !! | ||
| + | |- | ||
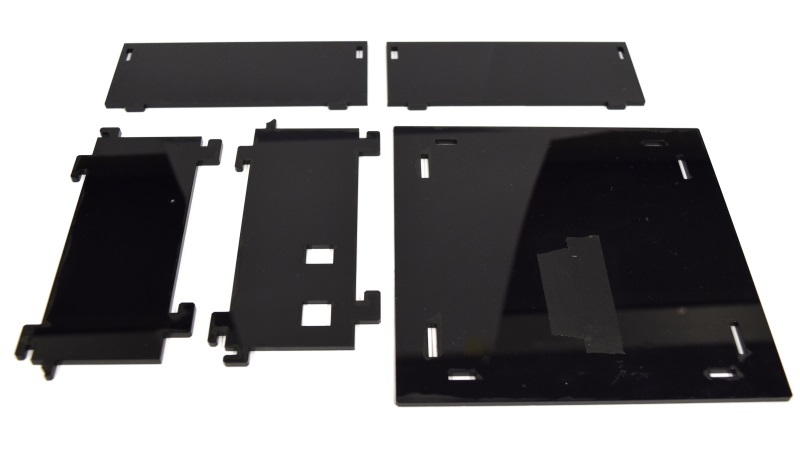
| + | | [[File:Aachen_ODF_9.JPG|300px]] || First take the cut casing. We really recommend using a laser cutter. | ||
| + | |- | ||
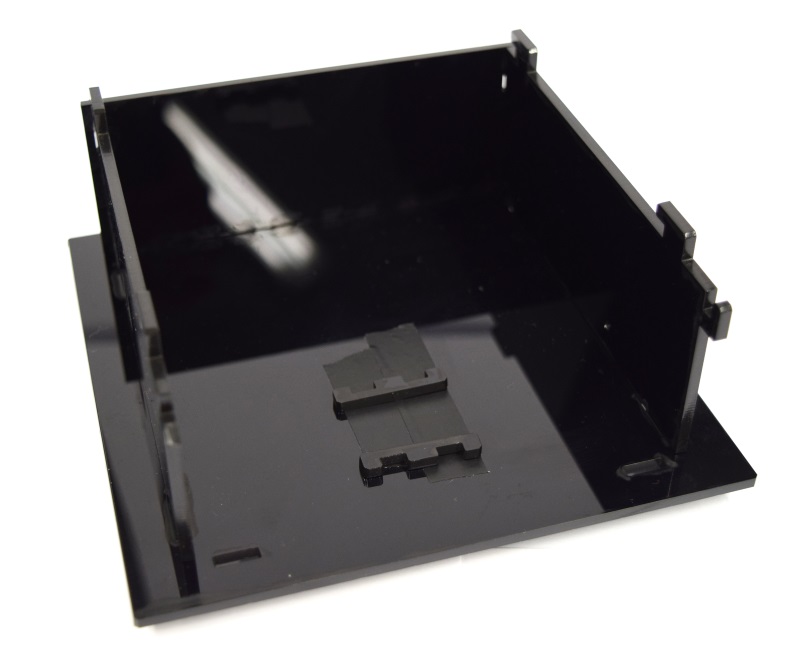
| + | | [[File:Aachen_ODF_8.JPG|300px]] || Attach the cuvette-holder holders such that the cuvette holder is placed directly under the opening hole. | ||
| + | |- | ||
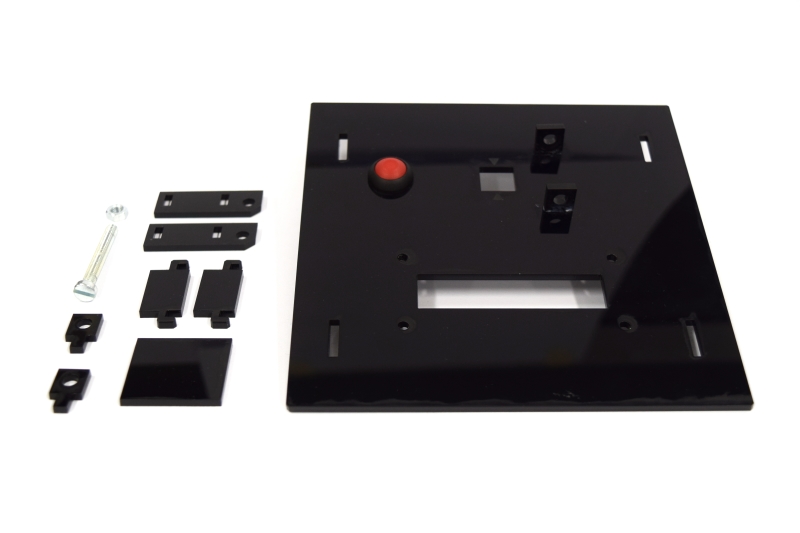
| + | | [[File:Aachen_ODF_4.JPG|300px]] || Next build the lid of the device. At this stage you can already mount the button. We recommend to glue any parts. | ||
| + | |- | ||
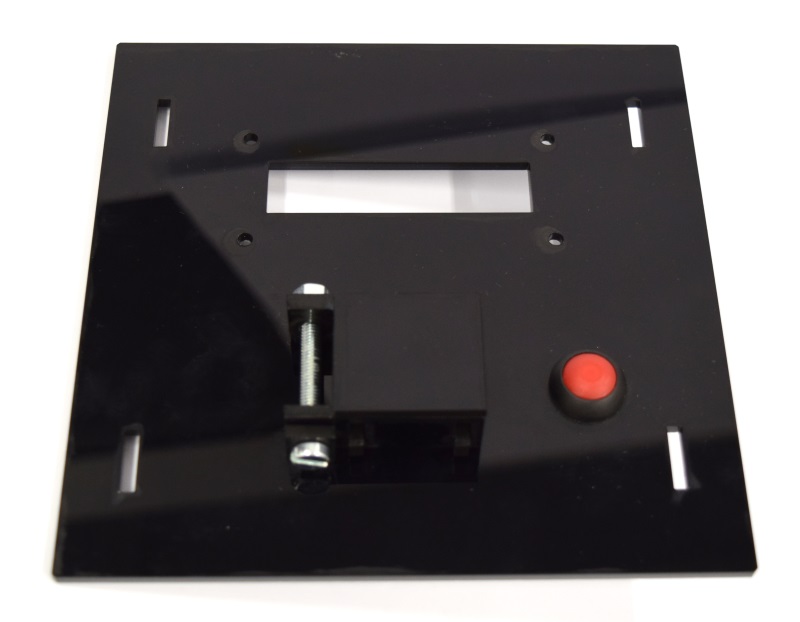
| + | | [[File:Aachen_ODF_3.JPG|300px]] || Your lid finally should look like this. | ||
| + | |- | ||
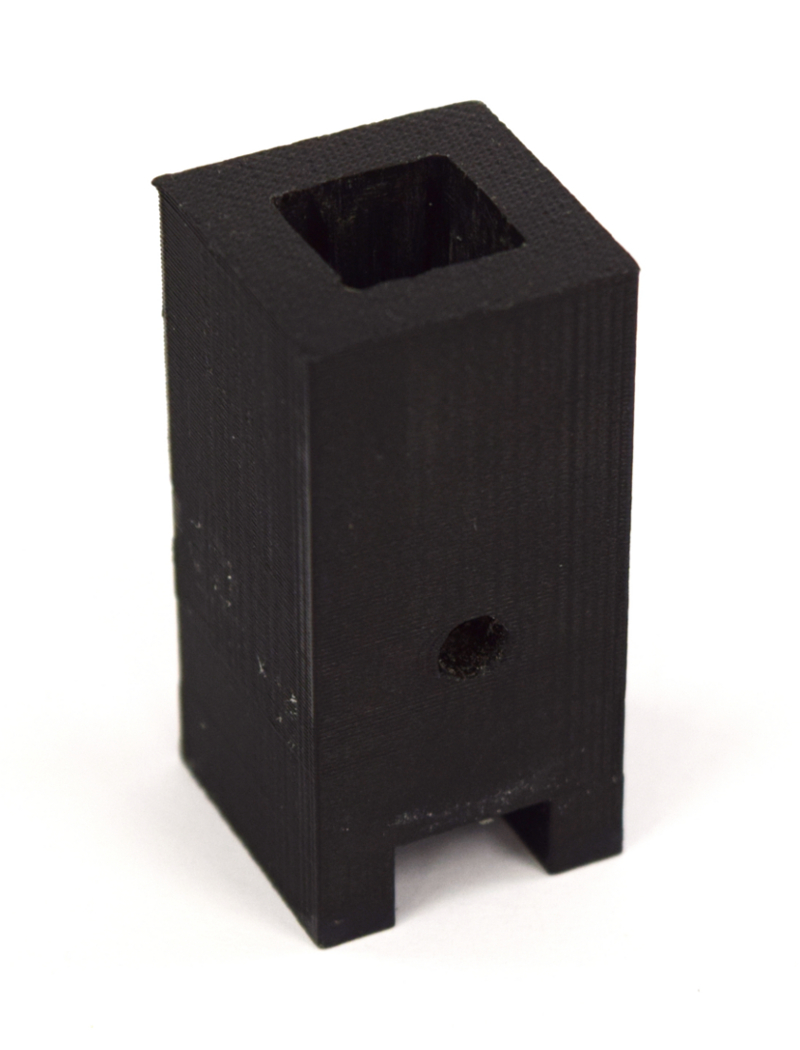
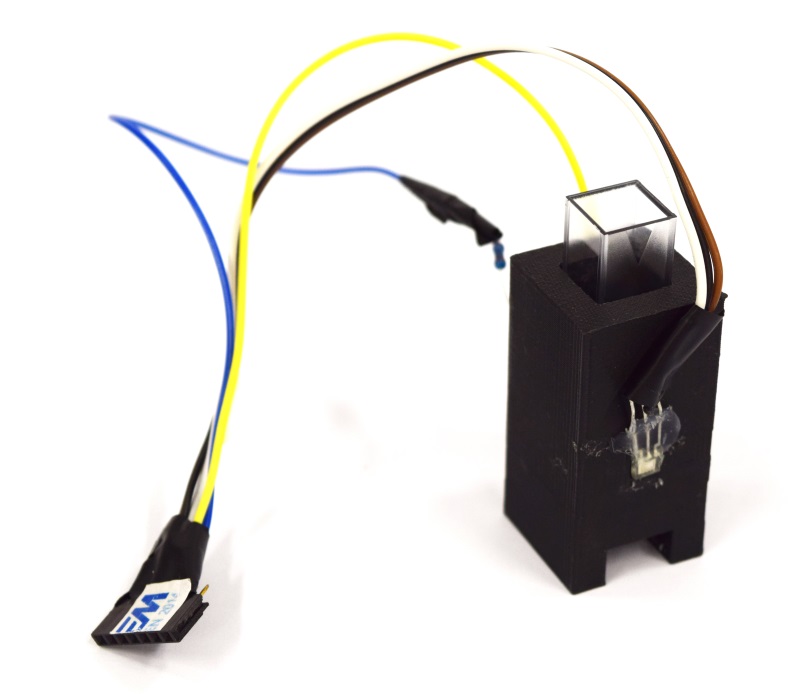
| + | | [[File:Aachen_ODF_11.JPG|150px]][[File:Aachen_ODF_10.JPG|150px]] || Next we want to assemble the cuvette holders. On the side with the square hole attach the light-to-frequency sensor with glue. For the OD case place the orange LED opposite, or for fluorescence, the LED in the hole in the bottom. Make sure to close any remaining open hole! | ||
| + | |- | ||
| + | | [[File:Aachen_ODF_12.JPG|300px]] || Your final assembly should then look like this. | ||
| + | |- | ||
| + | | [[File:Aachen_ODF_14.JPG|300px]] || 100.5 | ||
| + | |- | ||
| + | | [[File:Aachen_ODF_1.JPG|300px]] || 100.5 | ||
| + | |- | ||
| + | | [[File:Aachen_ODF_2.JPG|300px]] || 100.5 | ||
| + | |- | ||
| + | | [[File:Aachen_ODF_13.JPG|300px]] || 100.5 | ||
| + | |- | ||
| + | | [[File:Aachen_ODF_6.JPG|300px]] || 100.5 | ||
| + | |- | ||
| + | | [[File:Aachen_ODF_12.JPG|300px]] || 100.5 | ||
| + | |- | ||
| + | | [[File:Aachen_ODF_13.JPG|300px]] || 100.5 | ||
| + | |- | ||
| + | | [[File:Aachen_ODF_14.JPG|300px]] || 100.5 | ||
| + | |- | ||
| + | | [[File:Aachen_ODF_15.JPG|300px]] || 100.5 | ||
| + | |} | ||
Revision as of 22:35, 9 October 2014
|
|
|
|
 "
"
