Team:Aachen/Notebook/Engineering/WatsOn
From 2014.igem.org
Aschechtel (Talk | contribs) (→Hardware) |
|||
| Line 134: | Line 134: | ||
<span class="anchor" id="watsondiy"></span> | <span class="anchor" id="watsondiy"></span> | ||
| + | ==Technical Components== | ||
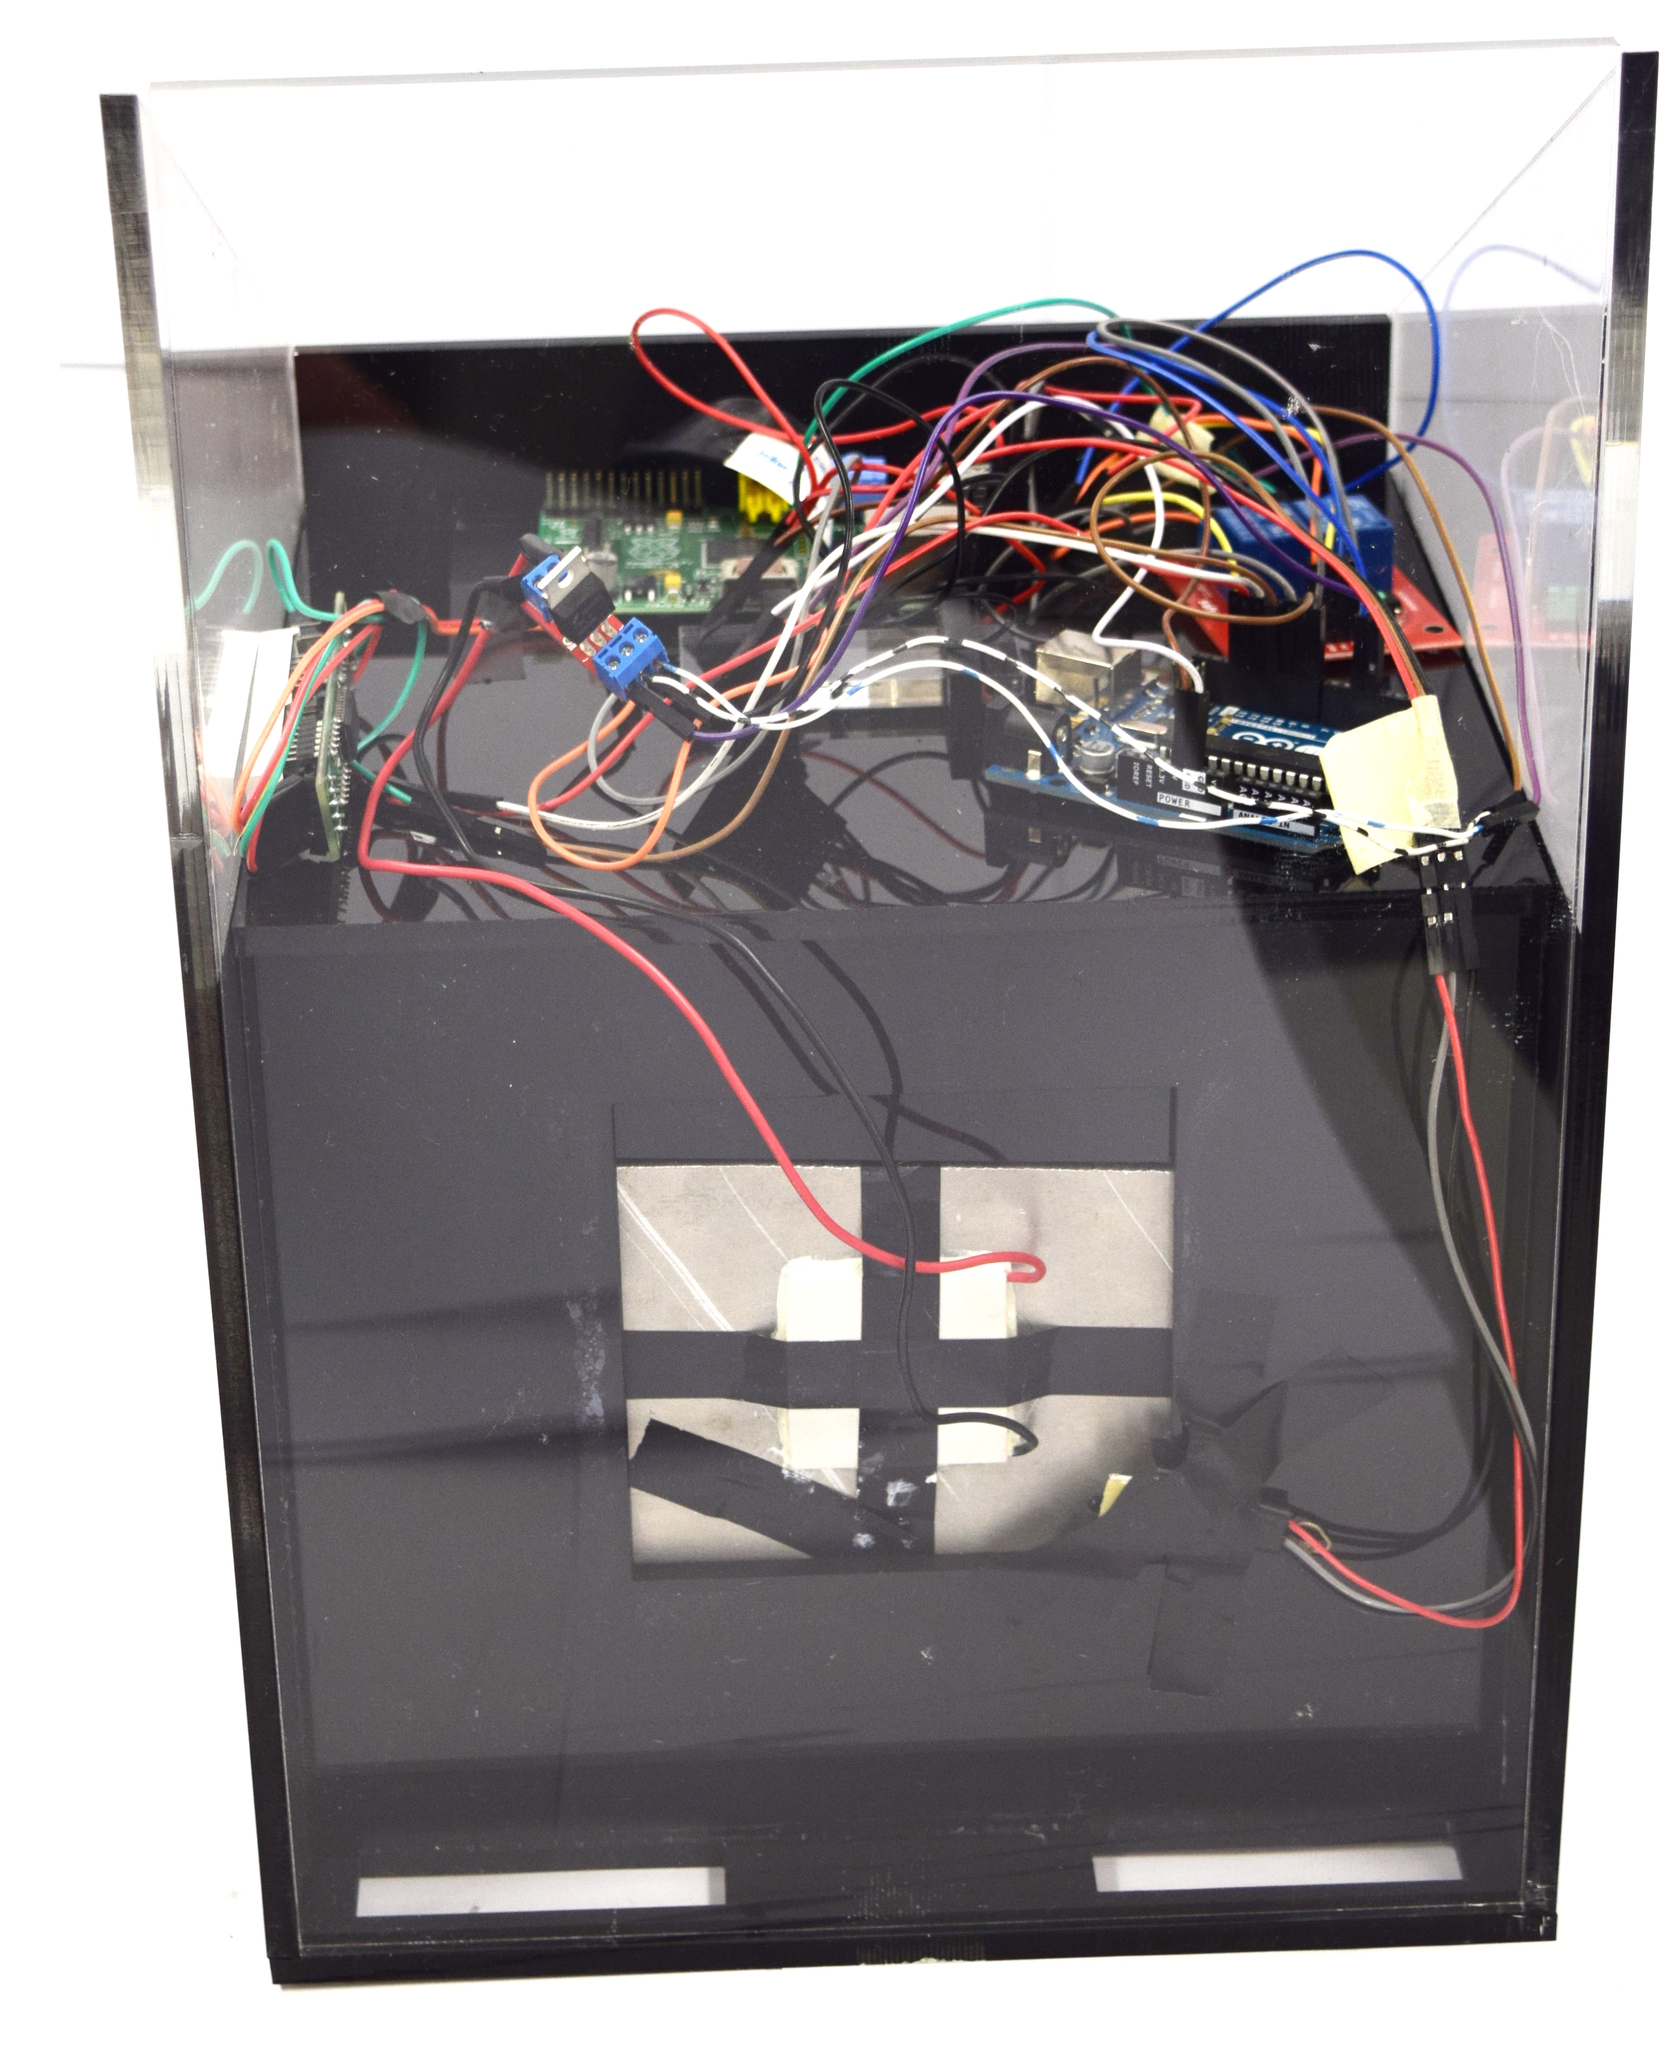
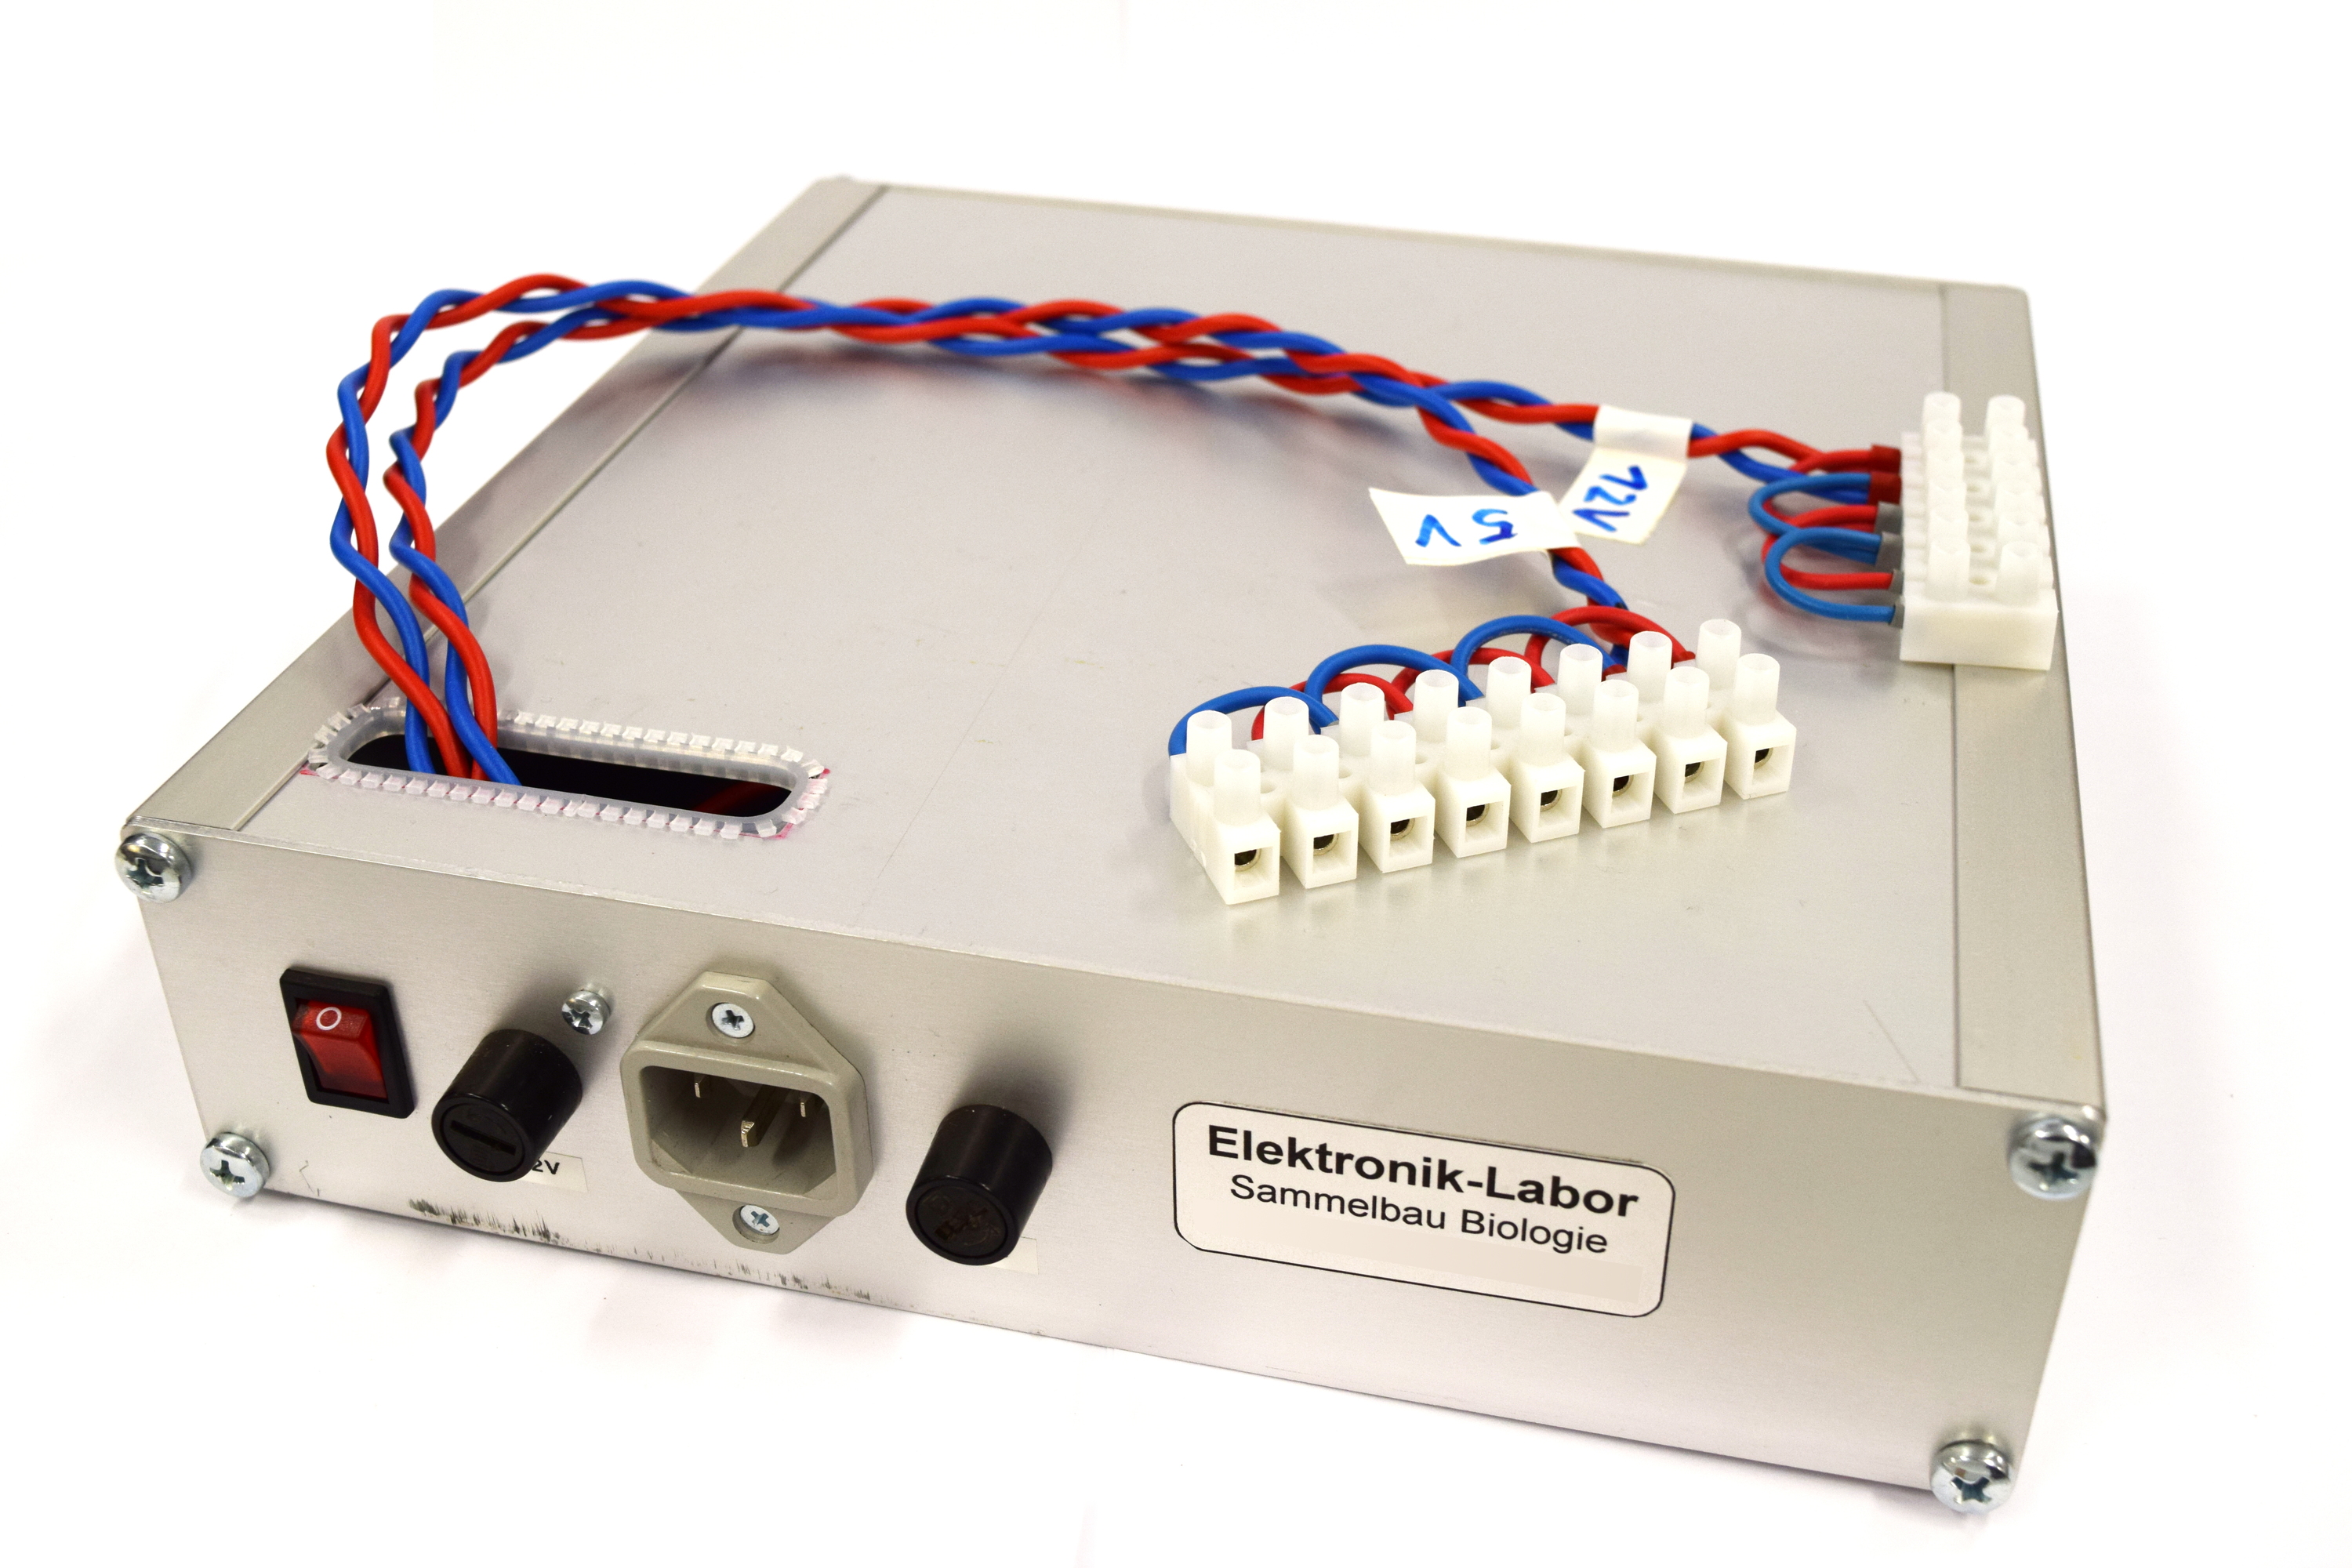
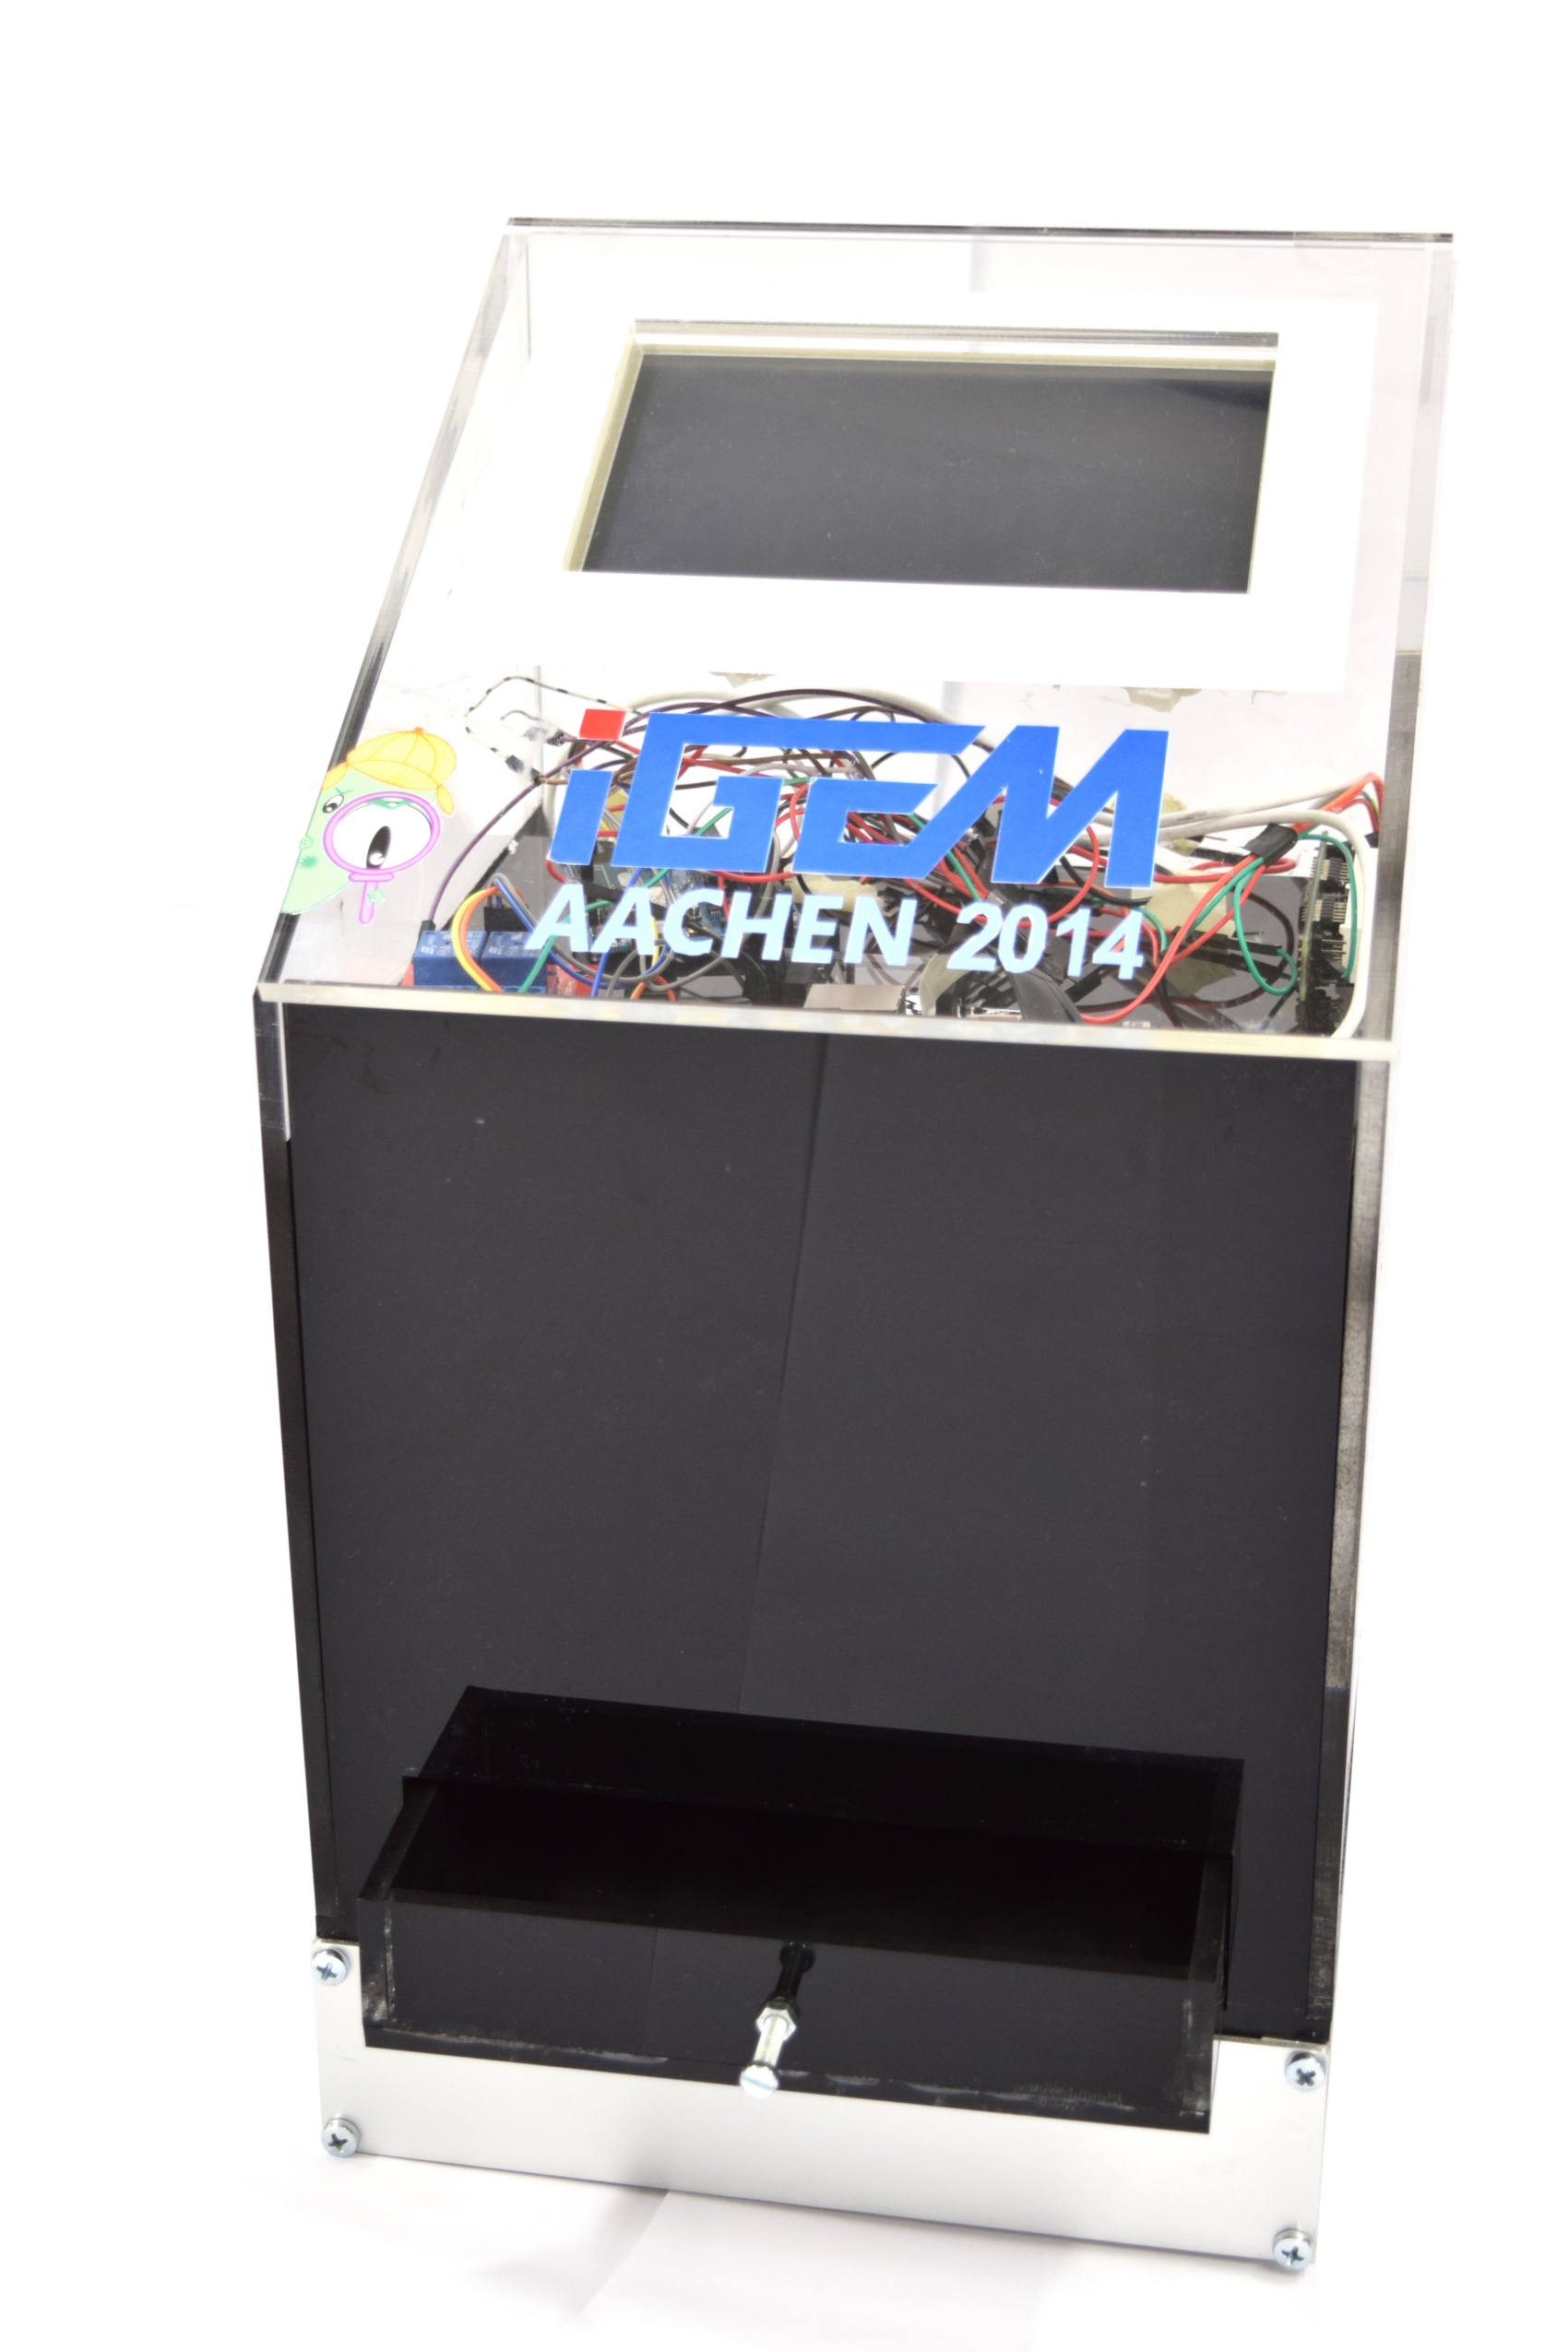
If you want to create your own ''WatsOn'' first take a look at the following list of necessary components. All parts except the laser cutted acrylic glass only need to be bought. | If you want to create your own ''WatsOn'' first take a look at the following list of necessary components. All parts except the laser cutted acrylic glass only need to be bought. | ||
| Line 206: | Line 207: | ||
For building our '''WatsOn''' we used some tools that are not included in the list of necessary components because we assume that they are already available. We used a soldering iron to solder the resistors to the LEDs and fix the headers on the mount of the LEDs. For building electrical circuits our multimeter was very helpful. Furthermore we applied special glue for plastic to hold the acrylic glass in place. All other components were fixed with tape or hot glue which is versatile and can be removed quickly during alignment of components. | For building our '''WatsOn''' we used some tools that are not included in the list of necessary components because we assume that they are already available. We used a soldering iron to solder the resistors to the LEDs and fix the headers on the mount of the LEDs. For building electrical circuits our multimeter was very helpful. Furthermore we applied special glue for plastic to hold the acrylic glass in place. All other components were fixed with tape or hot glue which is versatile and can be removed quickly during alignment of components. | ||
| + | |||
| + | ==Breadboard== | ||
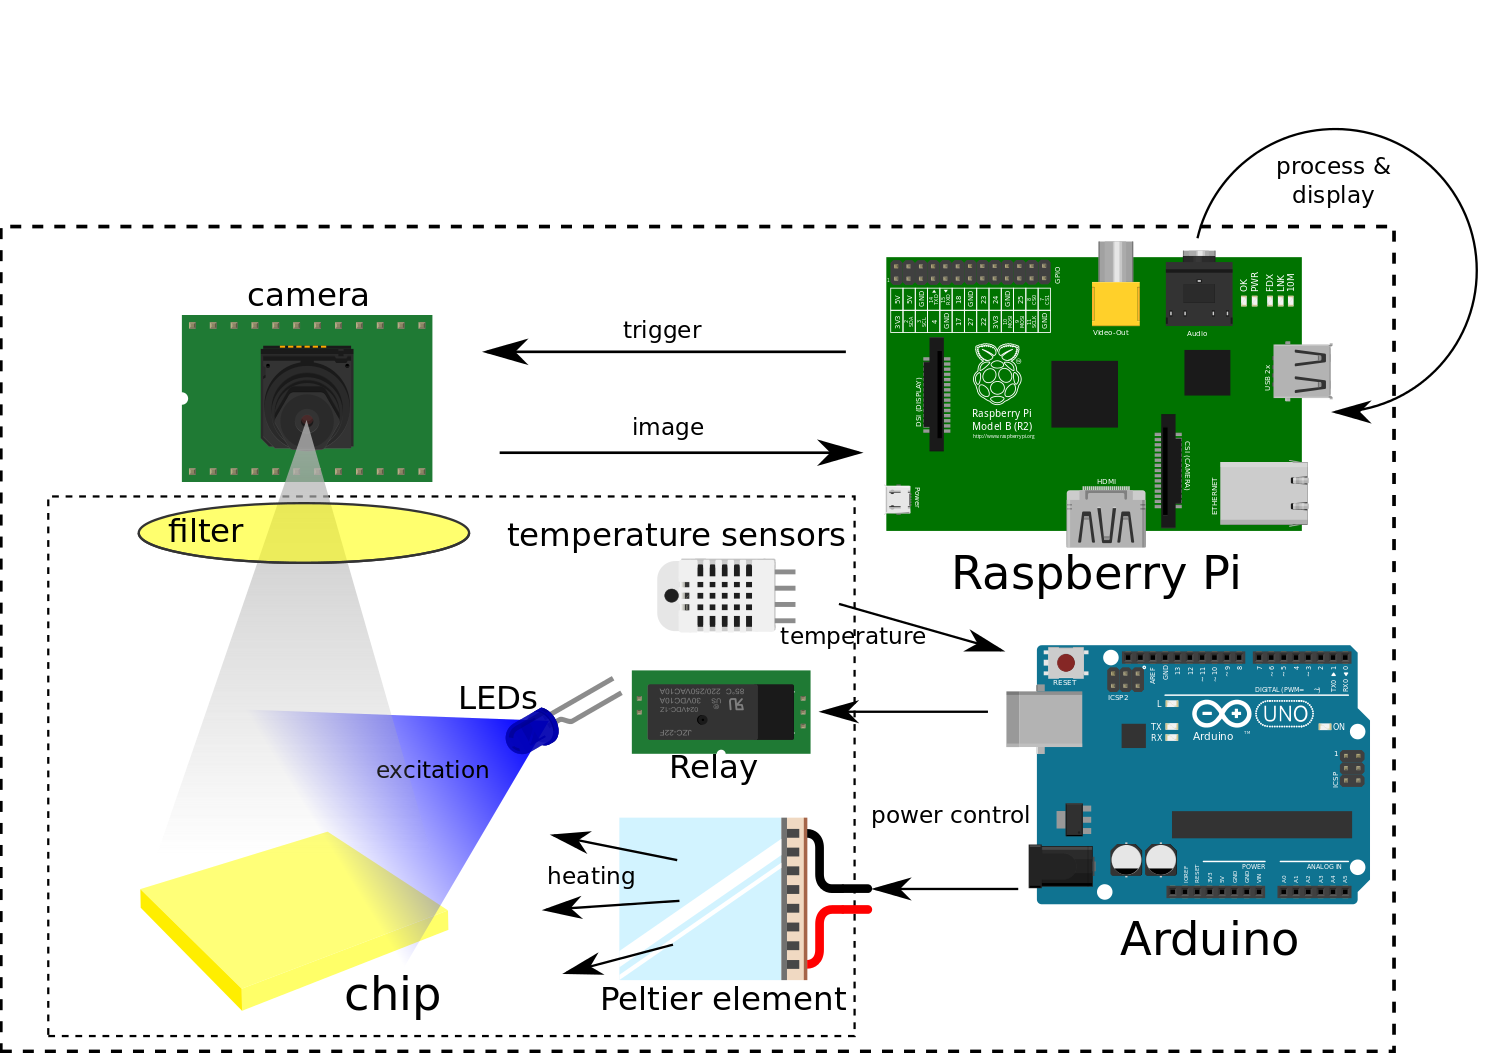
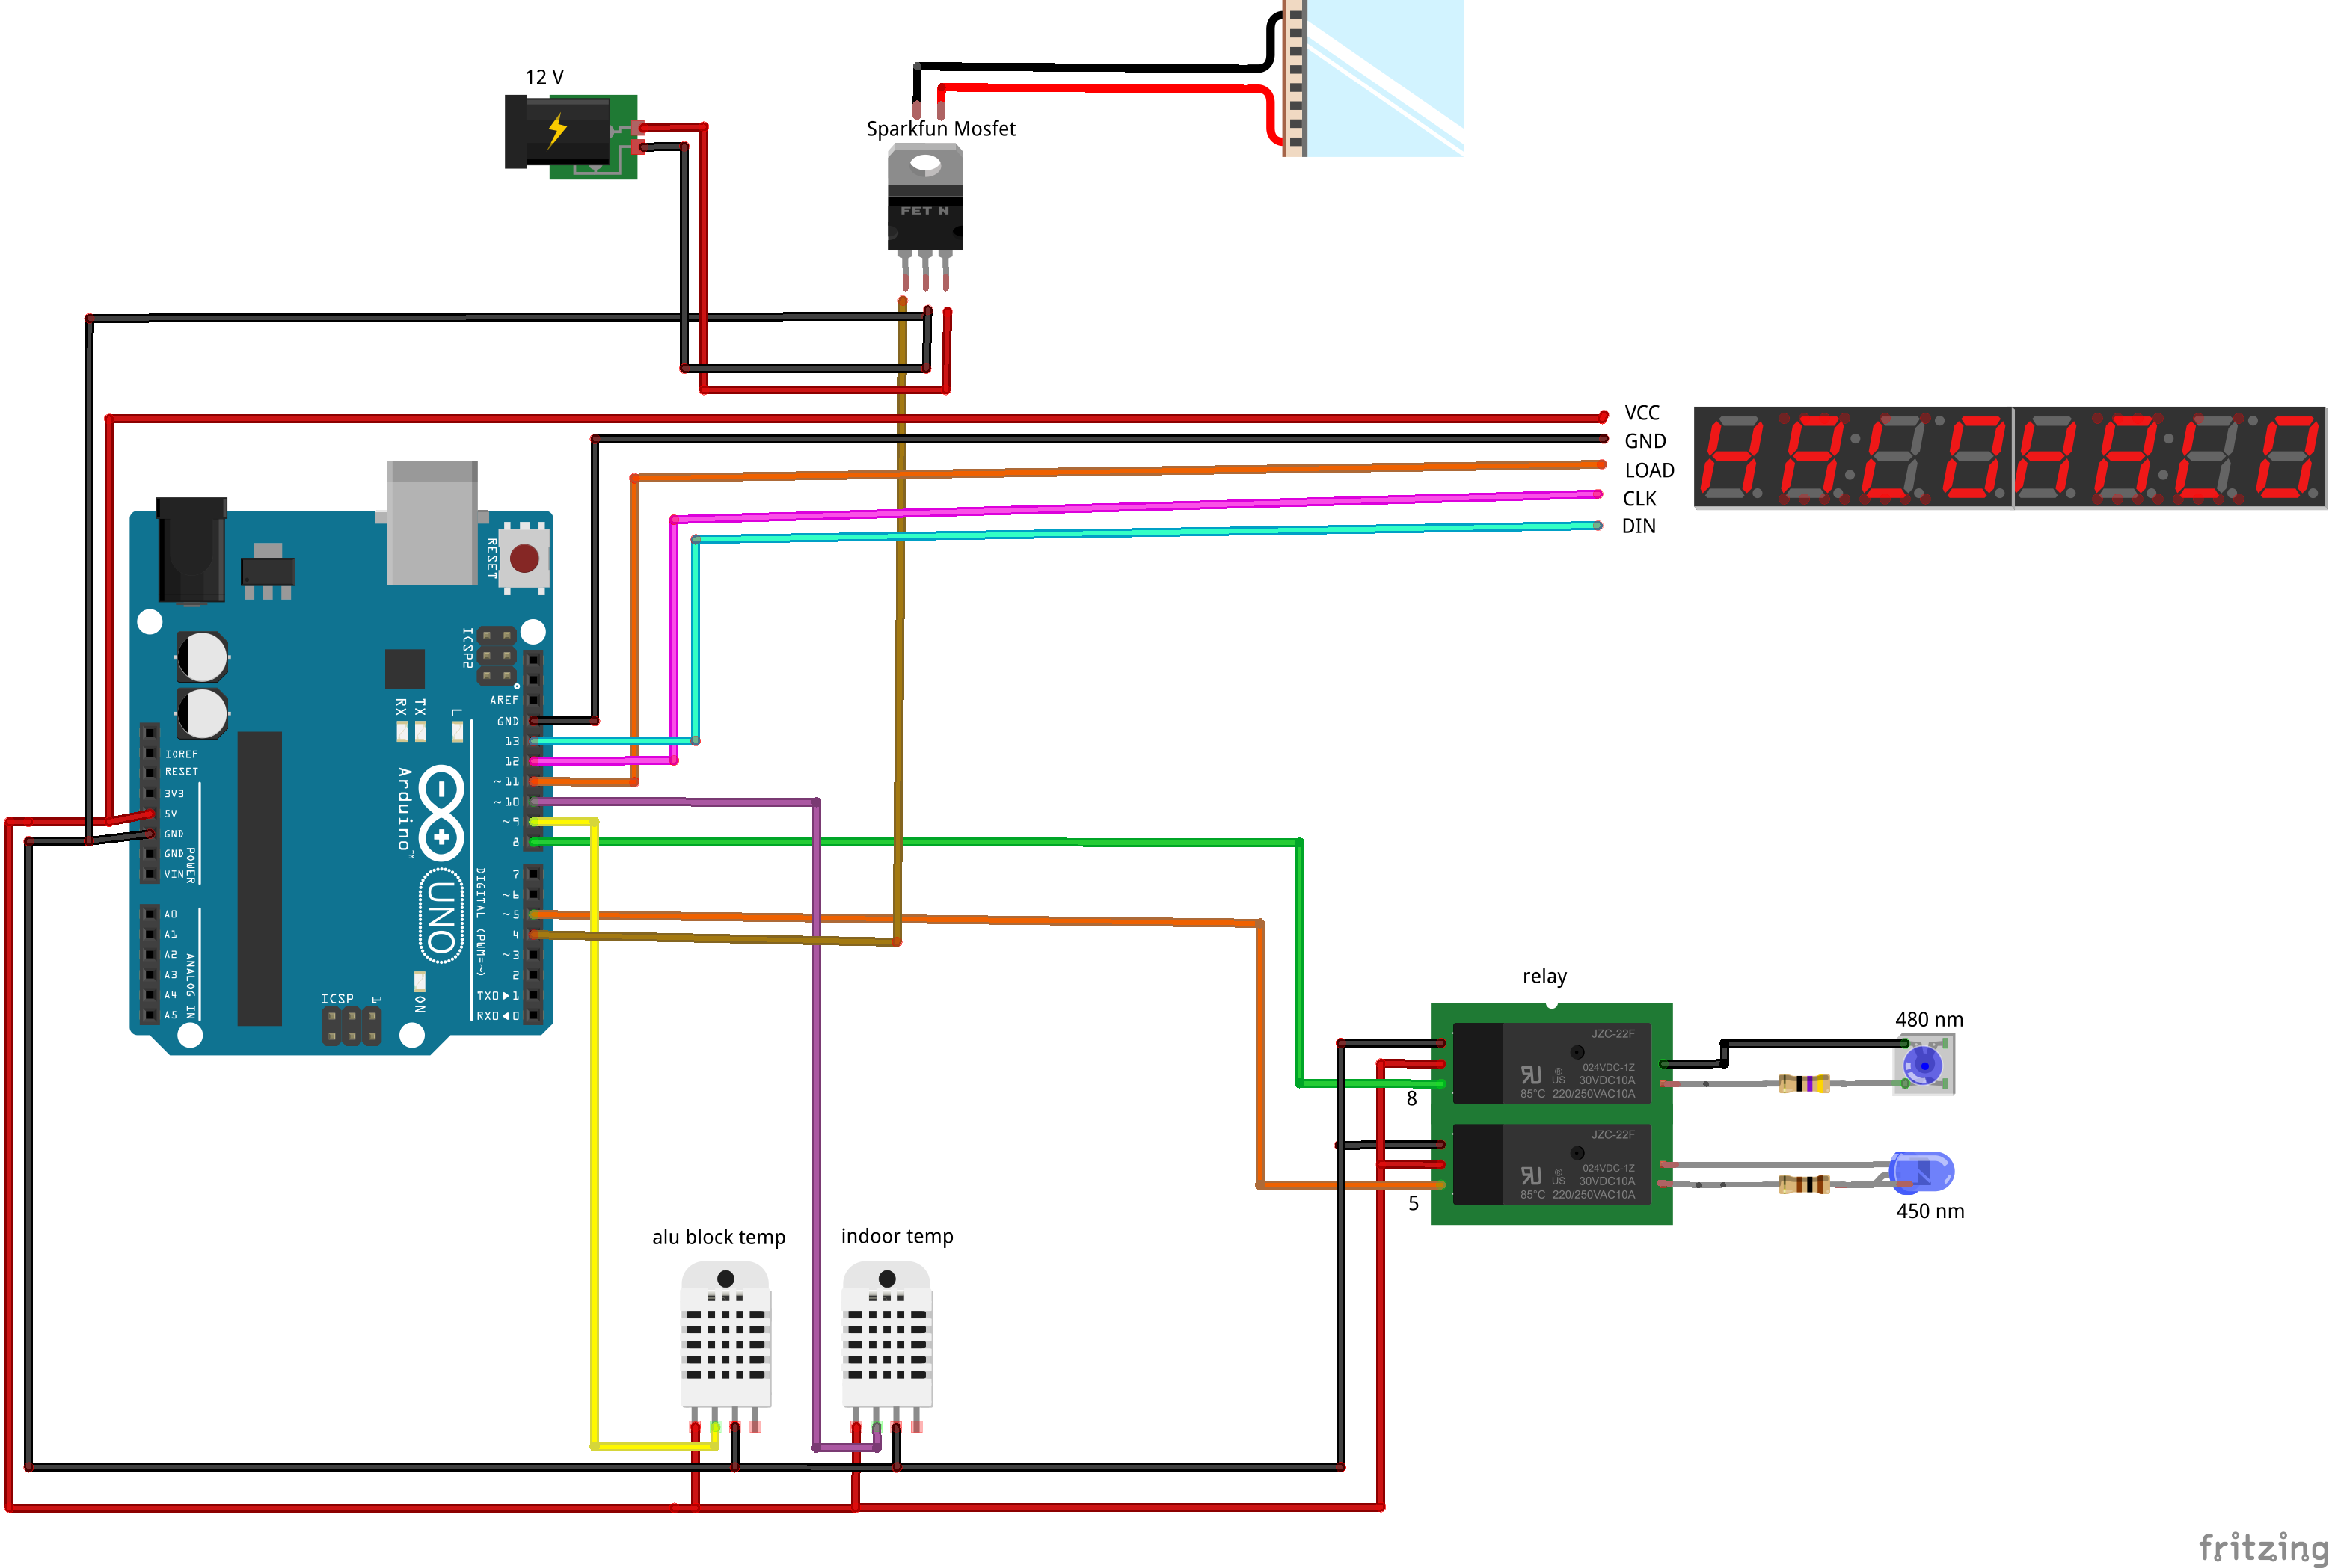
{{Team:Aachen/Figure|Aachen_Device_Fritzing.png|align=center|title=Wiring of our device||width=900px}} | {{Team:Aachen/Figure|Aachen_Device_Fritzing.png|align=center|title=Wiring of our device||width=900px}} | ||
| + | |||
| + | ==Construction Manual== | ||
{| class="wikitable centered" | {| class="wikitable centered" | ||
| Line 234: | Line 239: | ||
</html> | </html> | ||
| - | + | == Raspberry Pi - Setup == | |
| - | + | ||
| - | = Raspberry Pi - Setup = | + | |
<span class="anchor" id="pisetup"></span> | <span class="anchor" id="pisetup"></span> | ||
| Line 256: | Line 259: | ||
* In order to be able to connect to the Raspberry Pi you need to be connected to the same network. Therefore make sure the Raspberry Pi usb wifi stick is working properly [see Troubleshooting & useful links] and you reside in the same network. Start the backend server on the Raspberry, it will print the IP address on startup which you must enter in the GUI on your device running the GUI. Now you should be able to use all the features as if running the GUI on the Raspberry Pi. | * In order to be able to connect to the Raspberry Pi you need to be connected to the same network. Therefore make sure the Raspberry Pi usb wifi stick is working properly [see Troubleshooting & useful links] and you reside in the same network. Start the backend server on the Raspberry, it will print the IP address on startup which you must enter in the GUI on your device running the GUI. Now you should be able to use all the features as if running the GUI on the Raspberry Pi. | ||
| - | == Troubleshooting & | + | === Troubleshooting & Useful Links === |
* Display resolution: if your connected display is not working properly you may refer to | * Display resolution: if your connected display is not working properly you may refer to | ||
Revision as of 07:48, 17 October 2014
|
|
|
|
 "
"


![350px] [File:Aachen_Device_.3jpg](/wiki/images/7/7b/Aachen_Device_2_3.jpg)
