Team:Aachen/OD/F device

From 2014.igem.org

(Difference between revisions)
(Building your own OD/F device)
Line 59: Line 59:
= Building your own OD/F device =
-
 
+
<center>
{| class="wikitable"
! k !! kk  
! k !! kk  
Line 87: Line 87:
| [[File:Aachen_ODF_7.JPG|300px]] || Congratulations! You have finished constructing your own OD/F device!
| [[File:Aachen_ODF_7.JPG|300px]] || Congratulations! You have finished constructing your own OD/F device!
|}
|}
 +
</center>

Revision as of 22:46, 9 October 2014

OD/F device

Measuring Optical Density (OD) is a central element in microbiological work and synthetic biology in general. Often the qeustion is, how many cells are in a suspension. The OD can give you a hint.

Commercial OD meters cost several hundred dollars ([http://www.laboratory-equipment.com/laboratory-equipment/cell-density-meter.php OD meter]), and can limit the spread of synthetic biology. Especially for BioHack-Spaces, DIY laboratories and schools we wanted to develop an alternative.

With our OD/F device we want to enable many to people for good, precise and cheap science.

Especially for the Interlab Study also fluorescence has been of importance. Here the correlation between OD and fluorescence should be measured. Since the taks of measuring OD and fluorescence are often performed at the same time, we want to present a device that can measure both with easy changes. Finally we can tell you, how much fluorescence there is per cells.

OD device

F device

Getting your Device

Table 1: Number of pieces, components and costs for building your own OD/F device

number of pieces components costs [$] order e.g. from
1arduino UNO R312.66
2light to frequency sensor TSL 235R5.90
1display 2x16 l2C18.97
2LEDs2.50
1taster5.23
1filter slide5.20
20jumper-wire-cable2.36
2small breadboards3.00
1power supply5.00
1 case20.24
2cuvettes-holder15.95
-odds and ends like header sockt/pins2.52-
-total99.53-

Building your own OD/F device

k kk
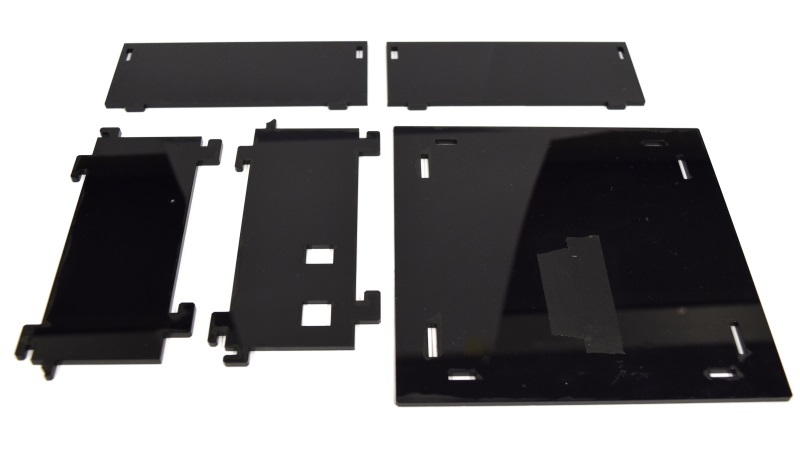
Aachen ODF 9.JPG First take the cut casing. We really recommend using a laser cutter.
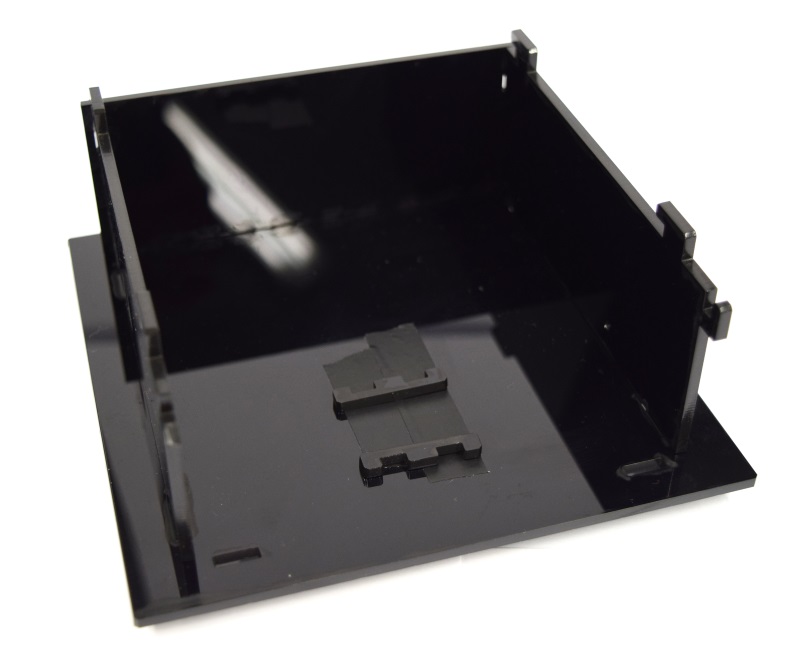
Aachen ODF 8.JPG Attach the cuvette-holder holders such that the cuvette holder is placed directly under the opening hole.
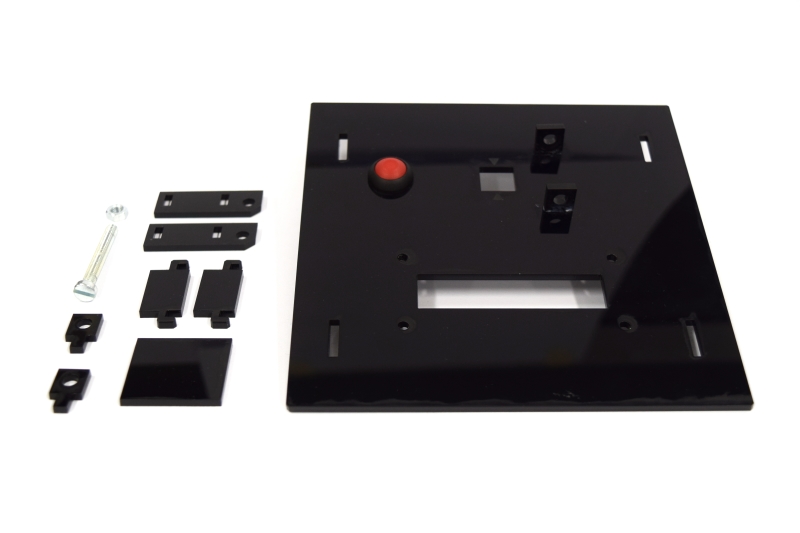
Aachen ODF 4.JPG Next build the lid of the device. At this stage you can already mount the button. We recommend to glue any parts.
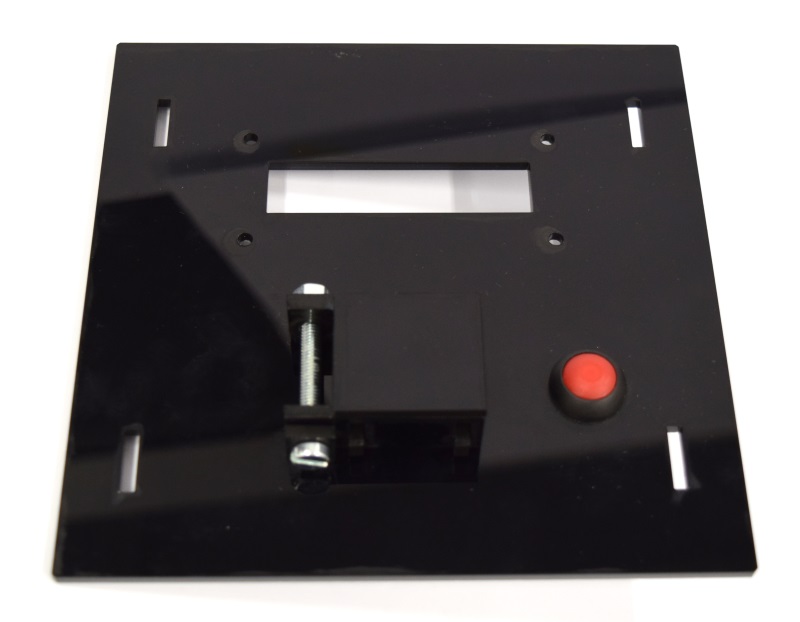
Aachen ODF 3.JPG Your lid finally should look like this.
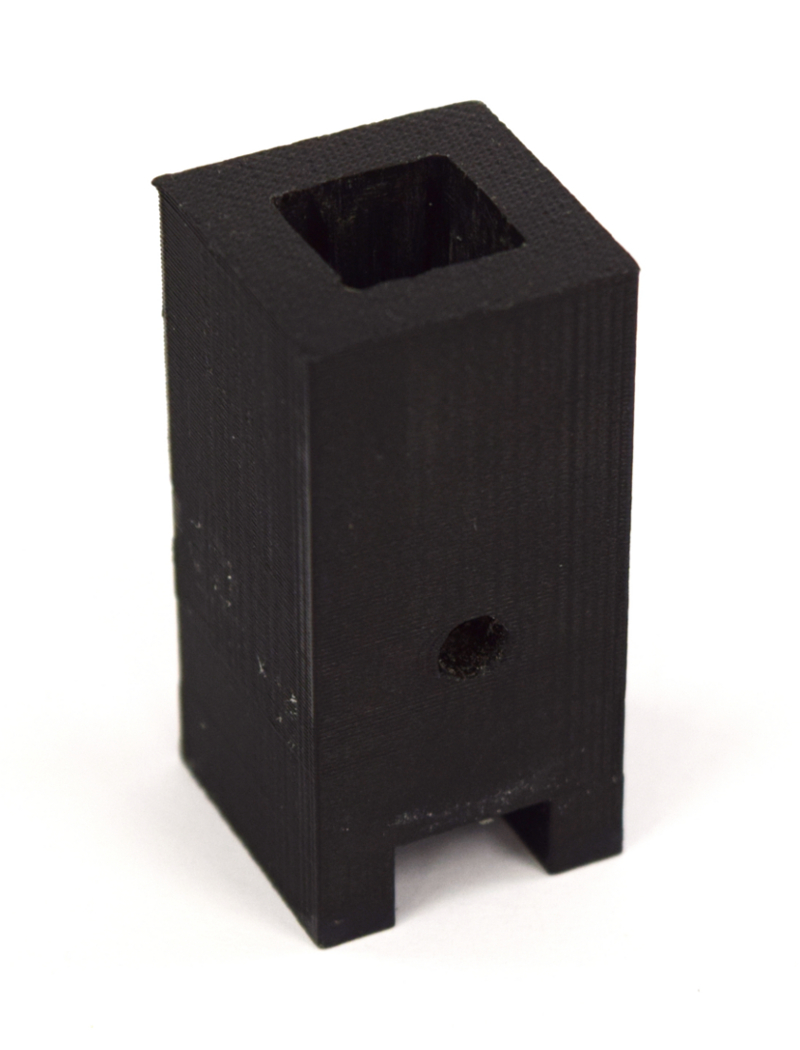
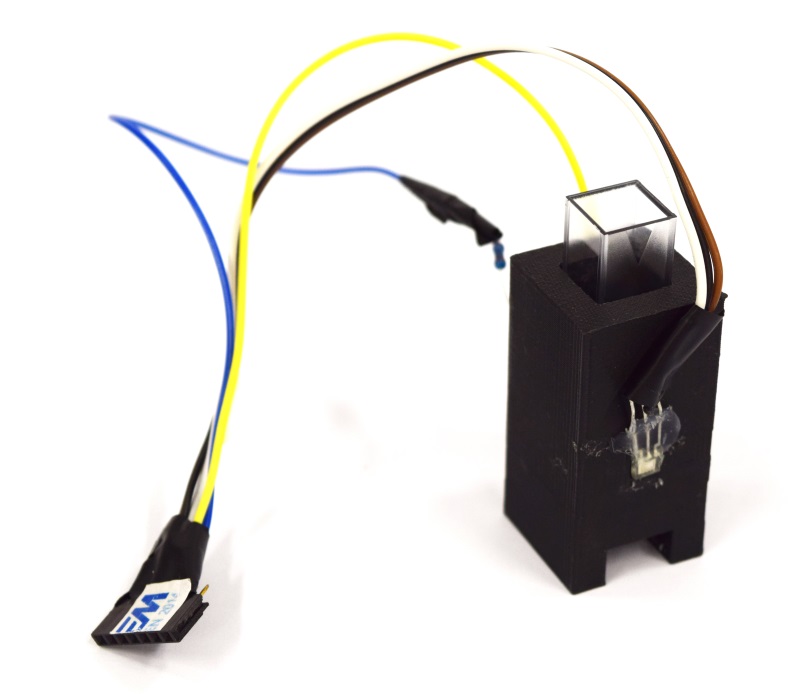
Aachen ODF 11.JPGAachen ODF 10.JPG Next we want to assemble the cuvette holders. On the side with the square hole attach the light-to-frequency sensor with glue. For the OD case place the orange LED opposite, or for fluorescence, the LED in the hole in the bottom. Make sure to close any remaining open hole!
Aachen ODF 12.JPG Your final assembly should then look like this.
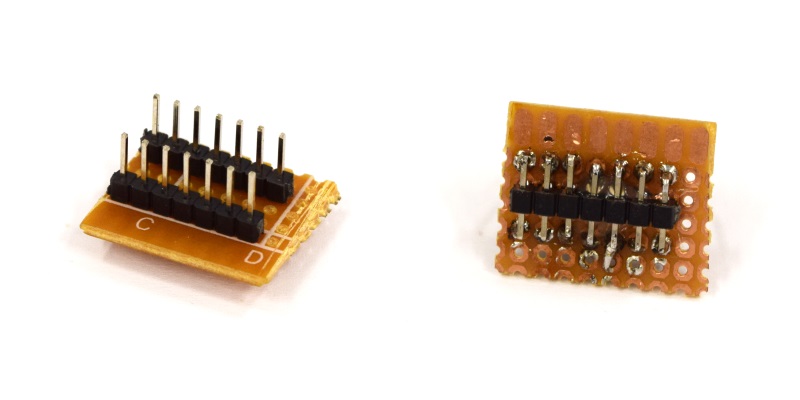
Aachen ODF 14.JPG As the case can be used for both, fluorescence and OD measurement, we use a combined plug. Just three header rows (7 pins) and connect them as we did.
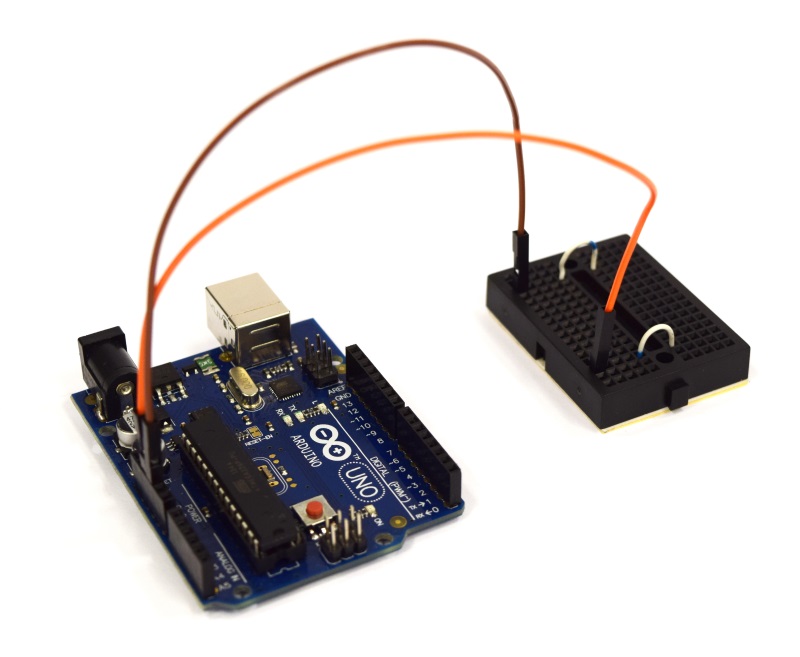
Aachen ODF 1.JPG Now we're doing the wiring. Connect the Arduino 5V and GND such that you have one 5V and one GND line on your breadboard.
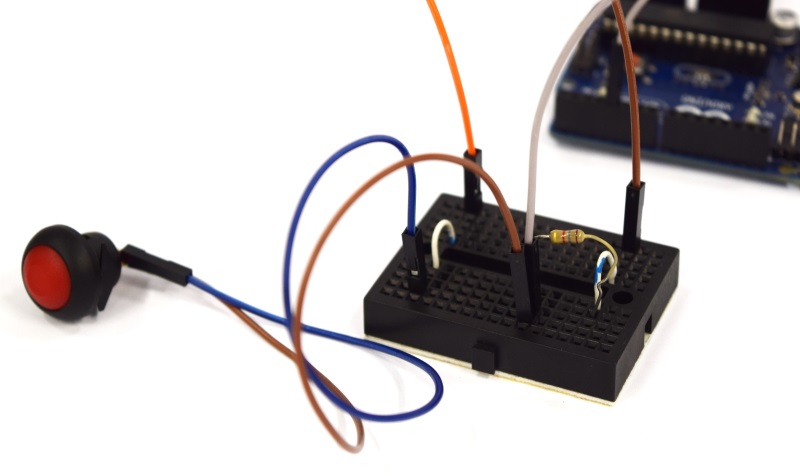
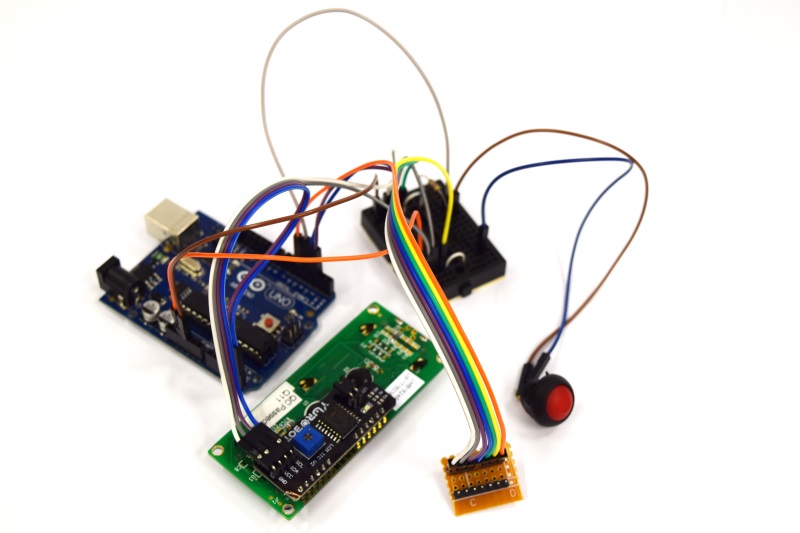
Aachen ODF 2.JPG Then connect the button to 5V on the one side, and to GND via a resistor on the other side. Connect this side also to port __ on your Arduino. This will sense the blank. Next connect the display to the Arduino and our connector. See the Fritzing diagram at the bottom for a detailed information.
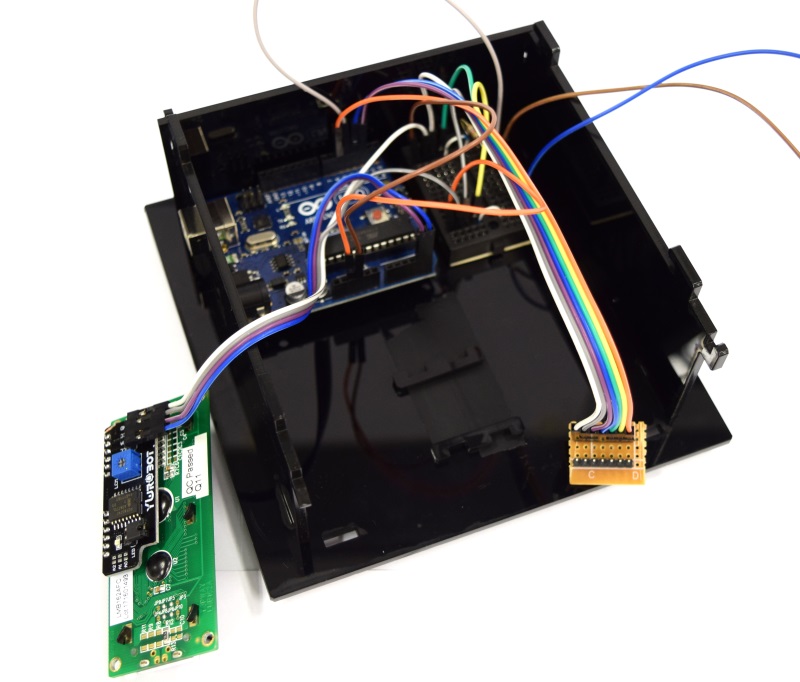
Aachen ODF 13.JPG Now put everything into the case and ...
Aachen ODF 6.JPG ... also place the cuvette holder into the device. Attach the display to the device lid and close the casing.
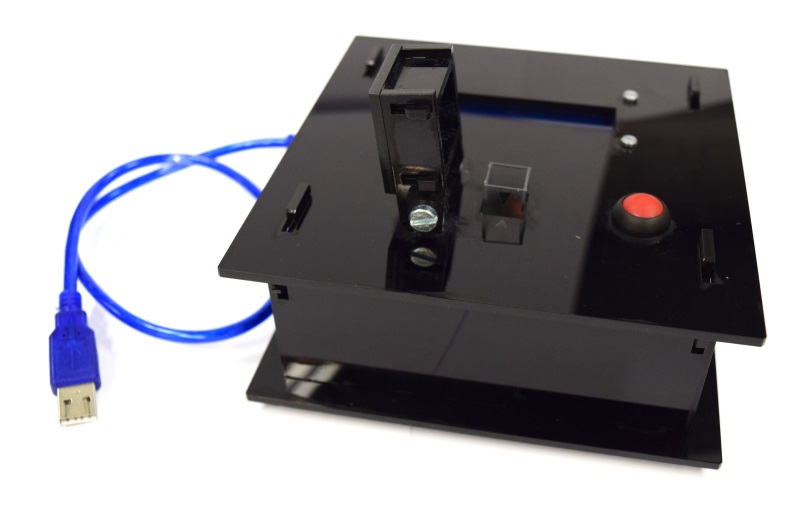
Aachen ODF 7.JPG Congratulations! You have finished constructing your own OD/F device!