|
Build your own WatsOn
If you want to create your own WatsOn at first check the following list of necessary devices.
Table 1: Needed number of pieces, components and costs for building your own measurement device
You can find more economical information for WatsOn and the project on our Economical View page.
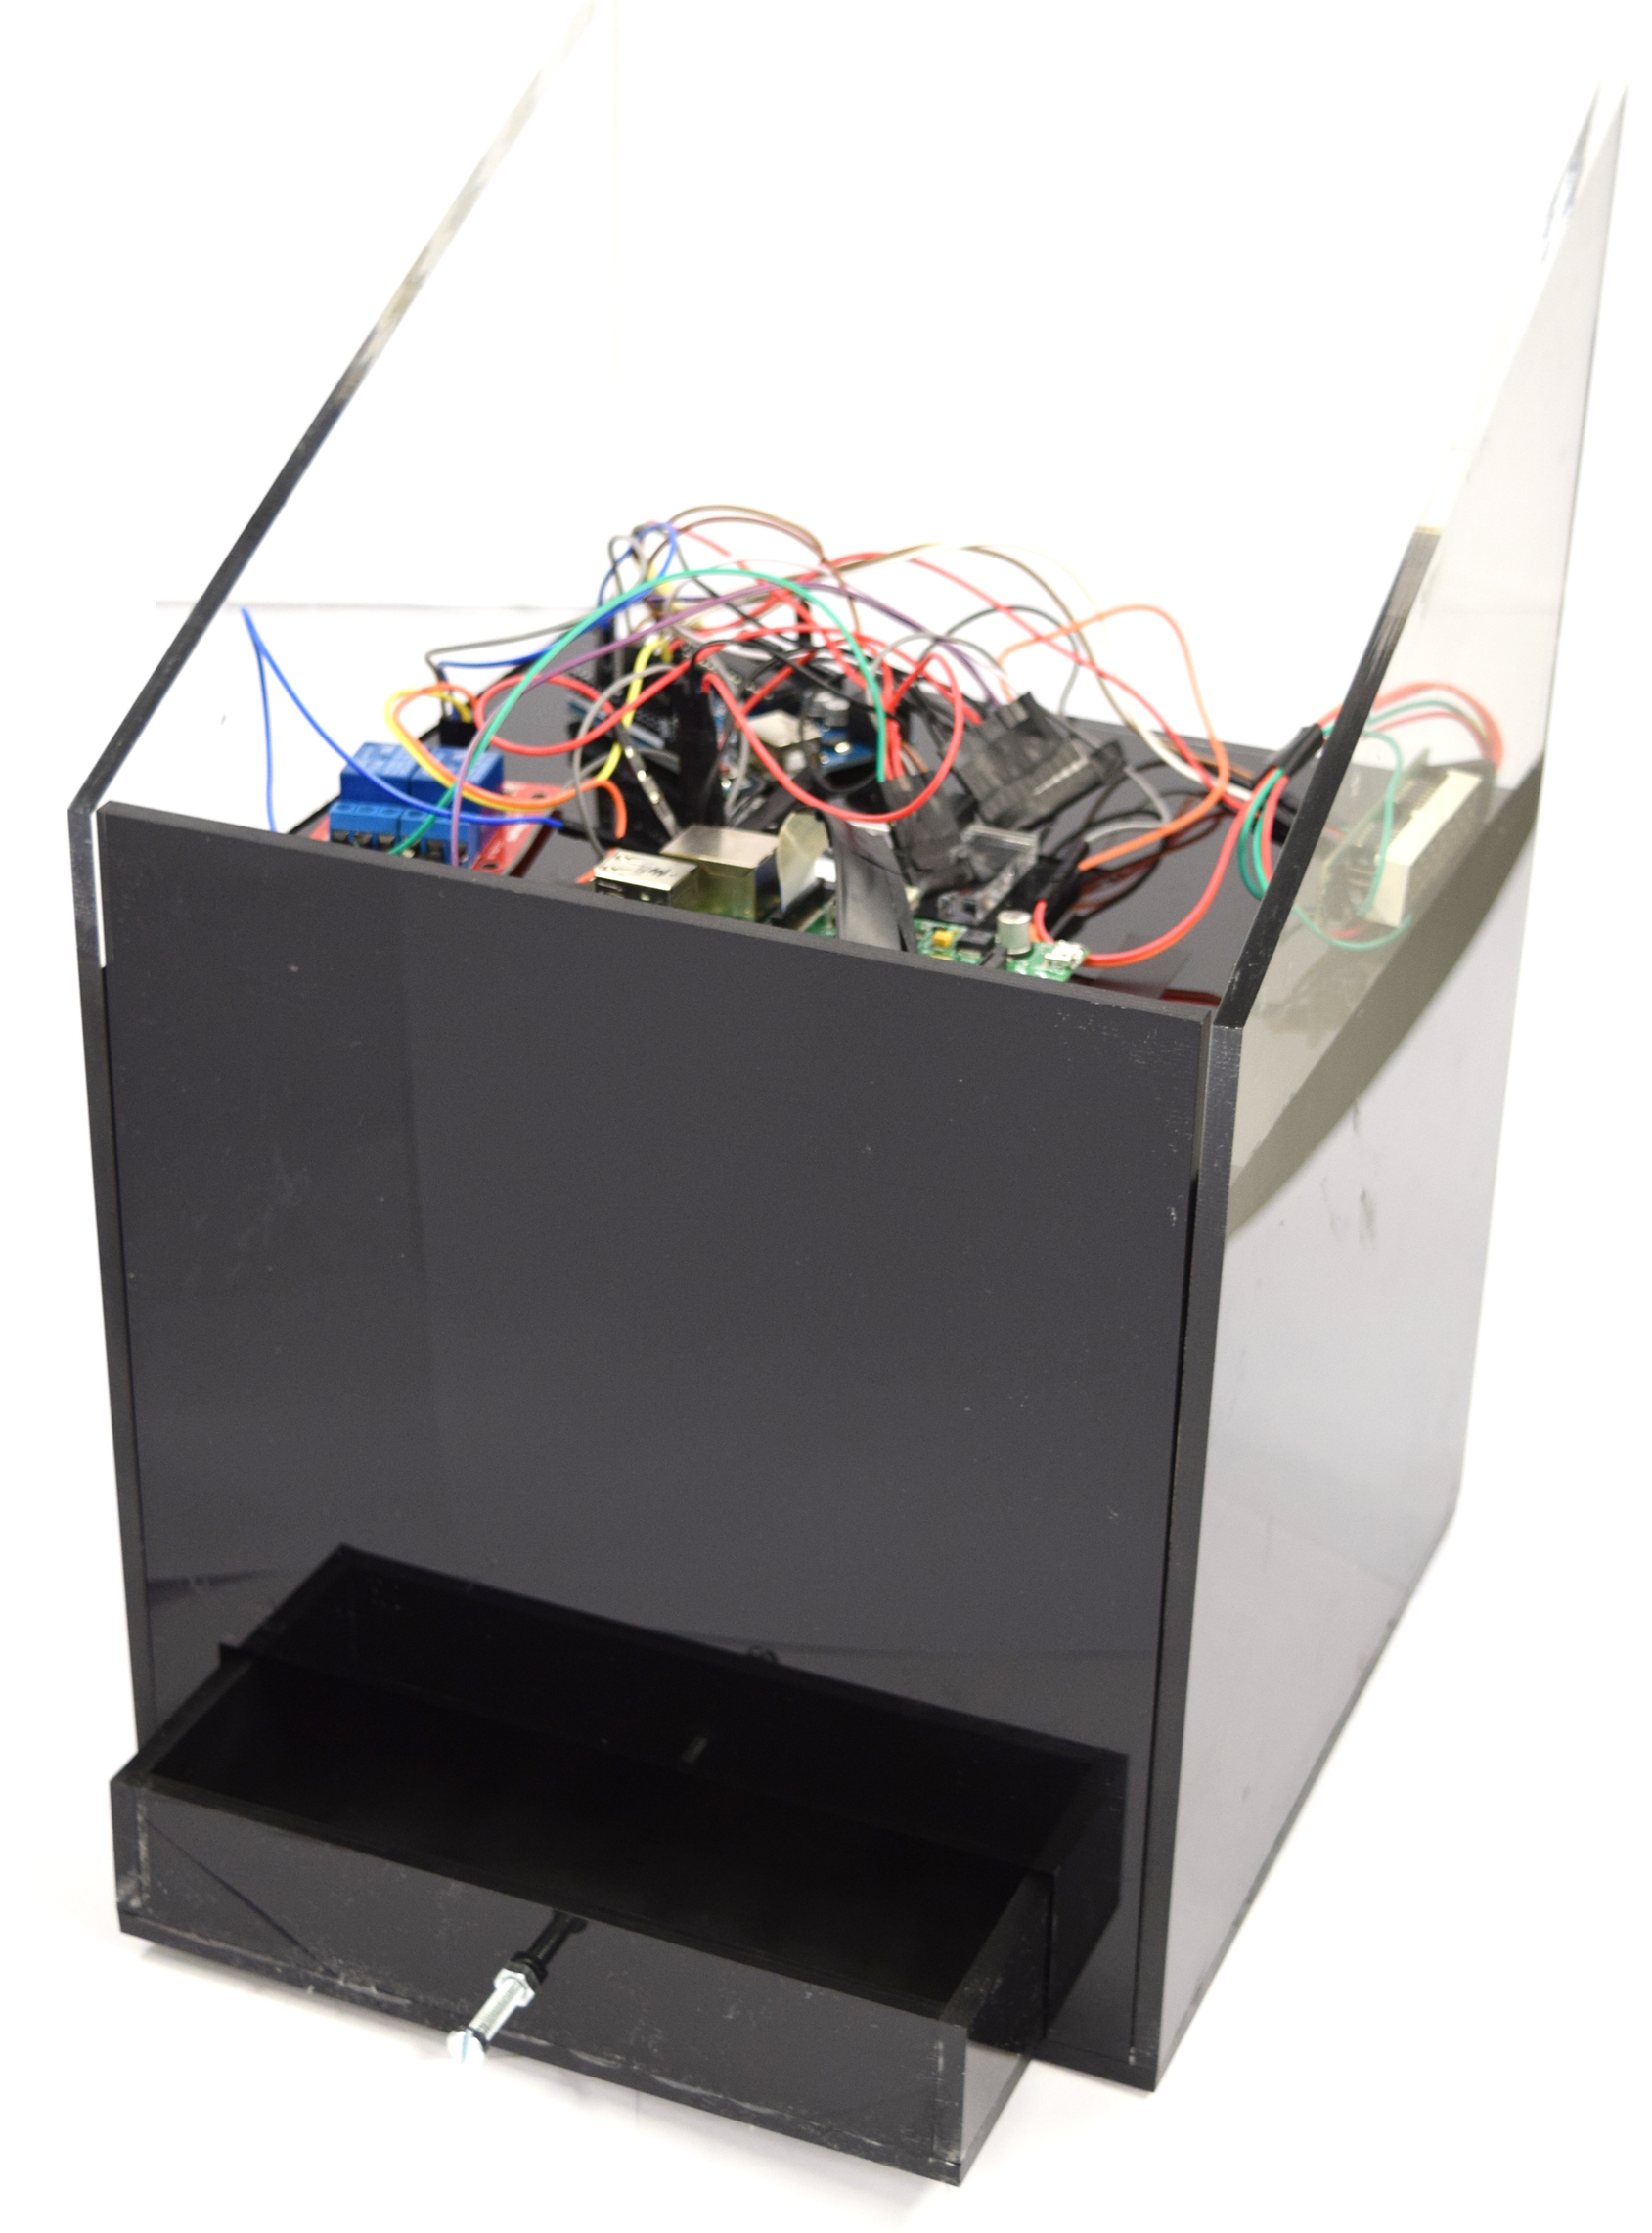
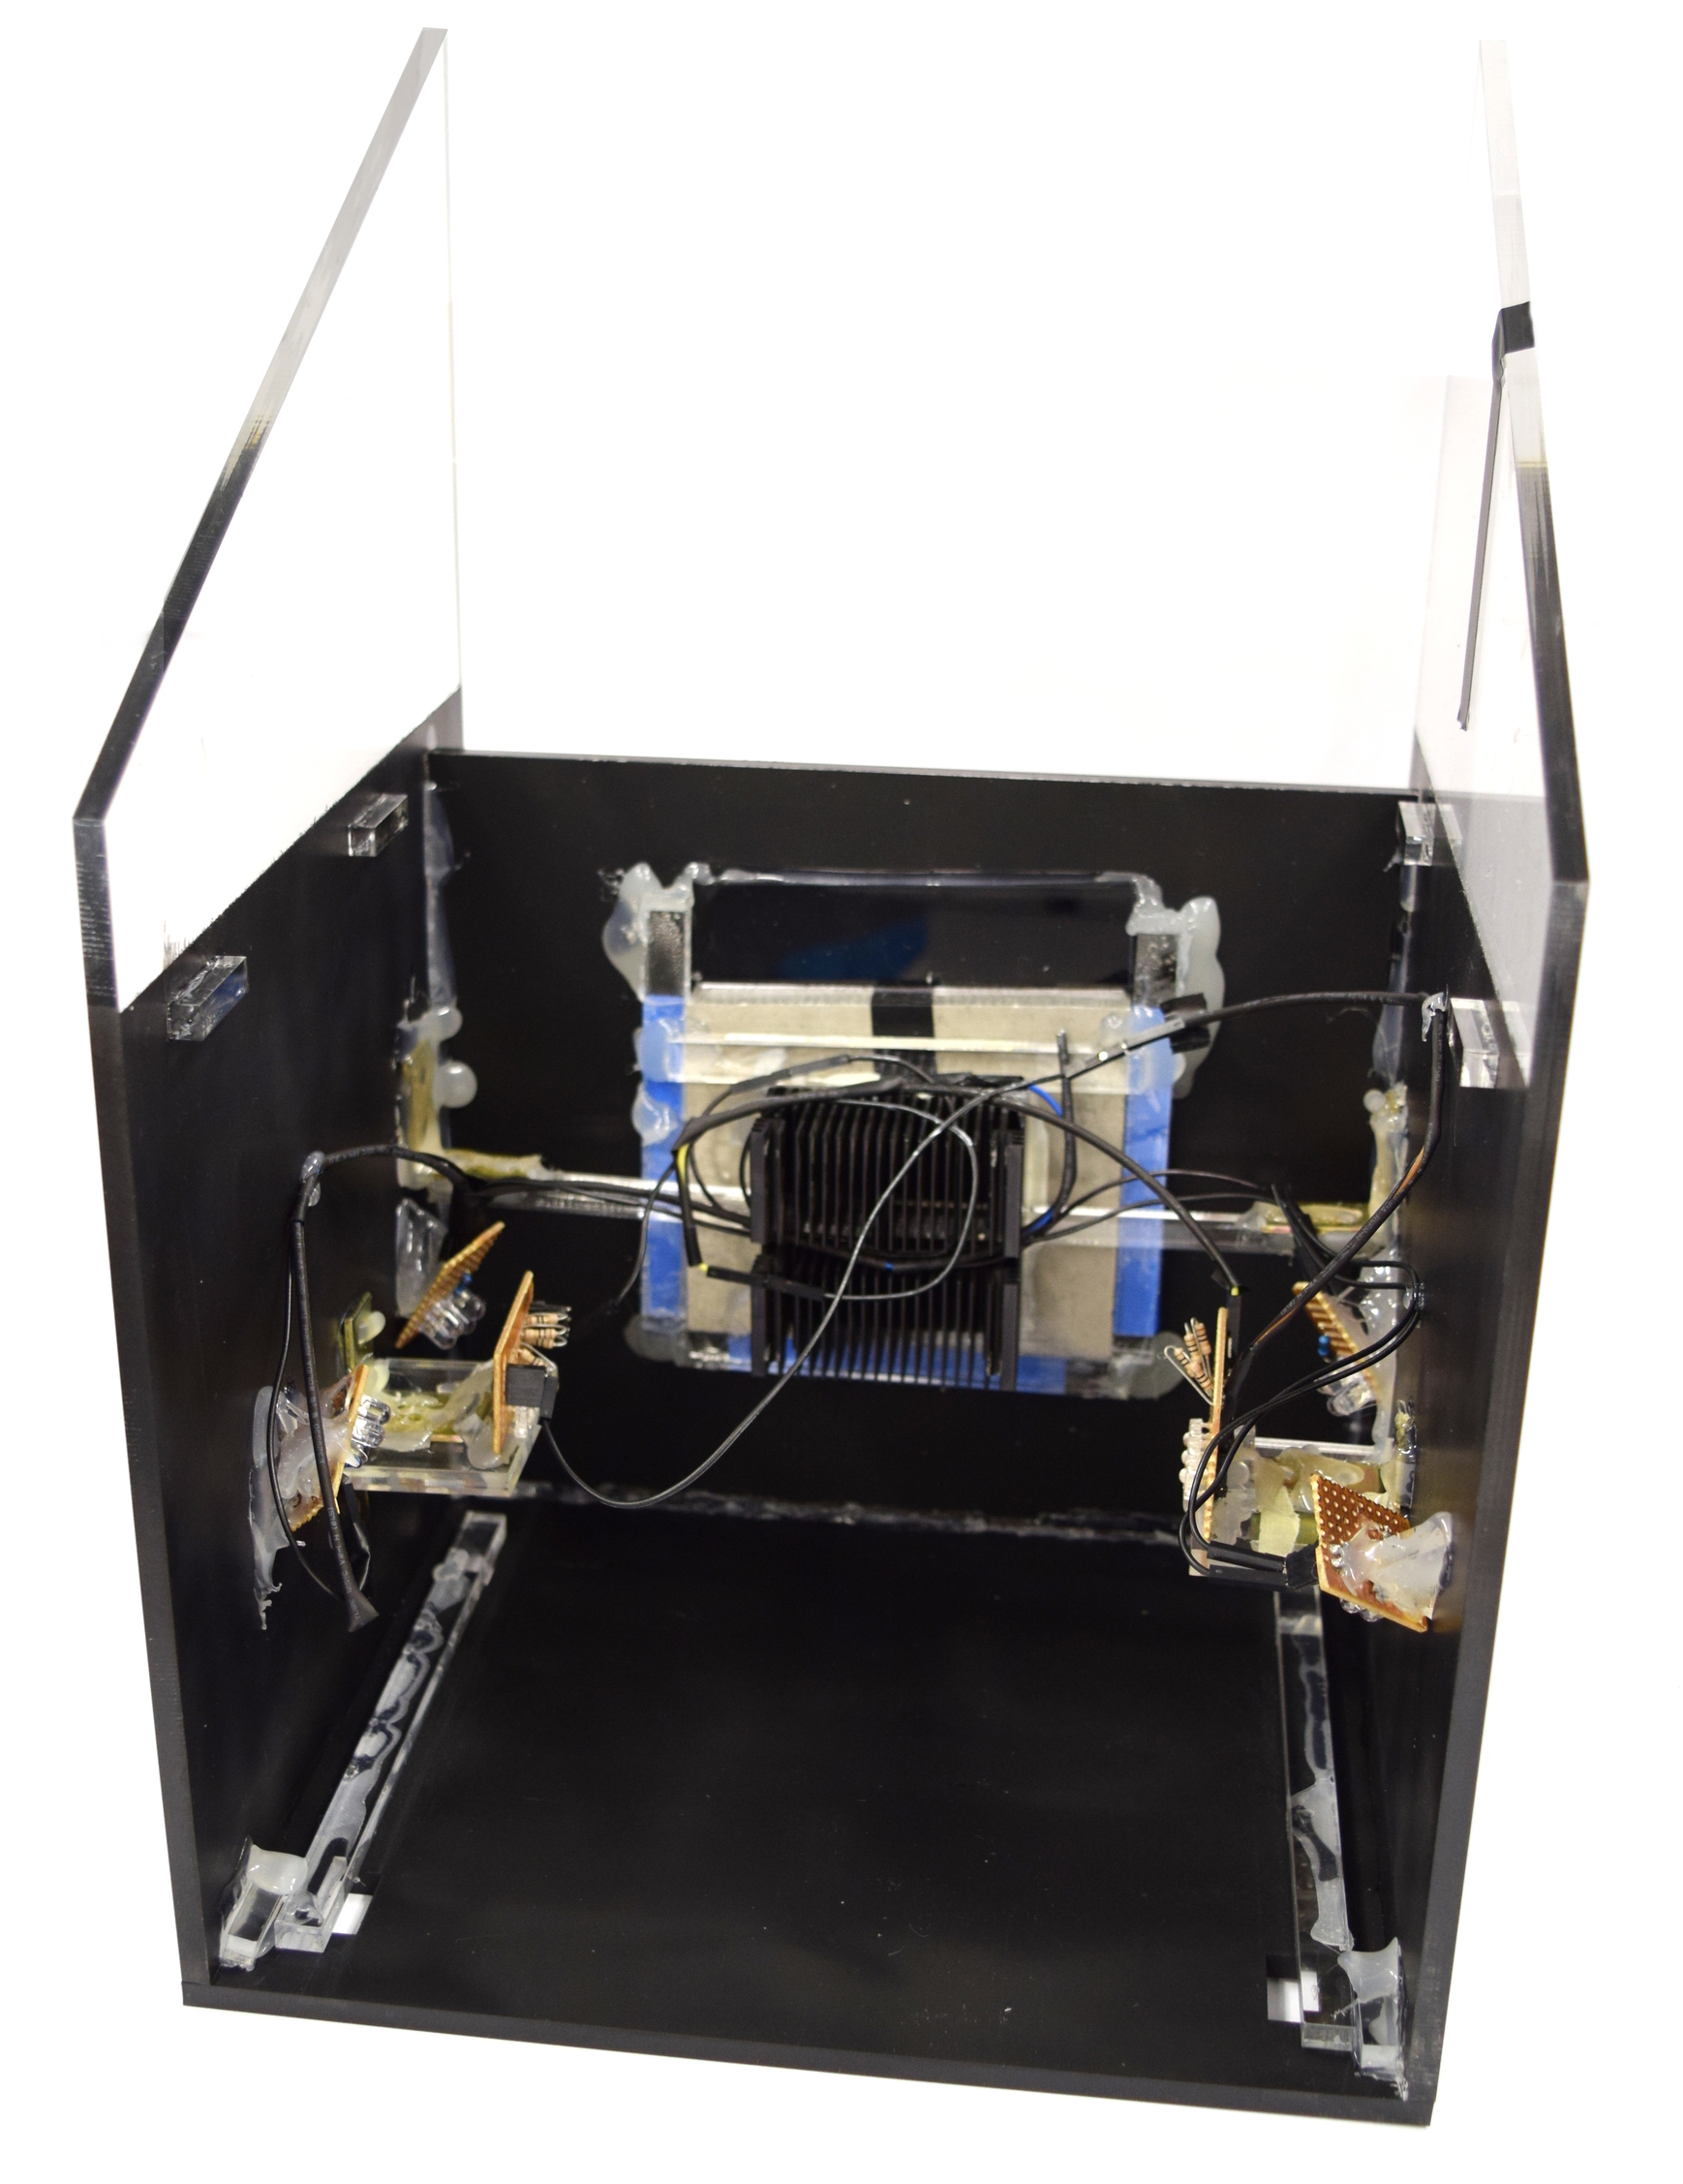 | Start building your own WatsOn by assembling the base plate, the sides and the interior wall.
|
![350px] [File:Aachen_Device_.3jpg](/wiki/images/7/7b/Aachen_Device_2_3.jpg) | Fix the Peltier heater on the back of the aluminum block and place it in the hole of the interior wall.
Arrange the 4x4 450nm LEDs and the 2x3 480nm LEDs
|
 | Assemble the camera holder with the camera and the corresponding filter slide on the lower part. Over the camera you can place the temperature sensor for measuring the indoor temperature. Finally put the fan on the back of the camera holder.
|
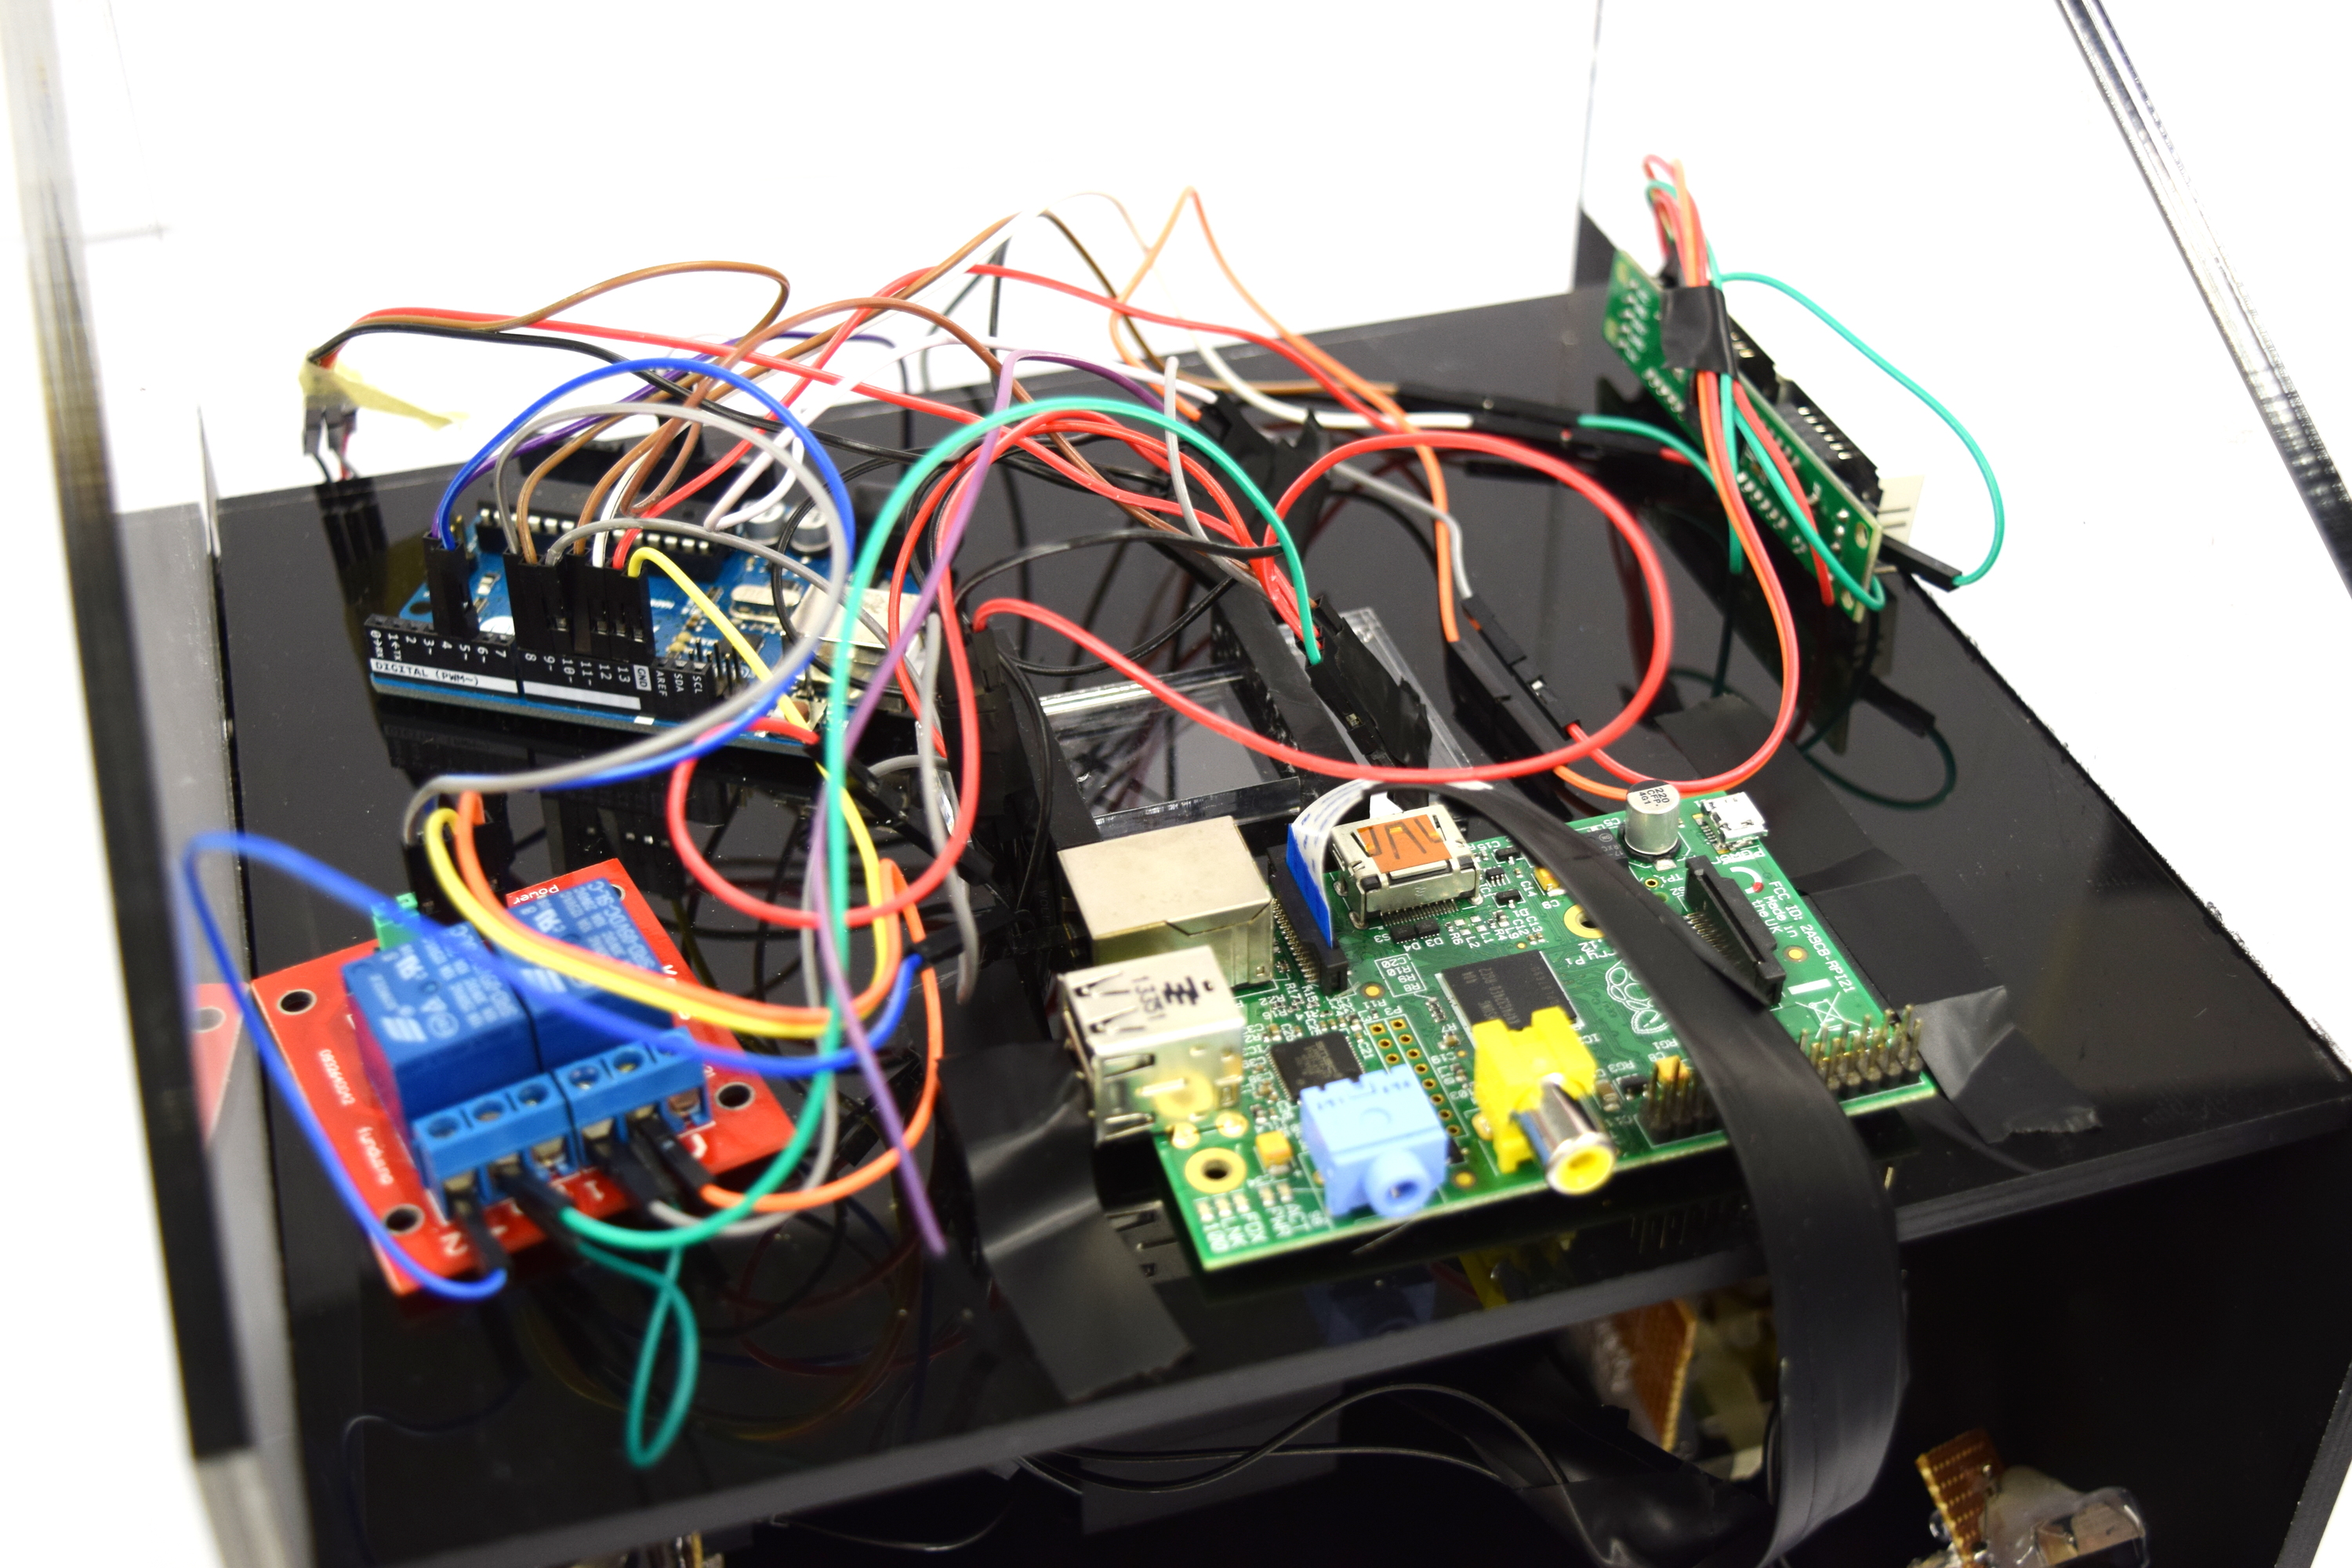 | Connect the electronic components on the outside and the inside according to the wiring diagramm.
|
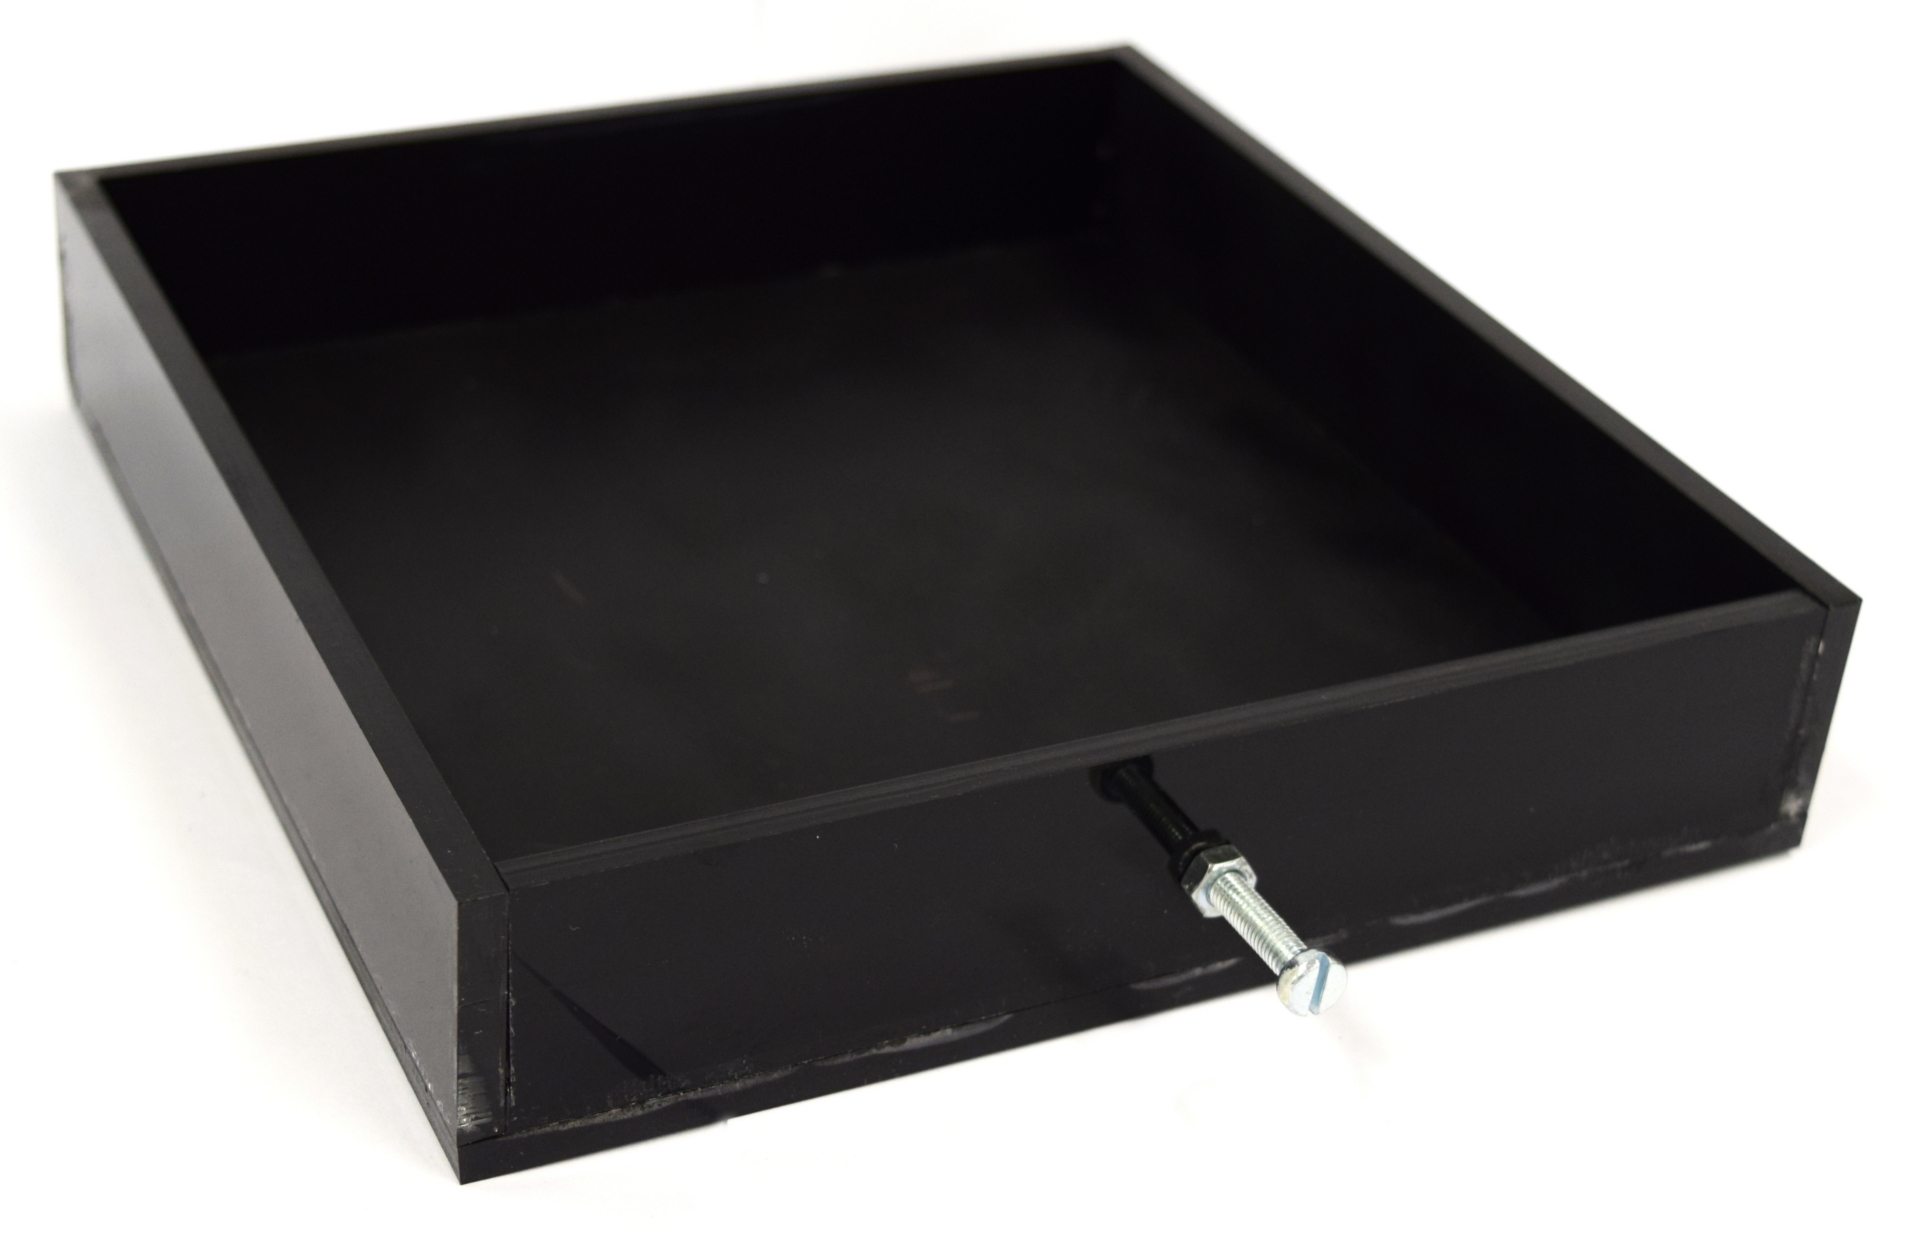 | Put together the drawer.
|
 | Position the front panel and insert the drawer.
|
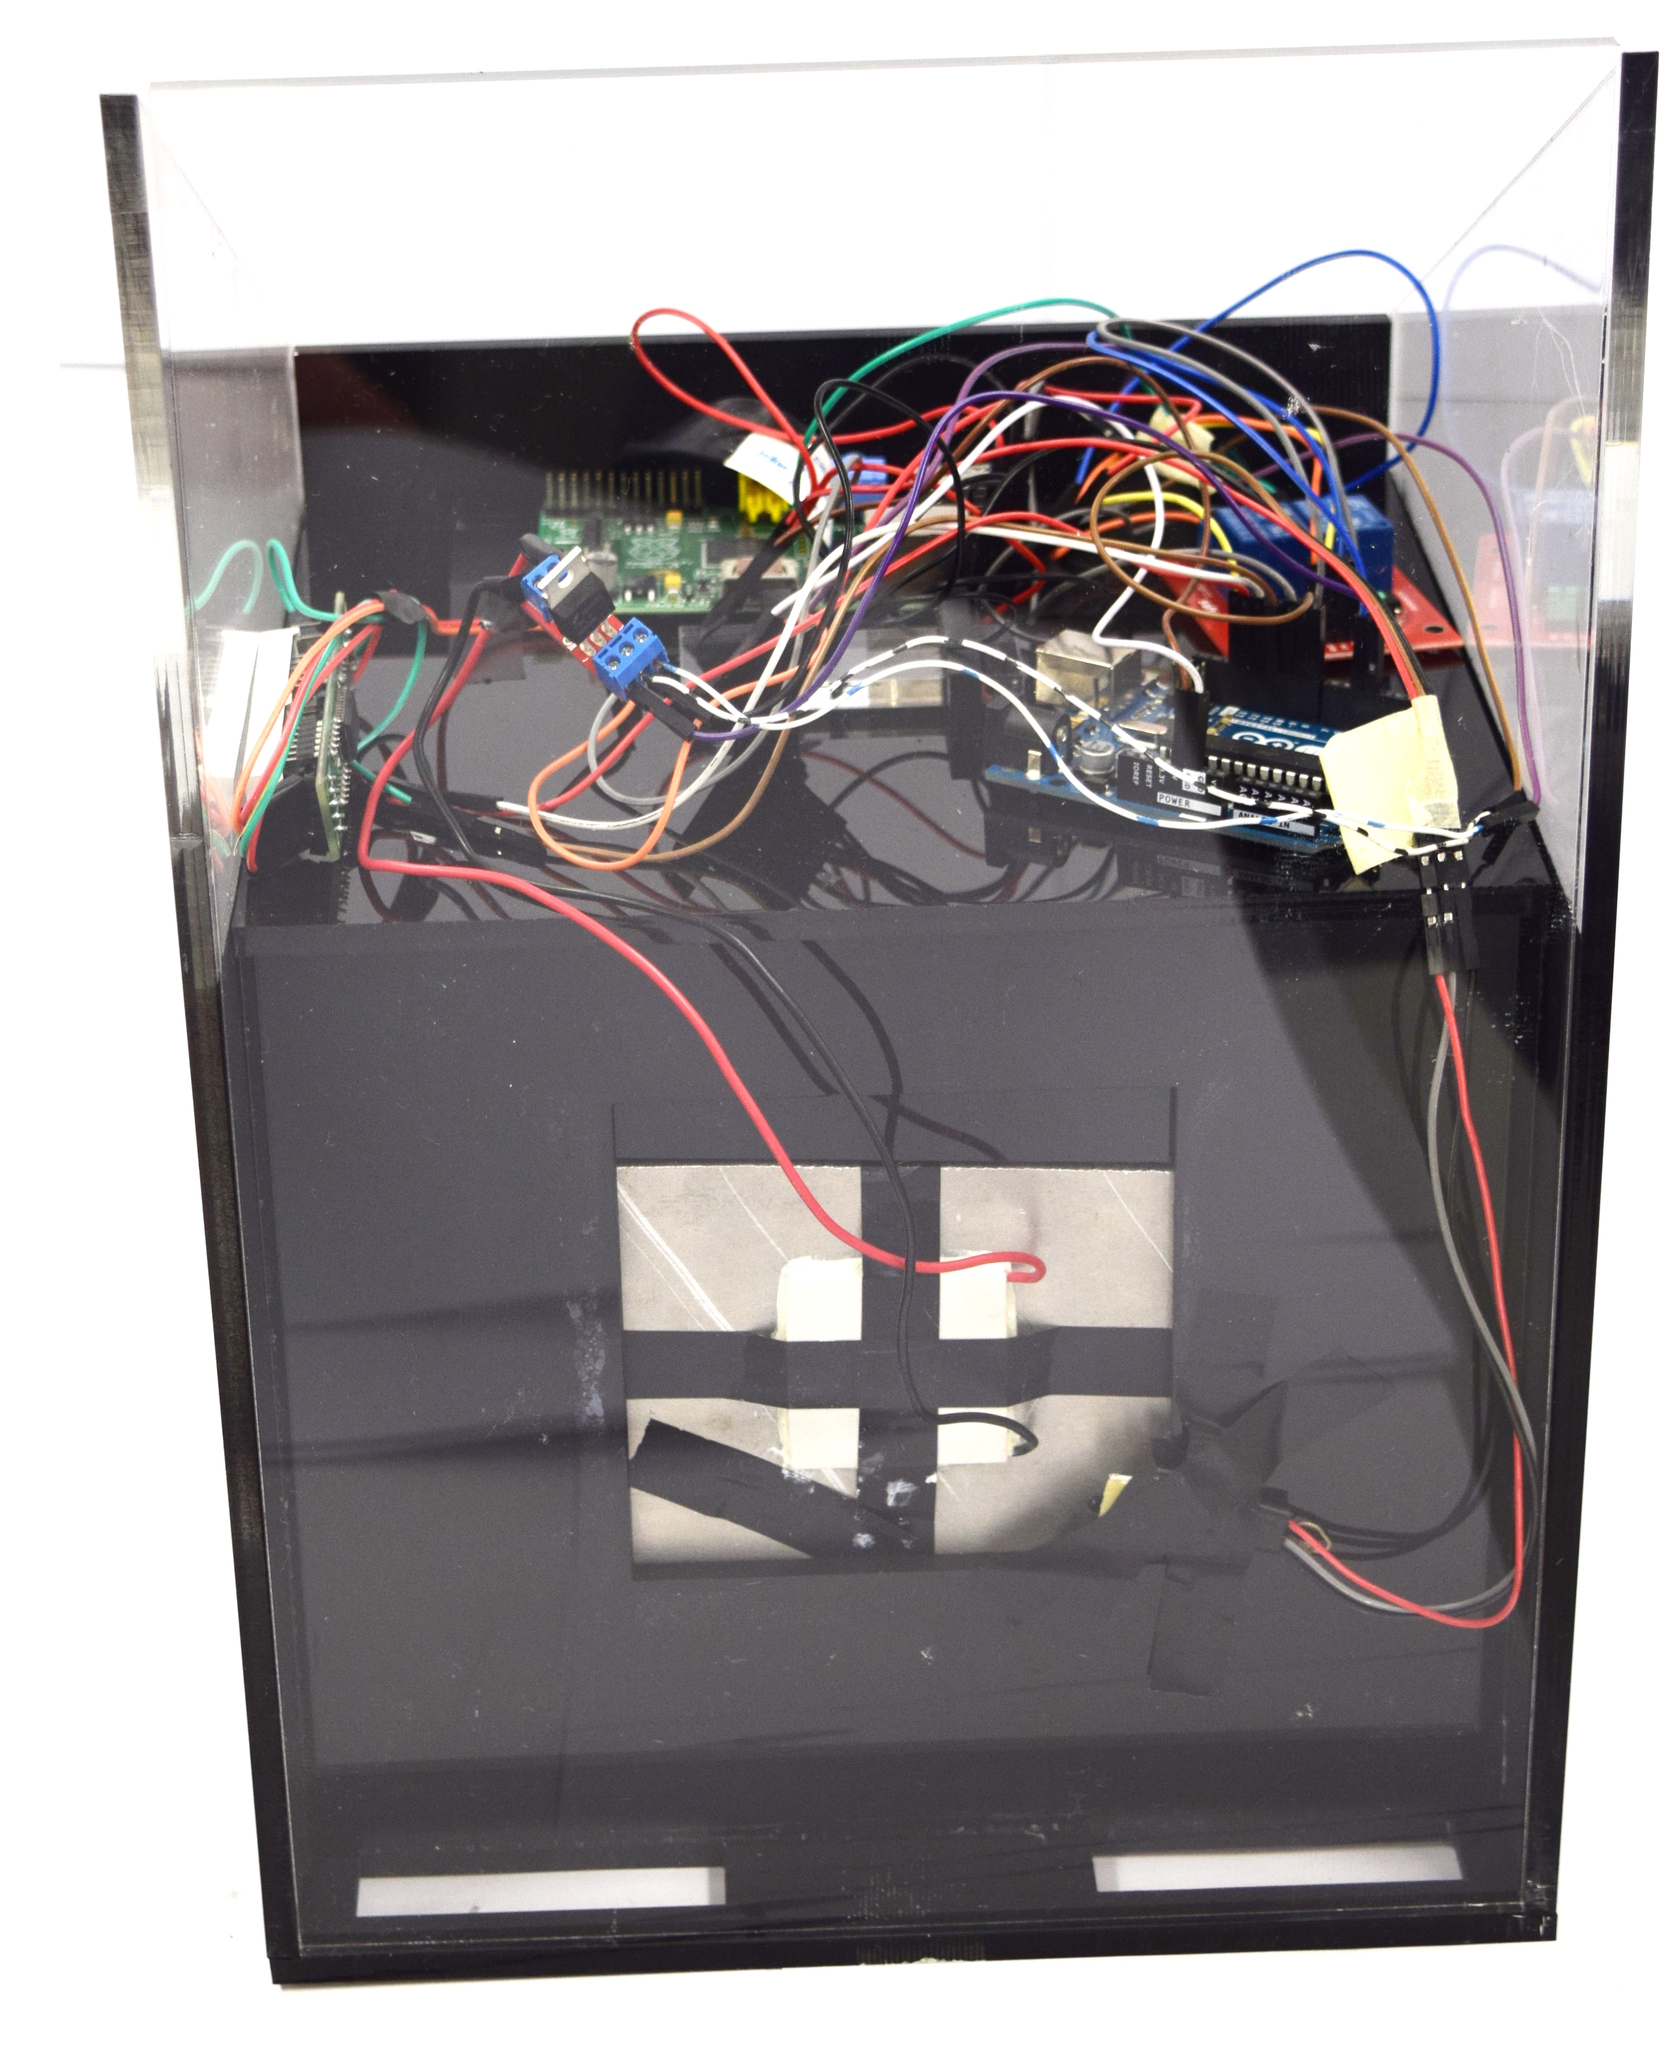 | Place the temperature sensor for the aluminium block temperature directly on the block and put the back panel in front of it.
|
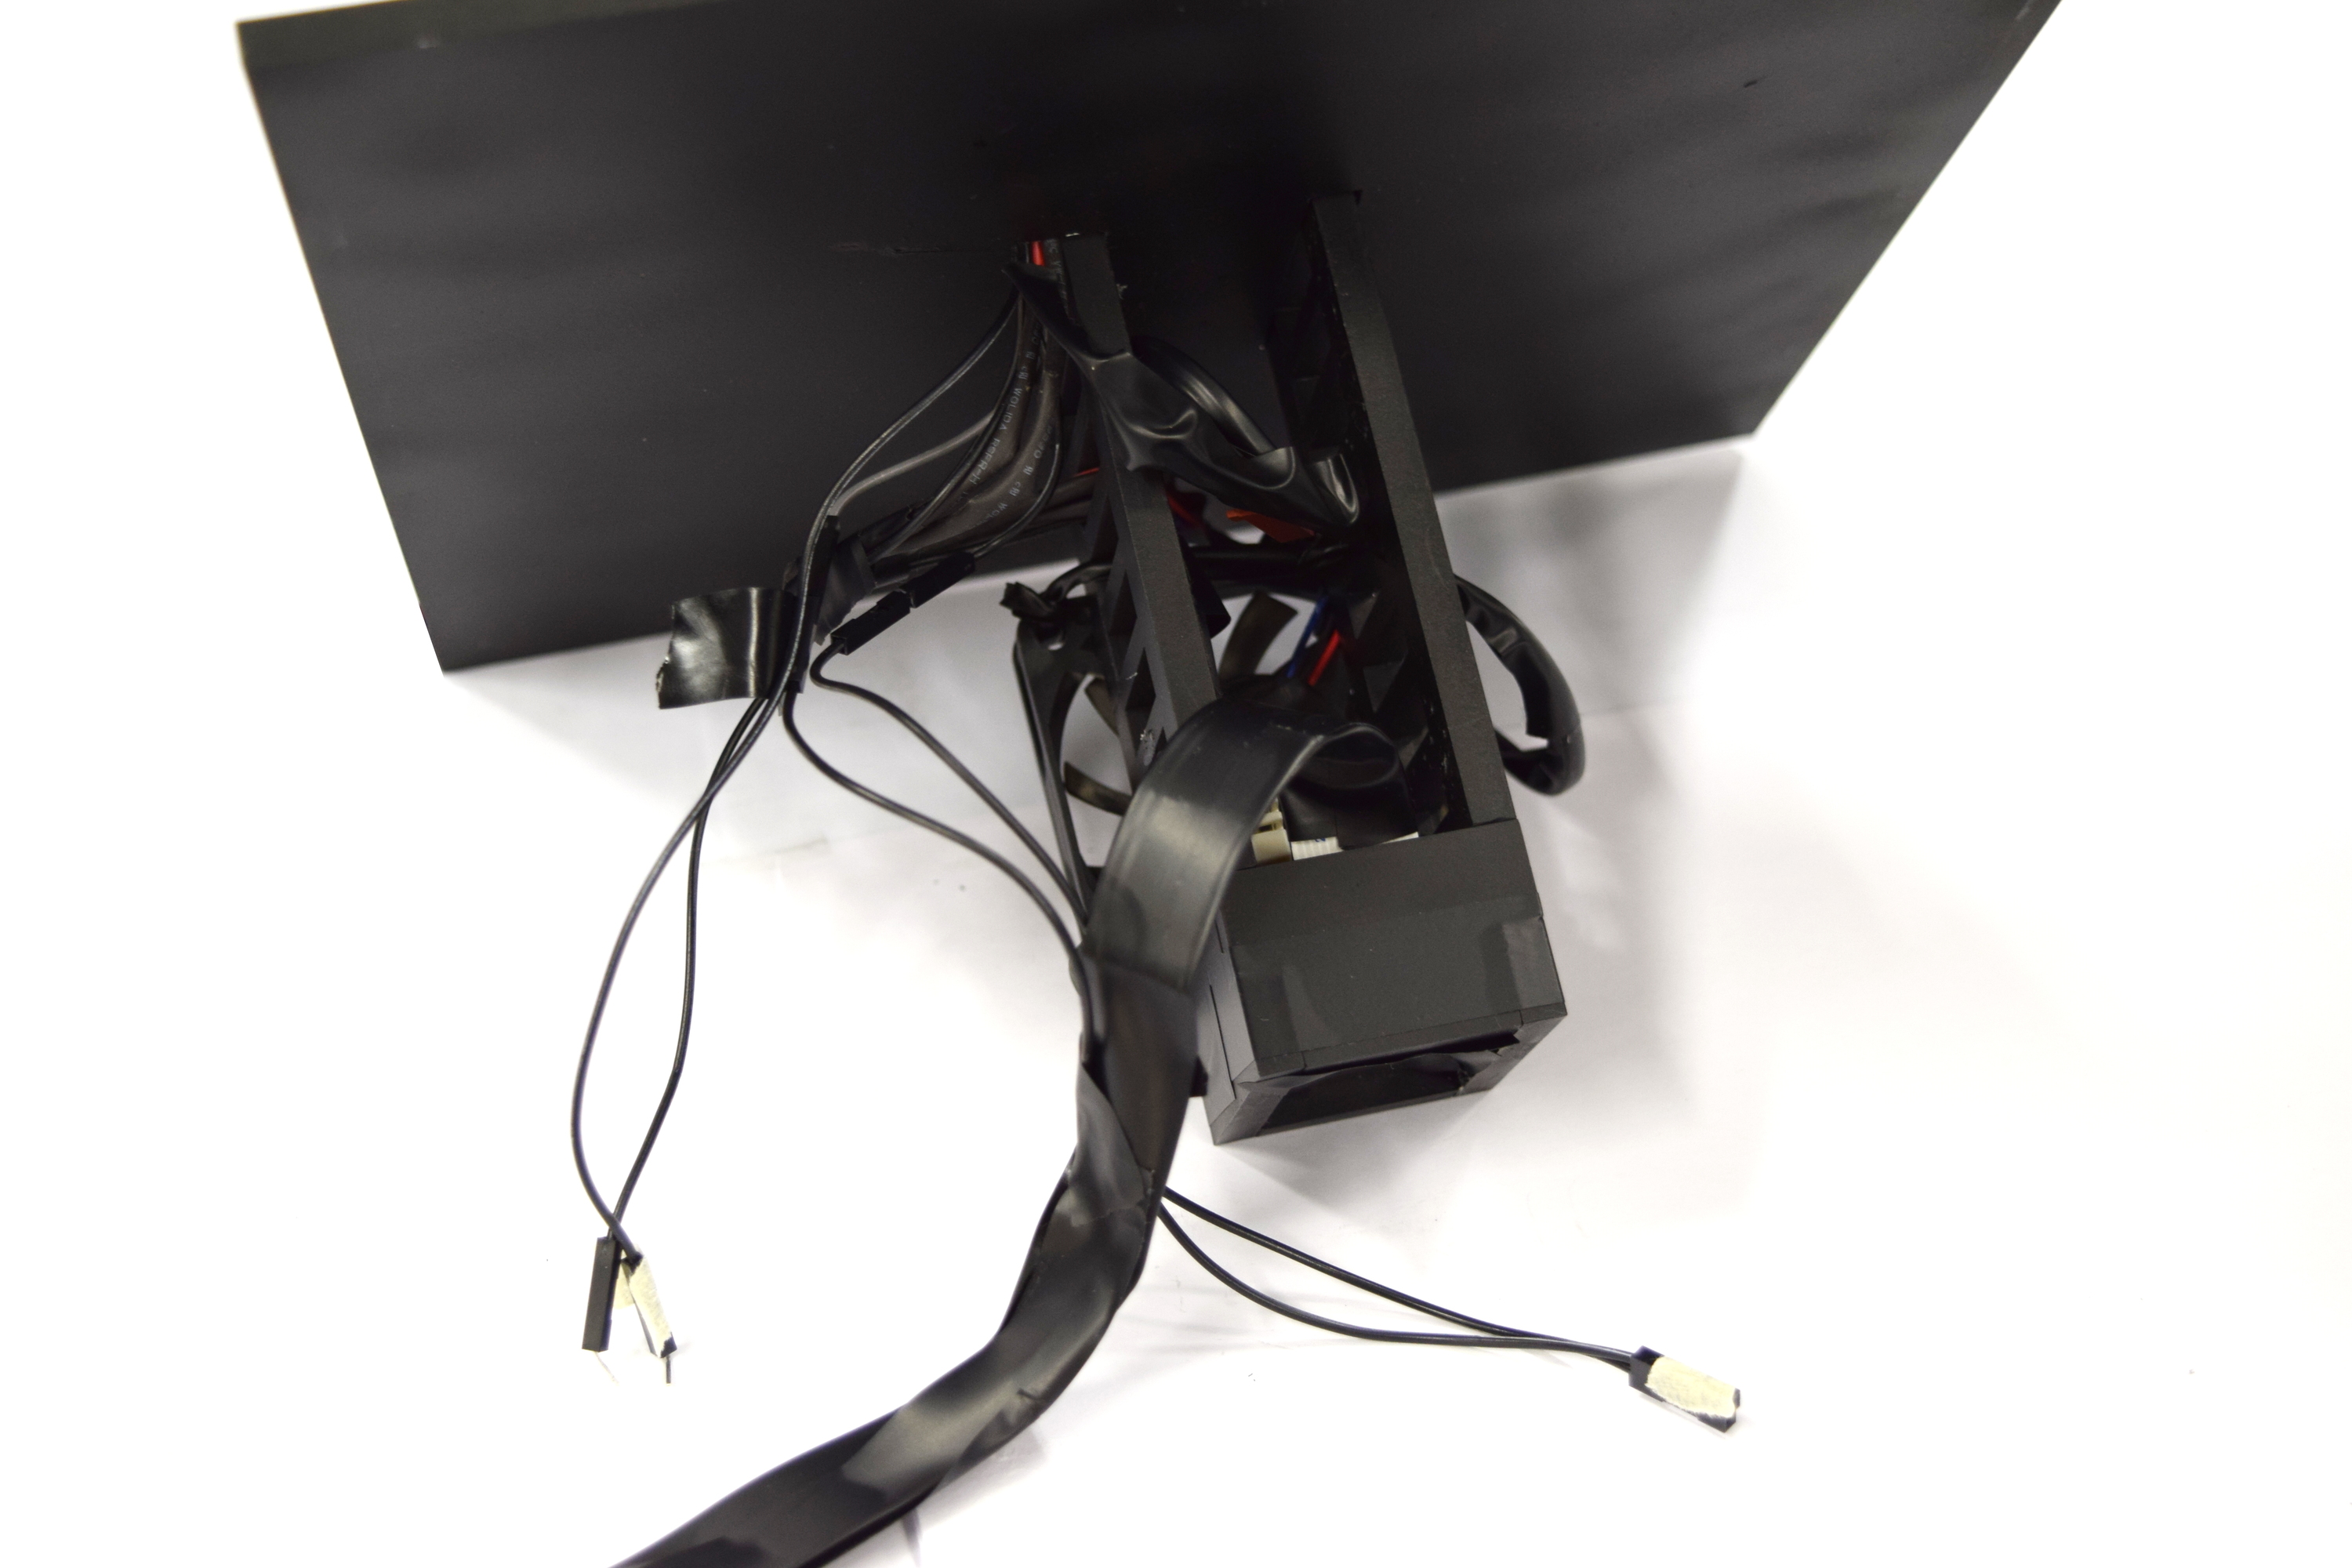
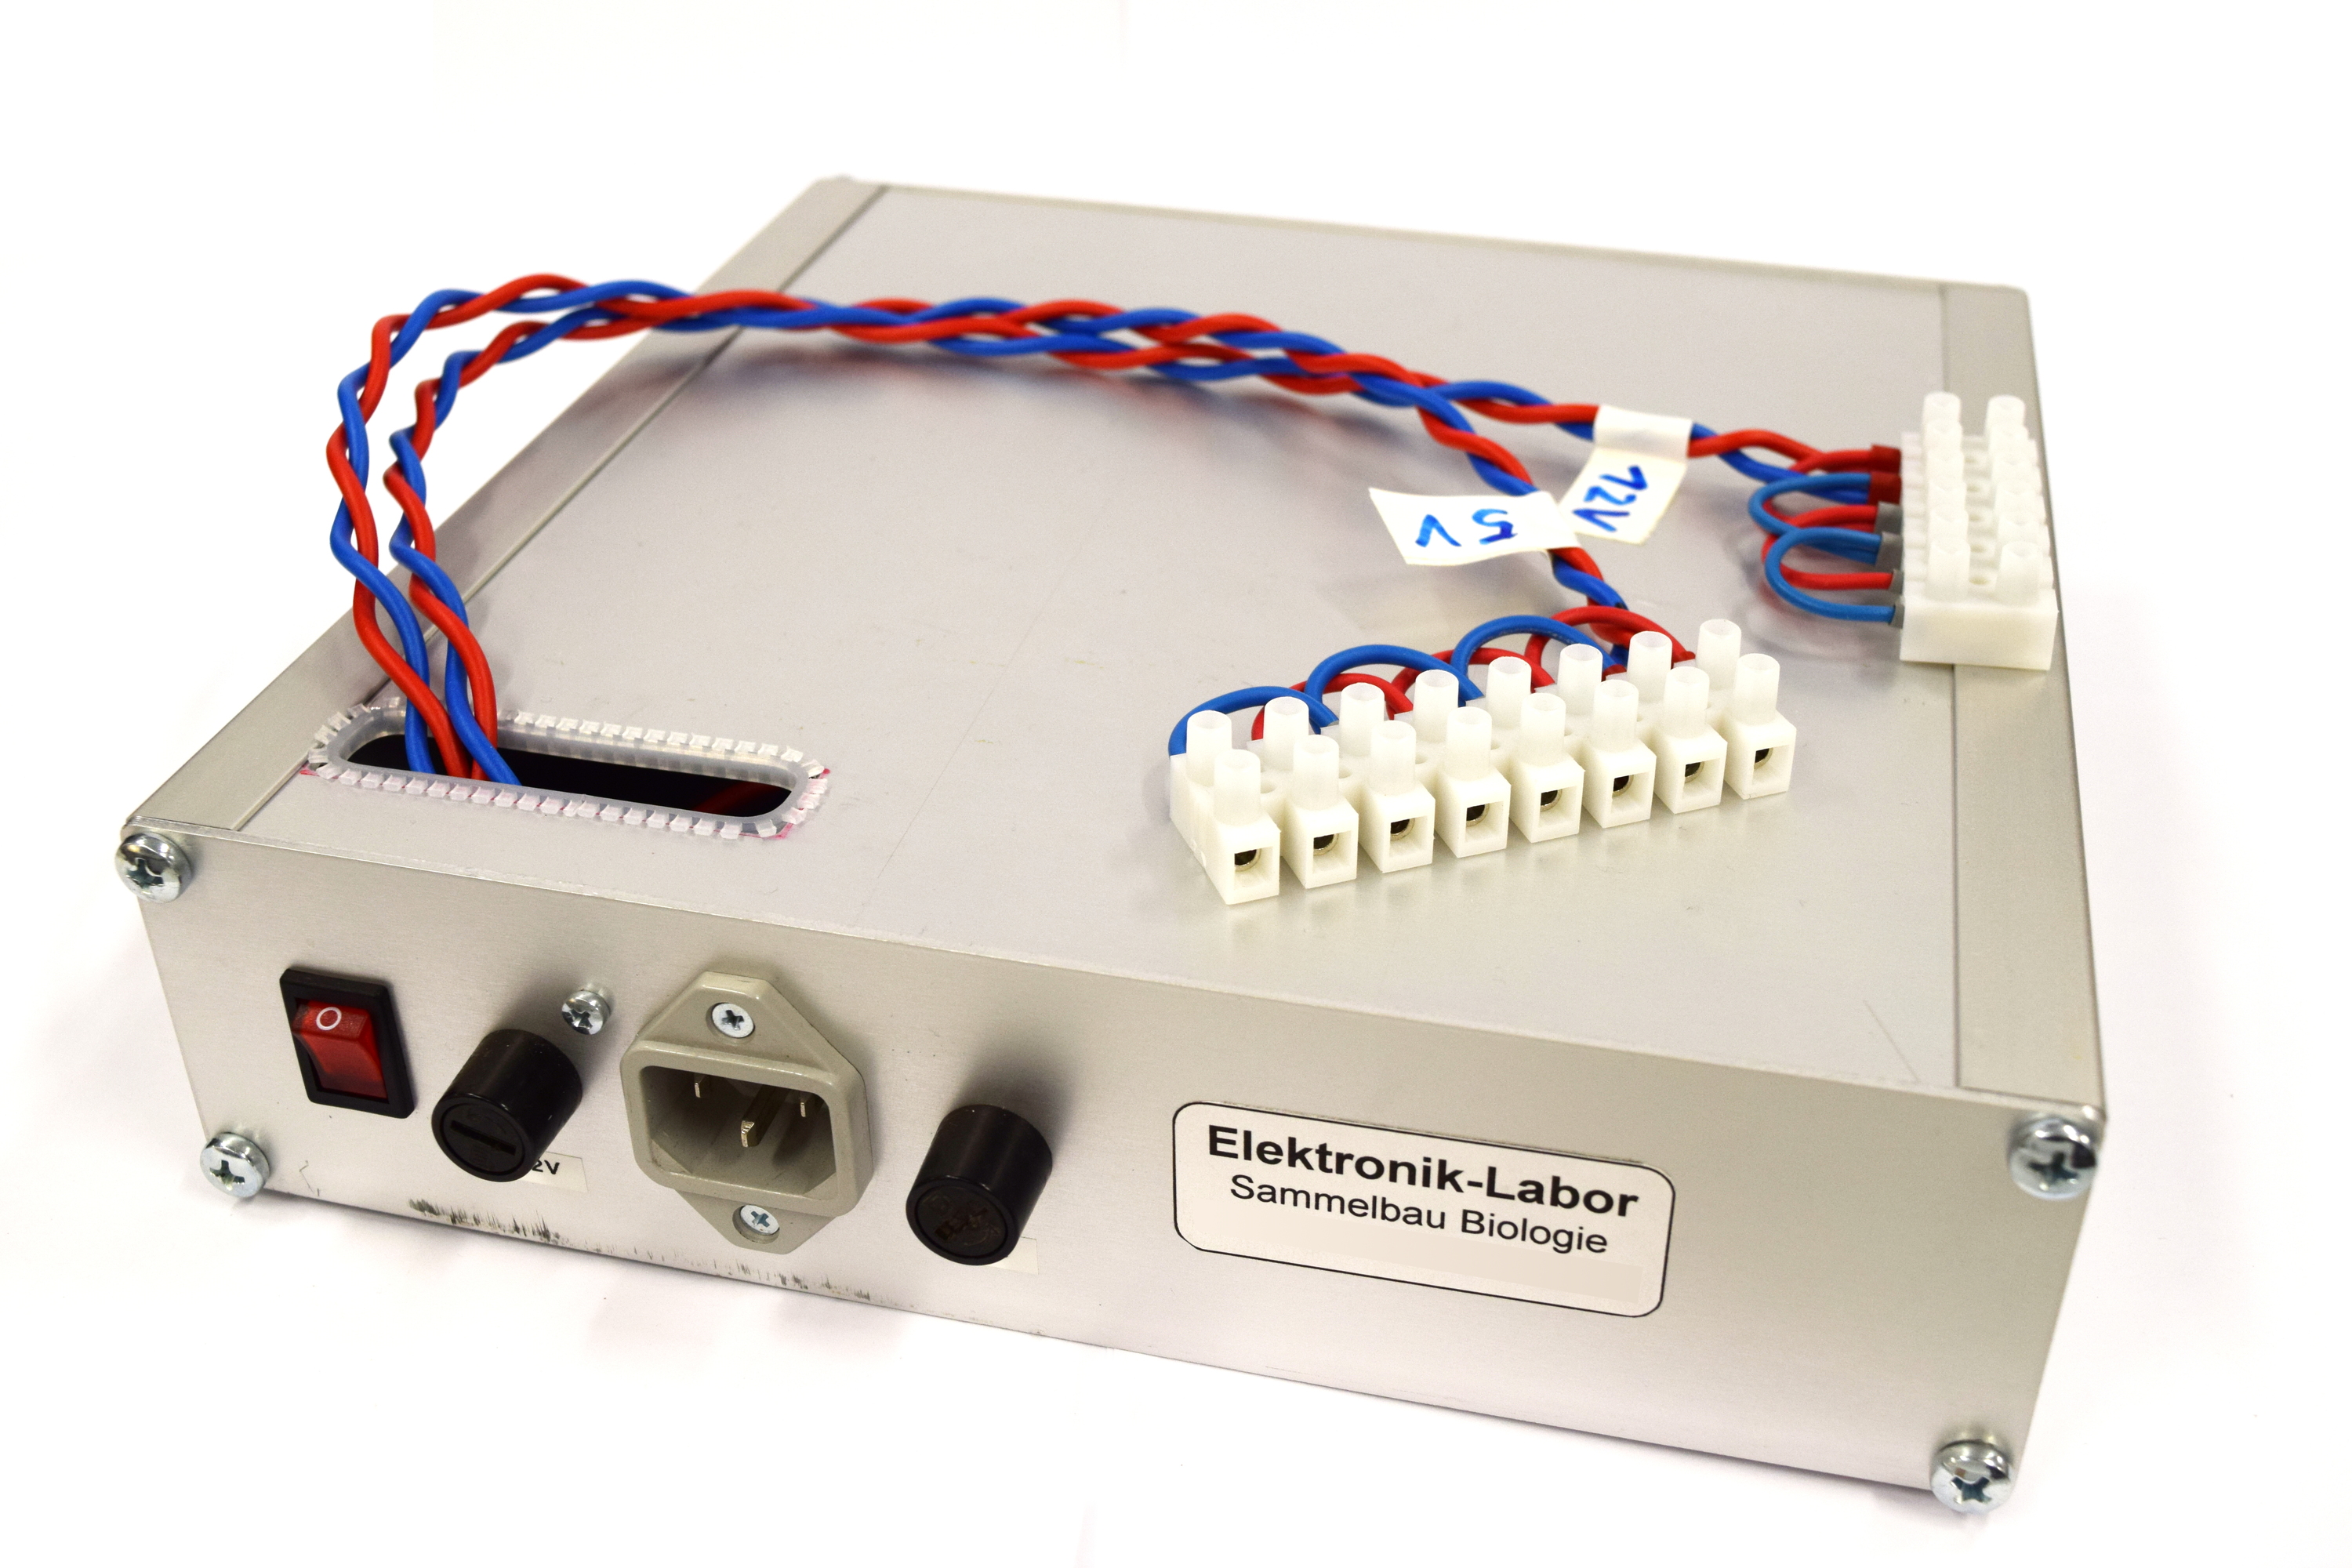 | Setup the power supply and connect all devices to either 5V or 12V.
|
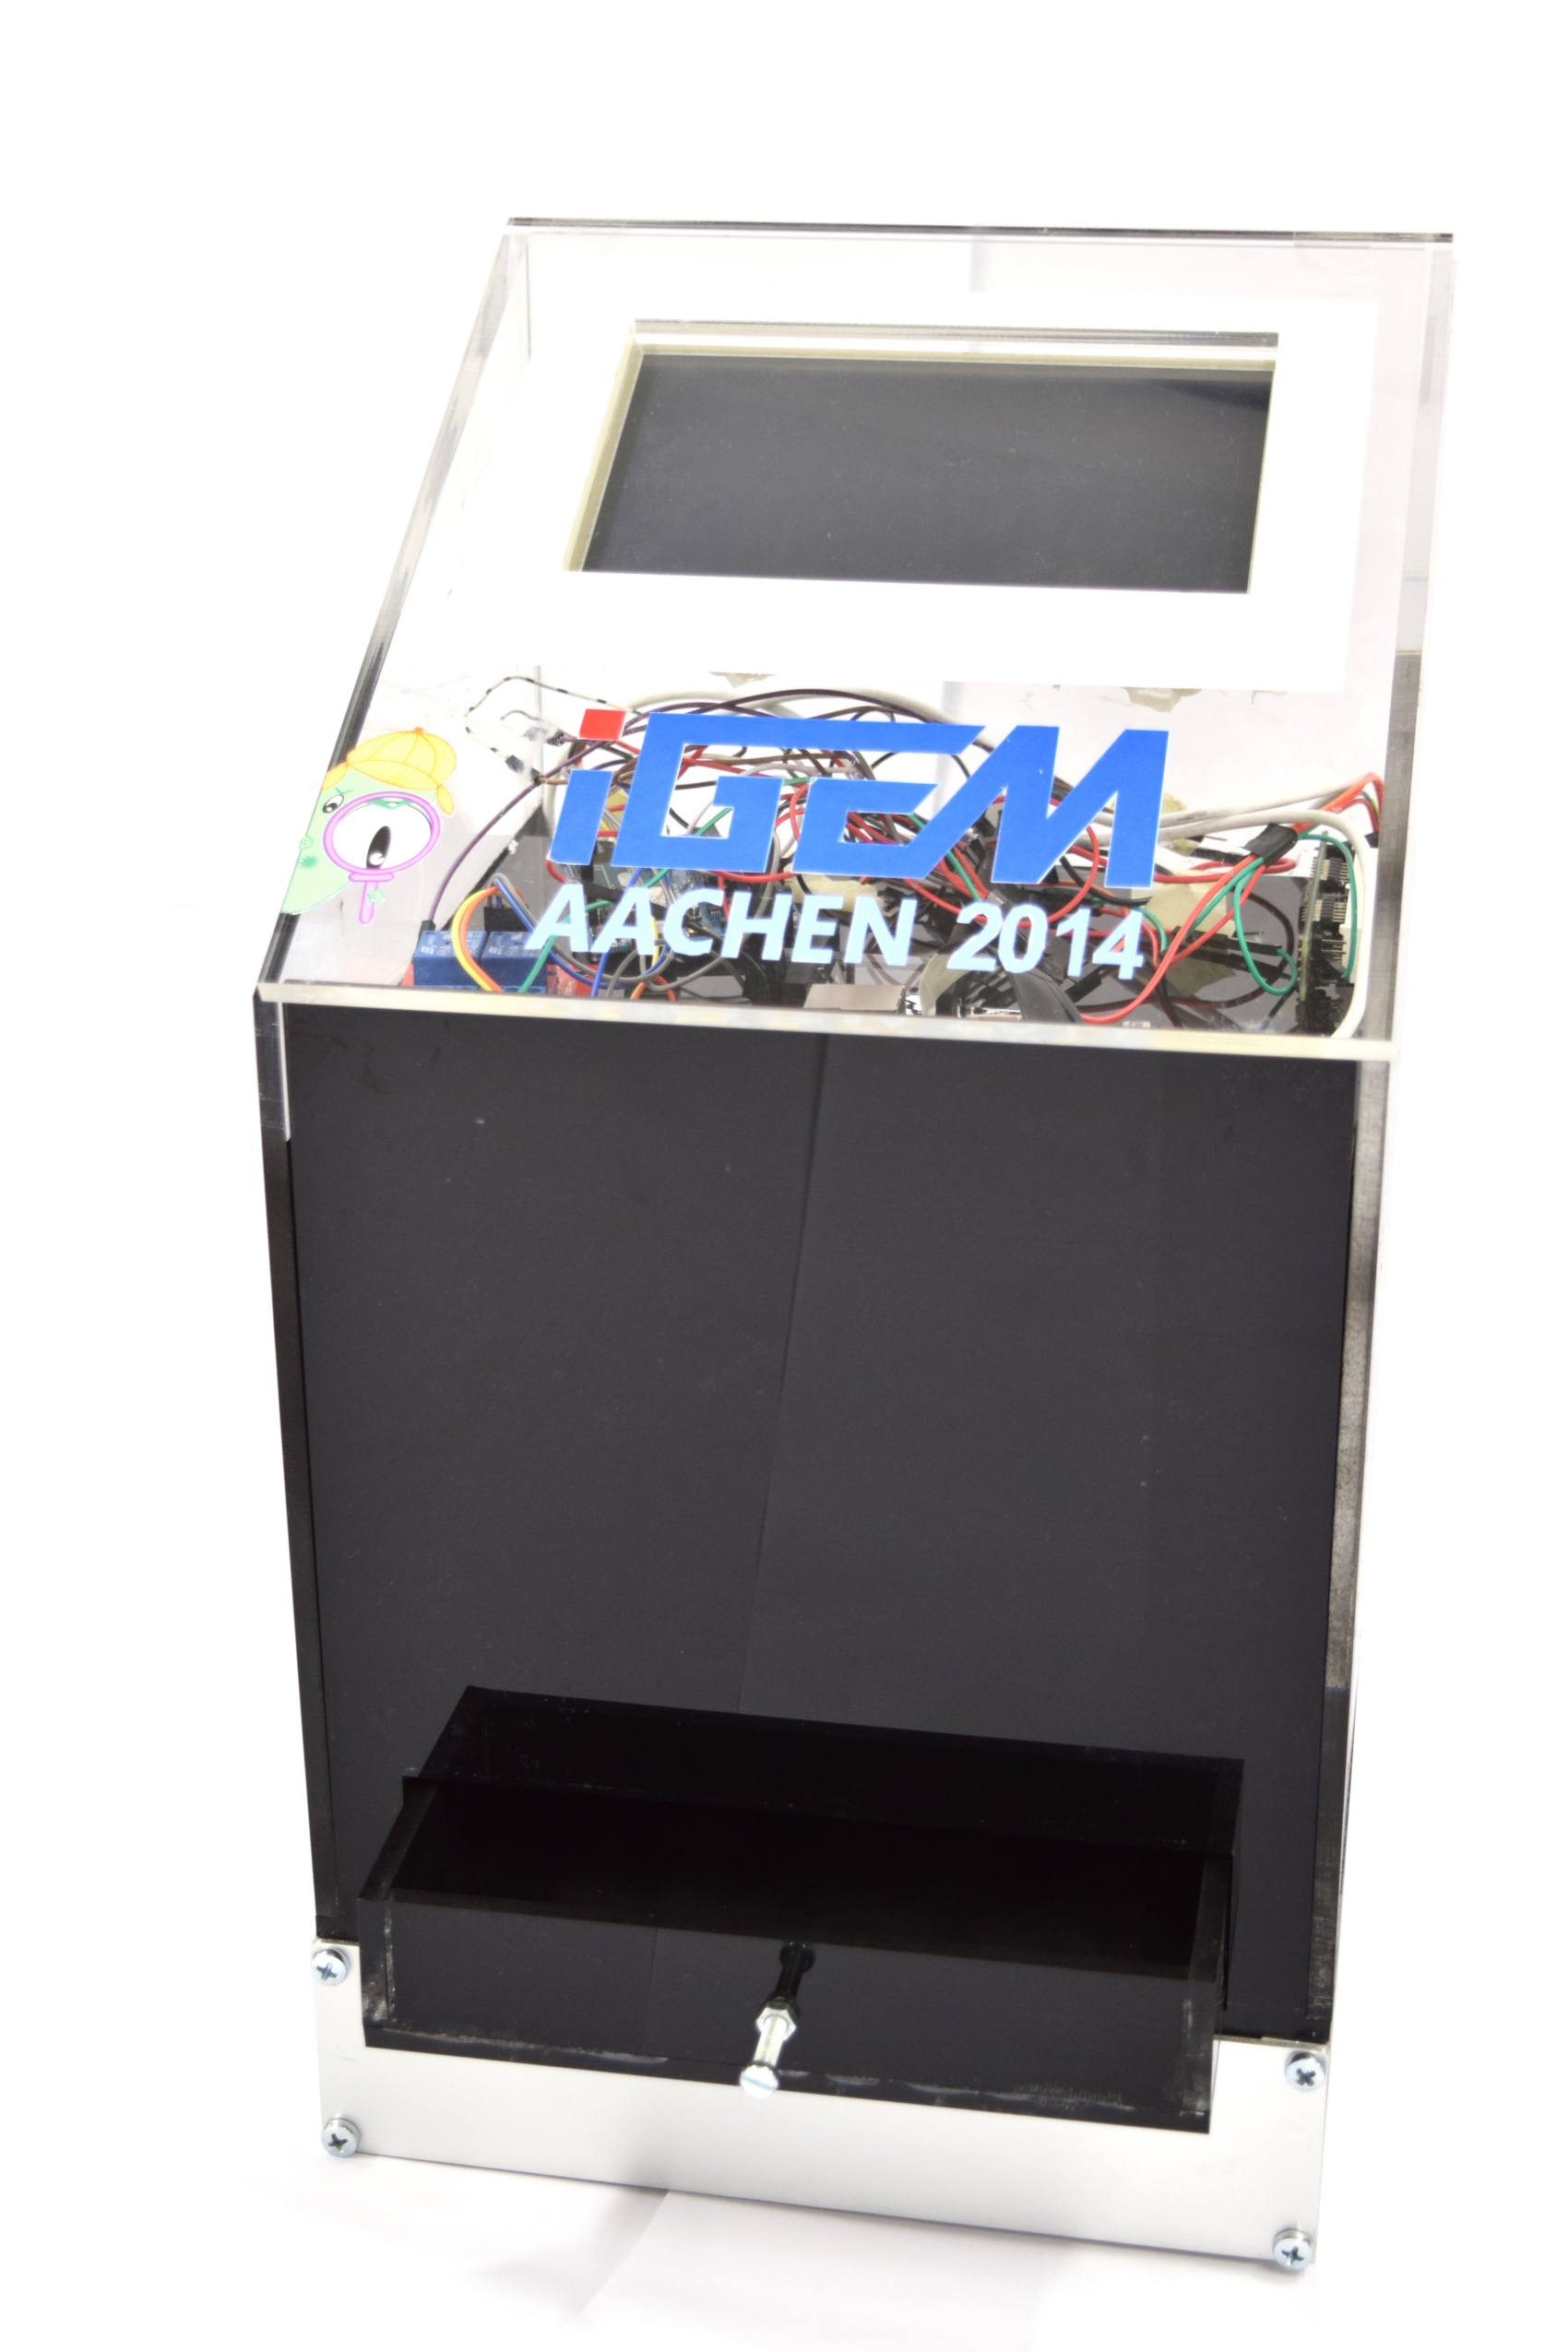 | Mount the device on top of the power supply casing. Add the display and apply some stickers to enjoy your custom-made WatsOn.
|
|
 "
"


![350px] [File:Aachen_Device_.3jpg](/File:Aachen_Device_2_3.jpg)


