Team:Aachen/Notebook/Engineering/WatsOn
From 2014.igem.org
(→GUI (Graphical User Interface)) |
(→Raspberry Pi - Setup) |
||
| Line 255: | Line 255: | ||
* Once finished, insert the SD card in the slot on the Raspberry Pi board, connect a monitor over HDMI, plug in a USB mouse and keyboard and start the Raspberry Pi by connecting it to the micro USB power supply. Follow the installation instructions; these should be straightforward. After the installation you will be shown the desktop of your new system. | * Once finished, insert the SD card in the slot on the Raspberry Pi board, connect a monitor over HDMI, plug in a USB mouse and keyboard and start the Raspberry Pi by connecting it to the micro USB power supply. Follow the installation instructions; these should be straightforward. After the installation you will be shown the desktop of your new system. | ||
* To be able to use the Raspberry Pi camera you need activate it over a terminal. Search for a desktop icon labeled "LxTerminal", double click it and a terminal will appear where you can enter commands which will be executed after you press Return. Enter "raspi-config", press Return and activate the camera with the displayed corresponding option. | * To be able to use the Raspberry Pi camera you need activate it over a terminal. Search for a desktop icon labeled "LxTerminal", double click it and a terminal will appear where you can enter commands which will be executed after you press Return. Enter "raspi-config", press Return and activate the camera with the displayed corresponding option. | ||
| + | * To check if the camera works, enter "raspistill -t 5000 -o camera_test.jpg" in the terminal. An overlay shows a 5 second preview from the camera on the screen, then an image is taken and saved as "camera_test.jpg" in the current directory. | ||
| + | * An issue concerning the Raspberry Pi camera is that it supports just a fixed-focus which is per default set to infinity. This can be solved by removing the glue dots fixing the lense und unscrewing it until the required distance is focused. | ||
* Download the source files for the backend server and the graphical user interface (GUI). To be able to compile the GUI, you need to install the Qt5-libraries. Follow [http://qt-project.org/wiki/Native_Build_of_Qt5_on_a_Raspberry_Pi this guide] on how to get the Qt source code, compile it and setup your environment correctly. Make sure that your Raspberry Pi is constantly running, since this process takes some time and must not be interrupted. | * Download the source files for the backend server and the graphical user interface (GUI). To be able to compile the GUI, you need to install the Qt5-libraries. Follow [http://qt-project.org/wiki/Native_Build_of_Qt5_on_a_Raspberry_Pi this guide] on how to get the Qt source code, compile it and setup your environment correctly. Make sure that your Raspberry Pi is constantly running, since this process takes some time and must not be interrupted. | ||
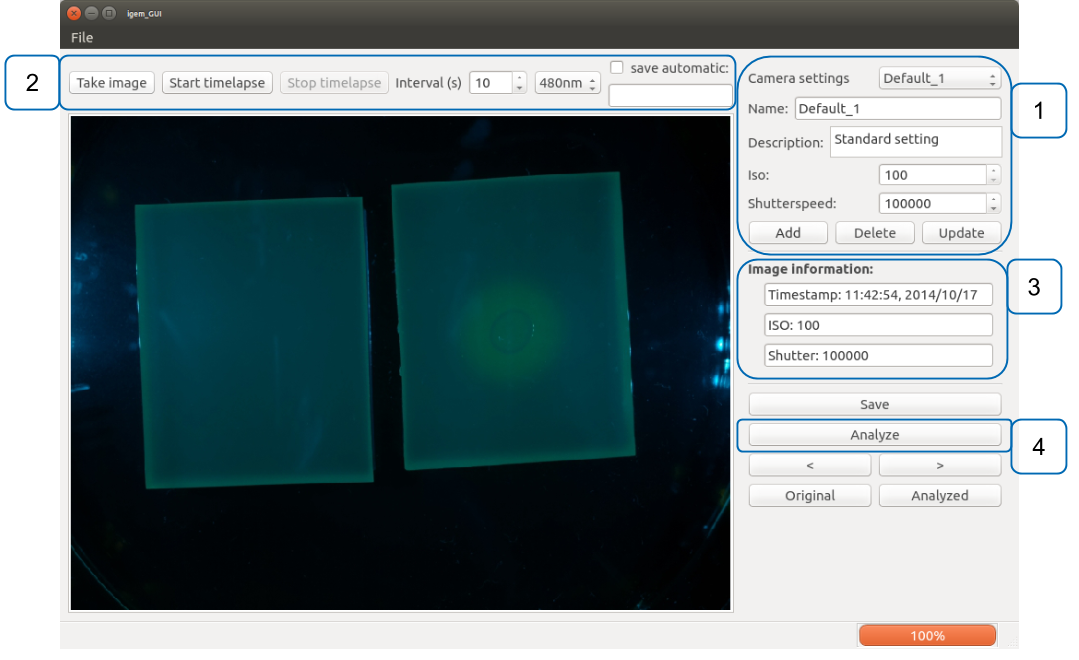
* With the Qt-libraries installed, open a terminal and change to the directory where you put the source for the GUI (command "cd [path to source]"). Call "qmake" followed by "make" and you will start compilation of the program. When finished, you can launch the GUI with the command "./igem_GUI". | * With the Qt-libraries installed, open a terminal and change to the directory where you put the source for the GUI (command "cd [path to source]"). Call "qmake" followed by "make" and you will start compilation of the program. When finished, you can launch the GUI with the command "./igem_GUI". | ||
Revision as of 21:59, 17 October 2014
|
|
|
|
 "
"
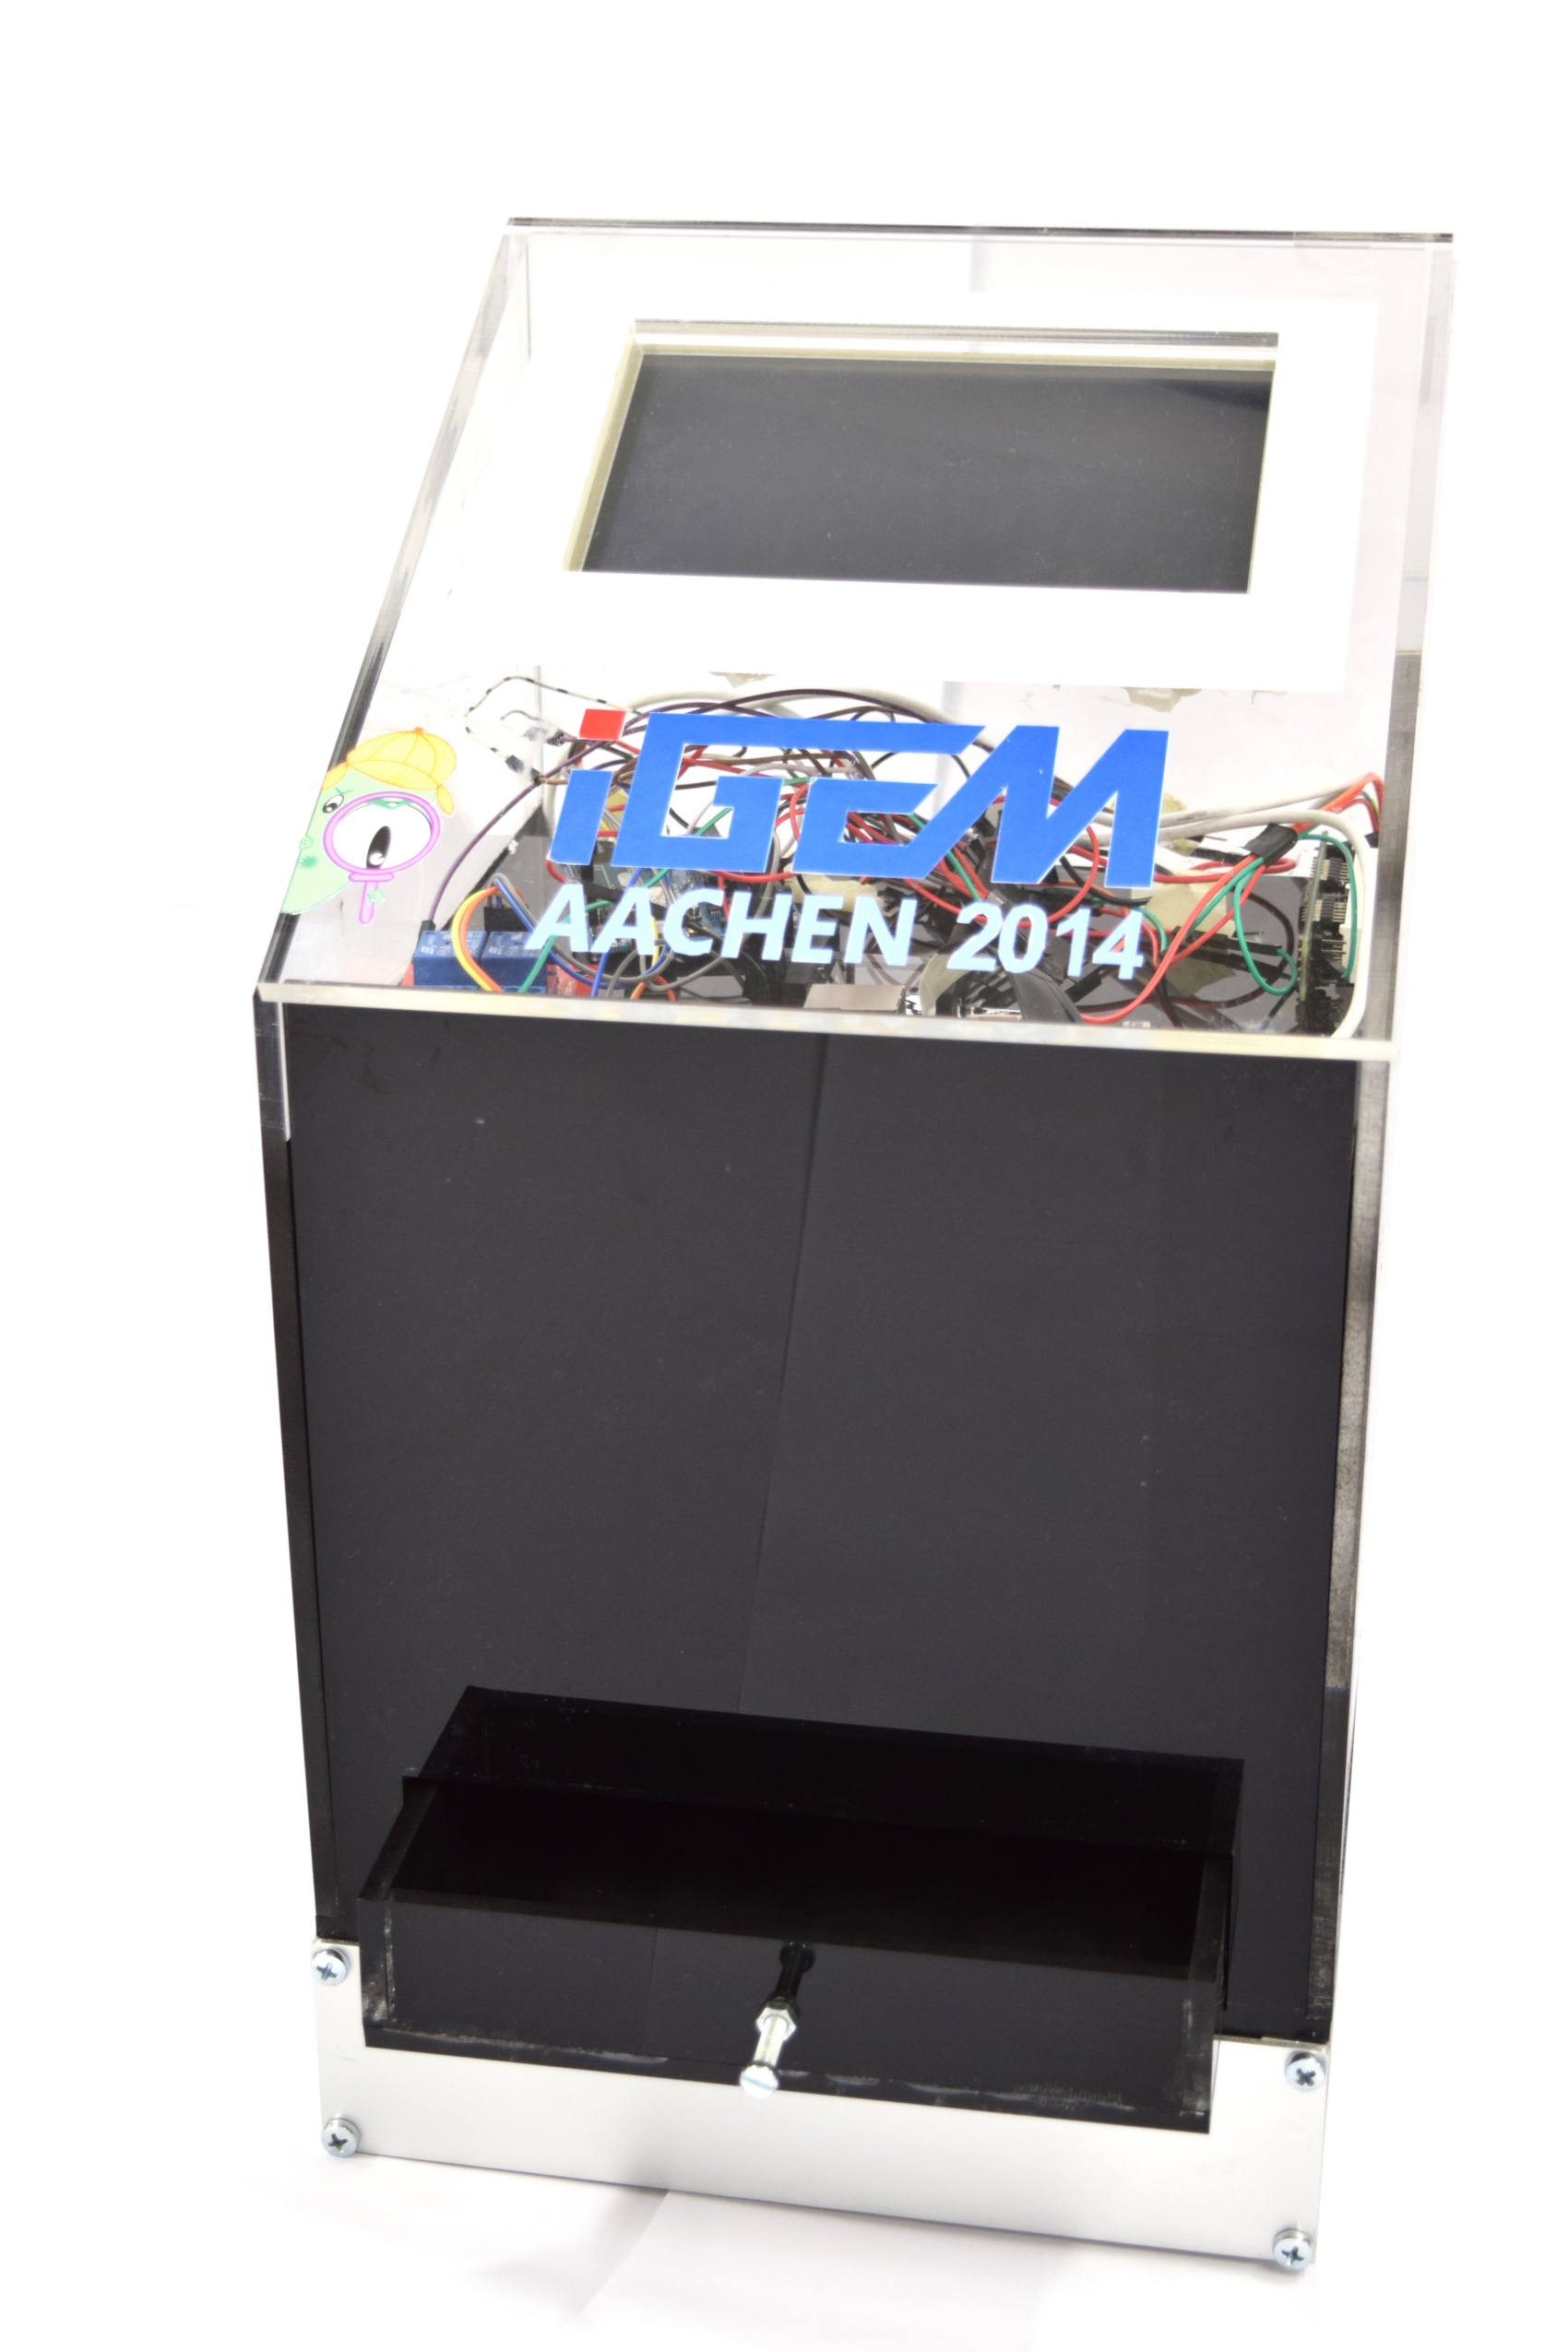


![350px] [File:Aachen_Device_.3jpg](/wiki/images/7/7b/Aachen_Device_2_3.jpg)
